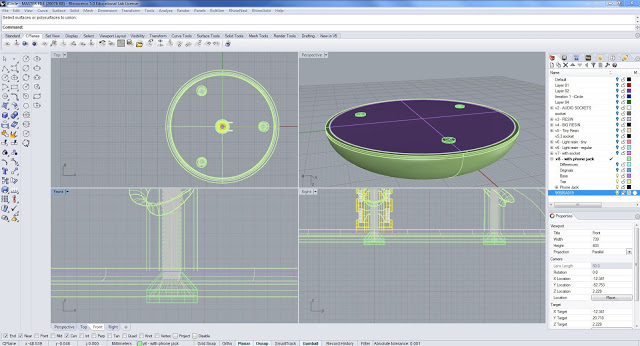
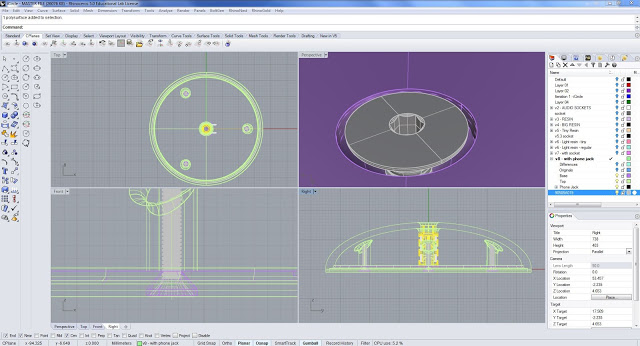
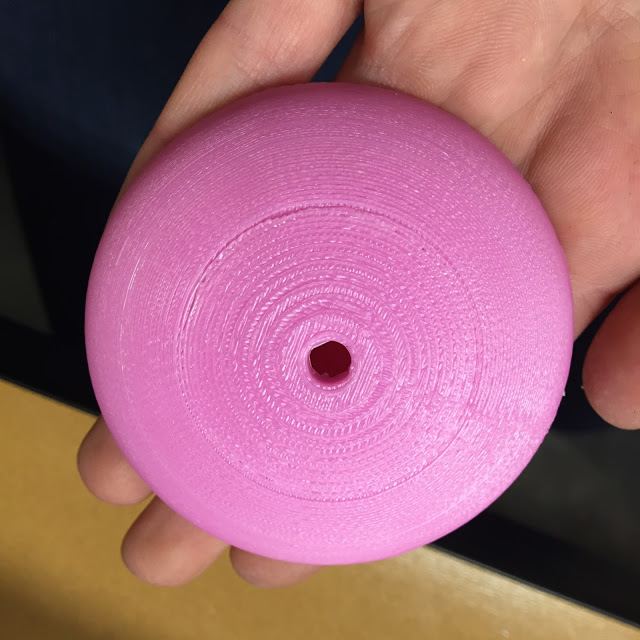
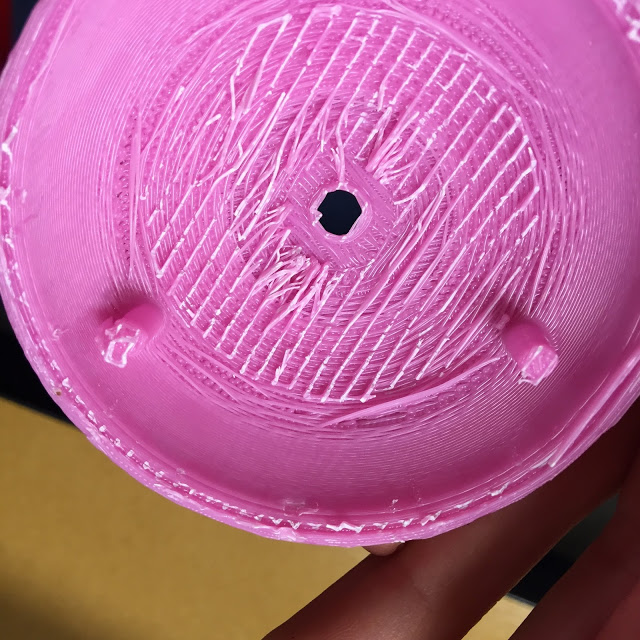
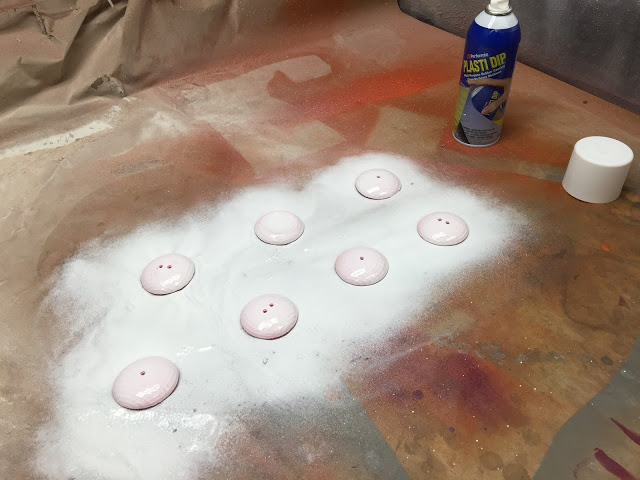
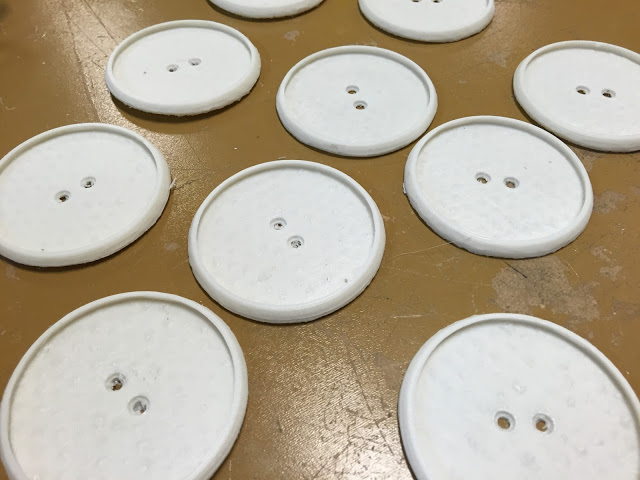
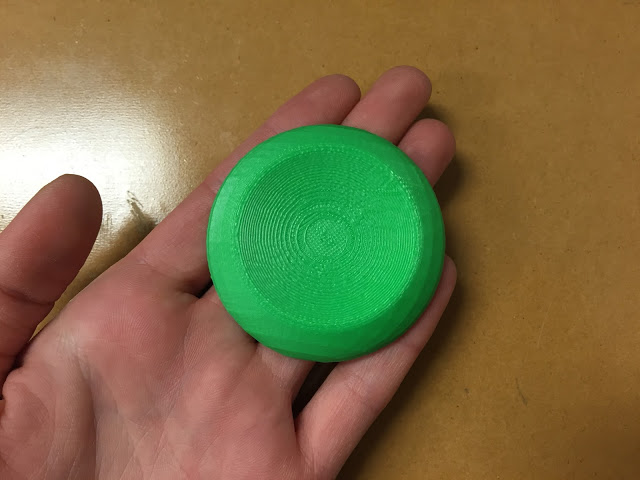
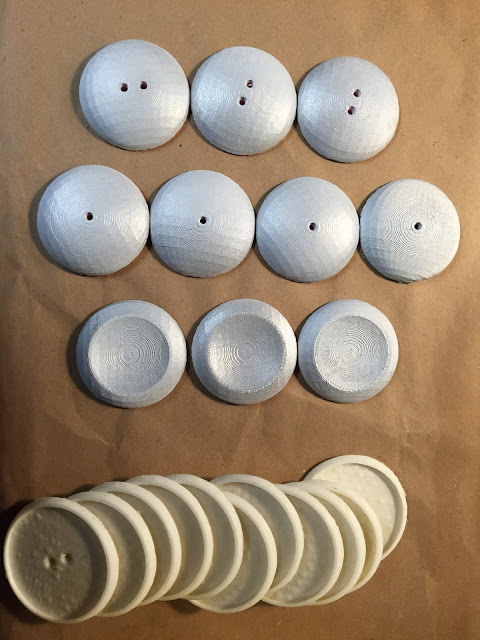
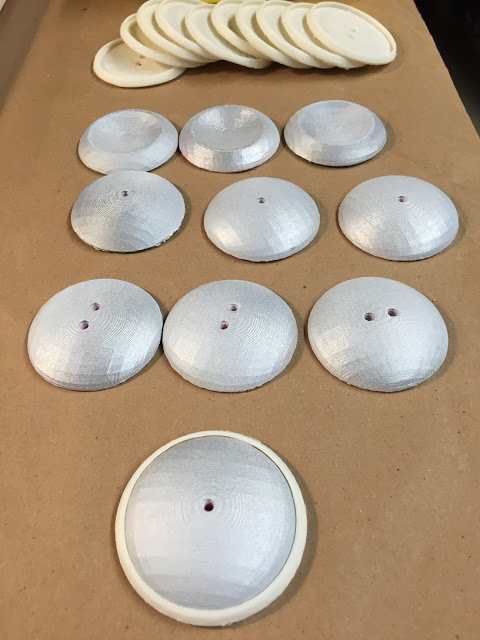
I recently re-discovered this 3D-printed PLA dish prototype made by an Intern, Becca Young, in Spring 2018. When this was made we were working on a number of projects that featured sacred geometry. This dish design was intended to be part of a line of interior home-goods. The project has yet to be realized as it was intended, however, when I was looking at it today, my interpretation of it changed as a result of the time passed. It’s interesting to see desires manifest and perceptions of them evolve over time to fit the present moment…

Connect
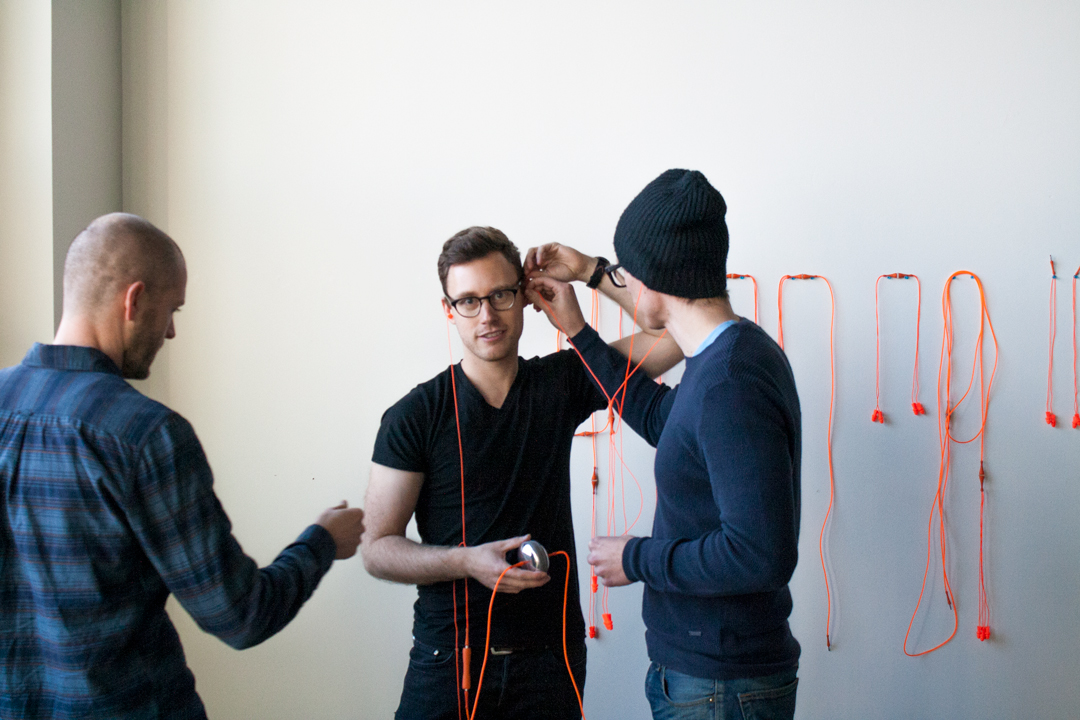
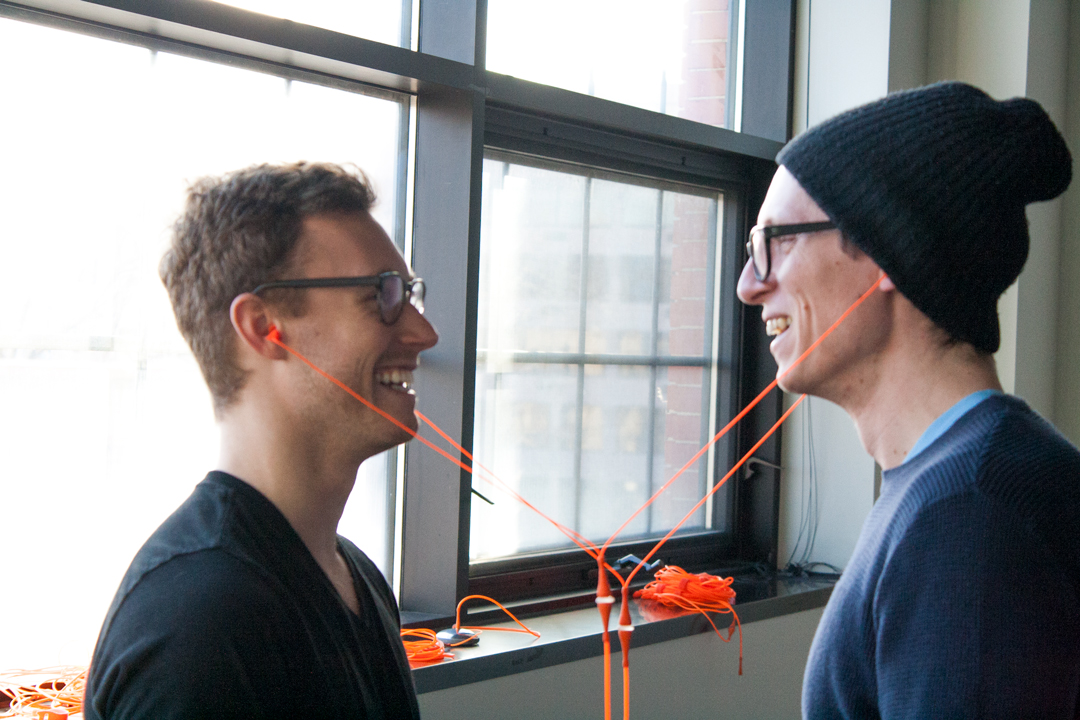
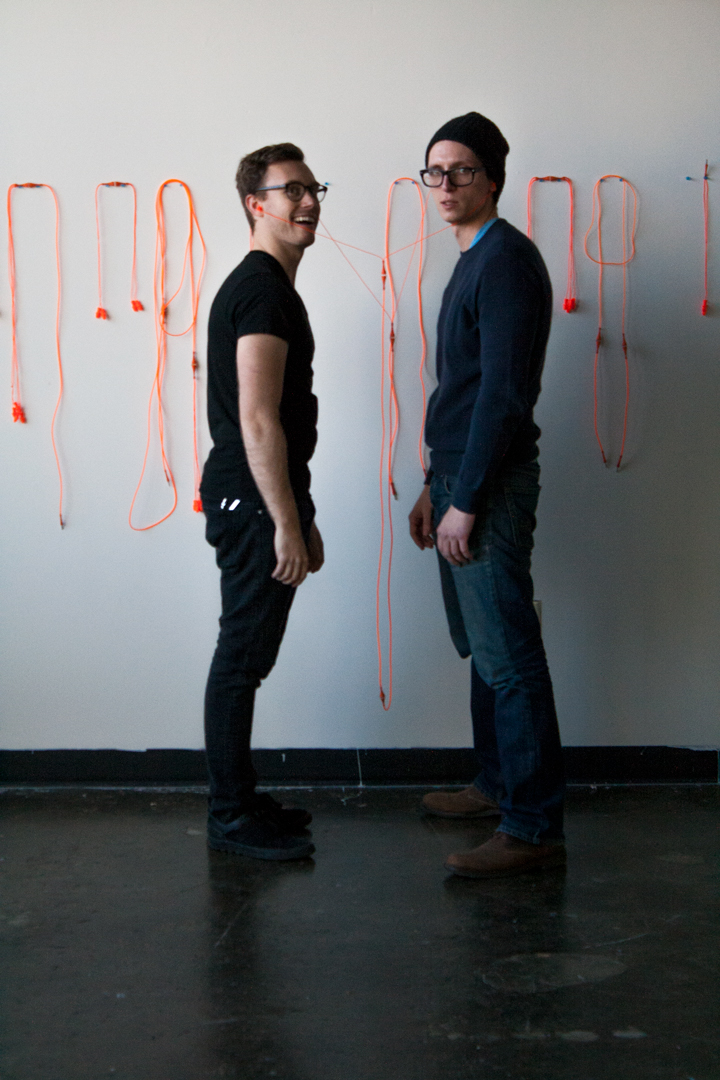
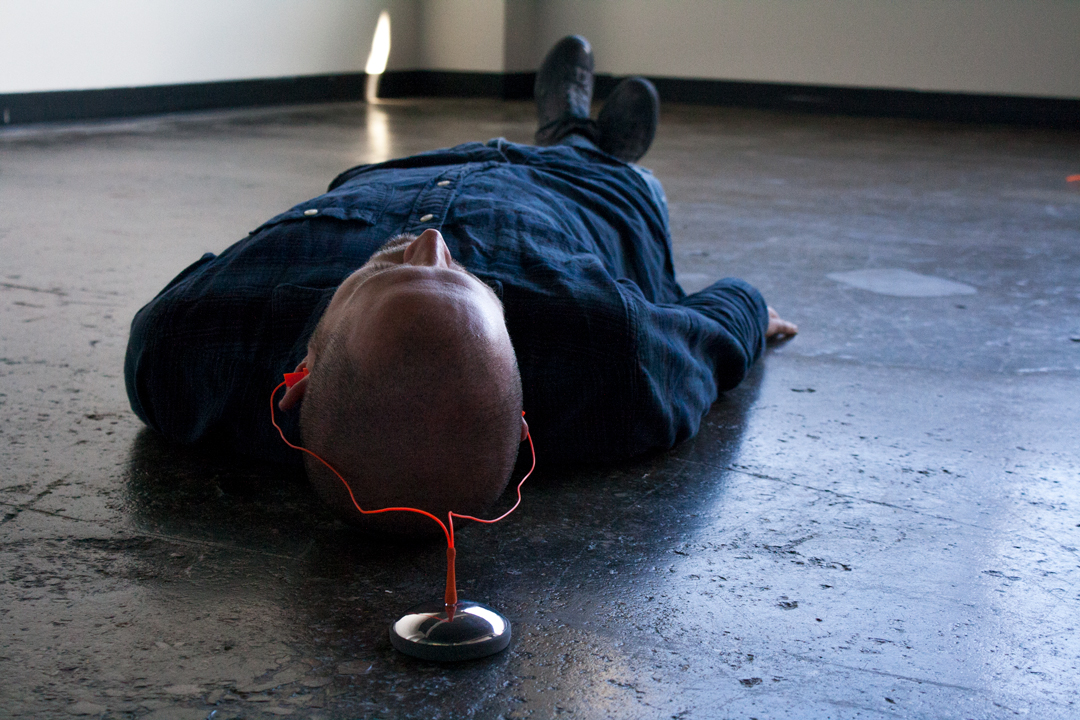
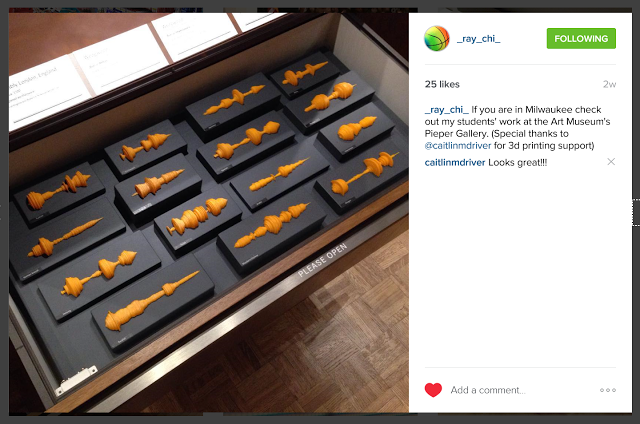
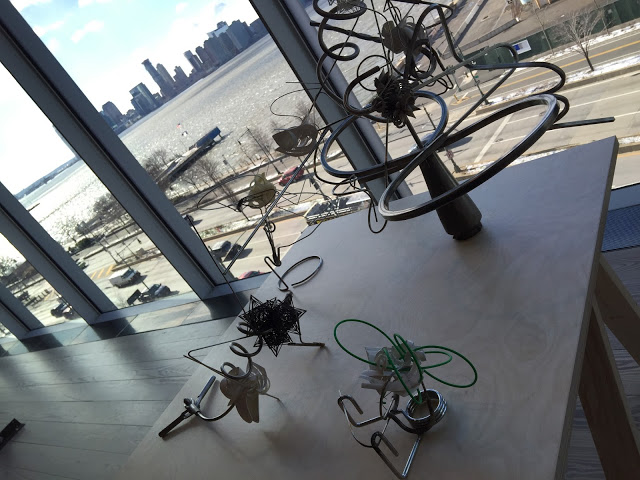
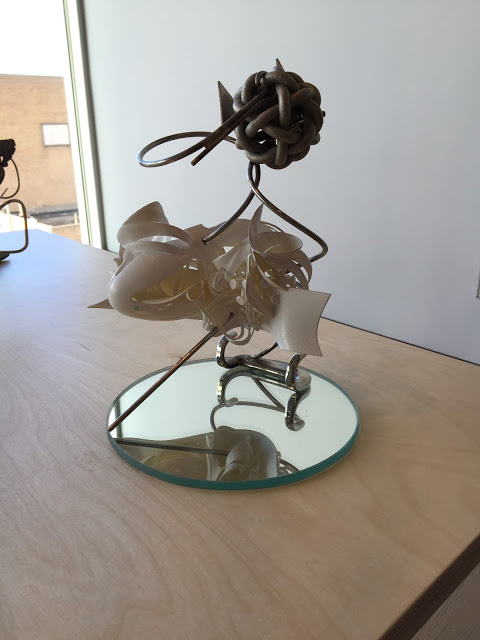
Last week I installed a number of the iAm series pieces "buffet style" in a gallery space. I invited some friends in and asked them to interact with the pieces. The event resulted in some new inspirations and a lot of laughs.


a new component
Someone will have to hold this.
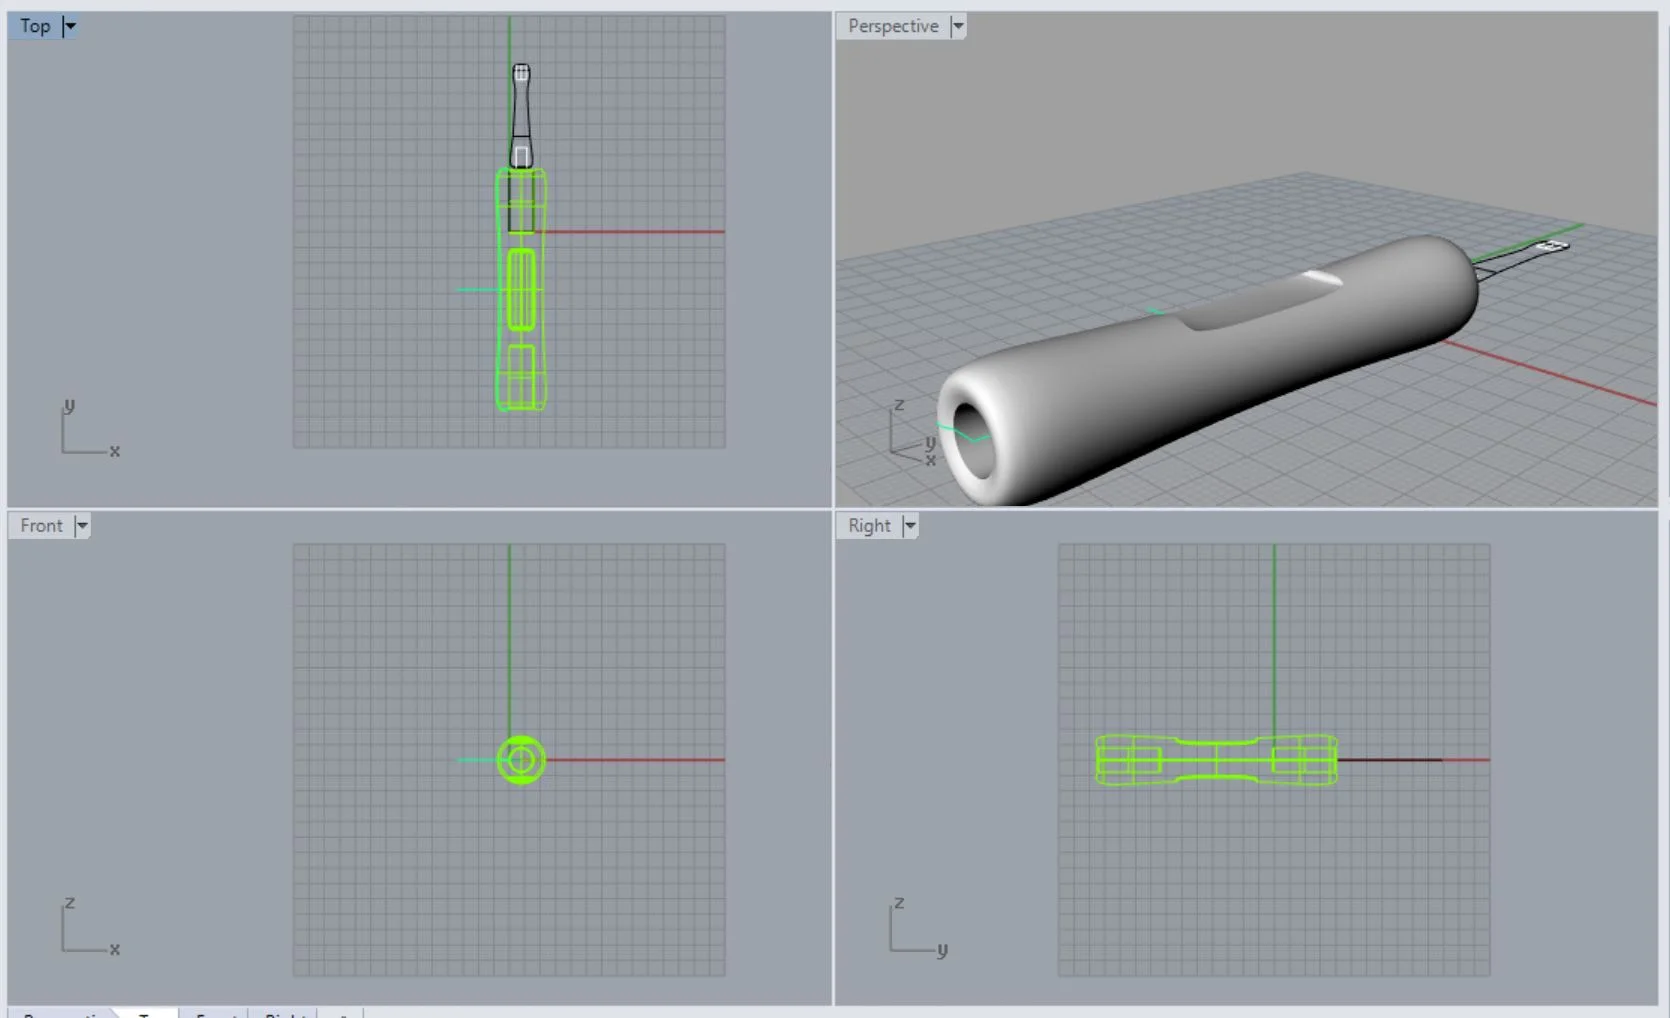
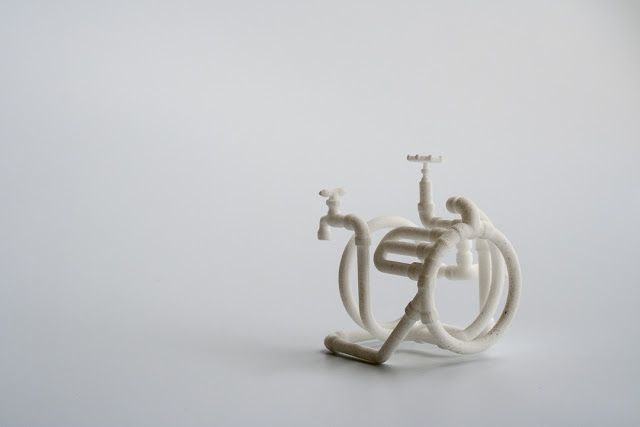
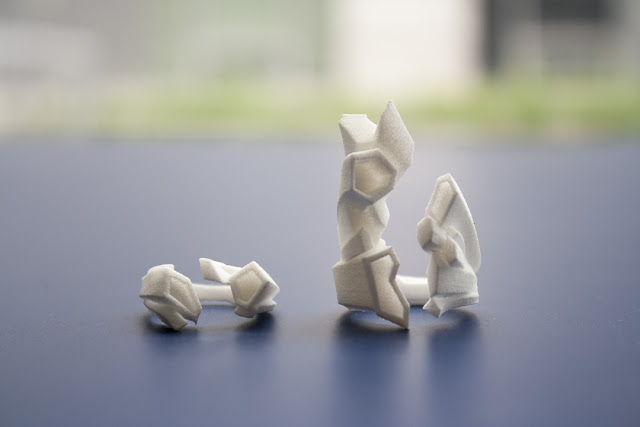
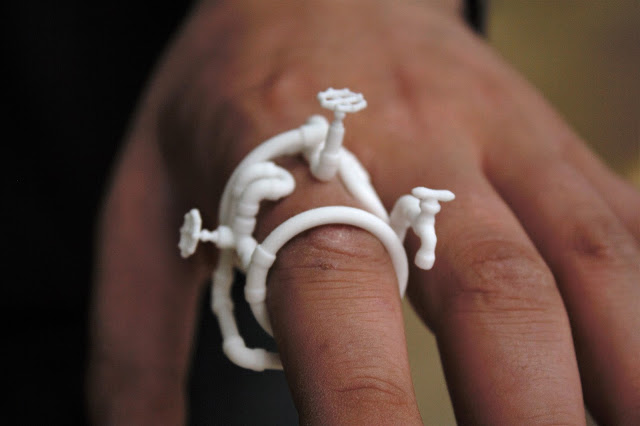
More Jacks Prototype
judgment, expectation, connection, resistance, hinders communication, misunderstood, tension, stagnation
sprinkle, shower, rain, drain, pour, flow - but no


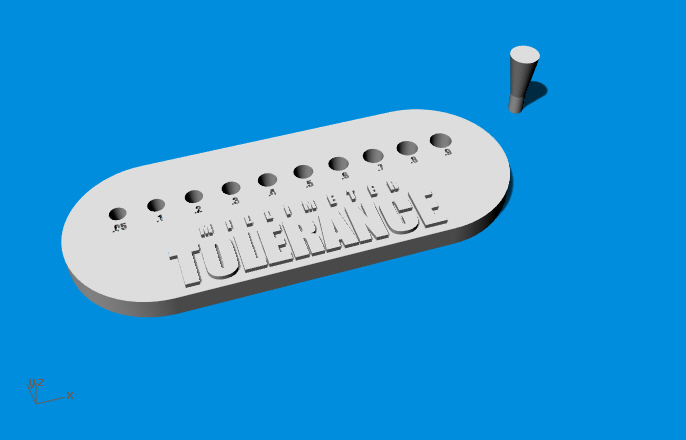
Millimeter Tolerance Sample
We got a couple new Qidi Technology 3D printers in the lab this semester. I prepared and printed a tolerance sample for my student's jewelry project that is coming up in a few weeks. If you would like one too, find the files on Thingiverse and here; .3dm & .stl 1 & .stl2
Universal Connections
I've been designin', I've been designin'. I get antsy when I'm waiting on 3D prints.
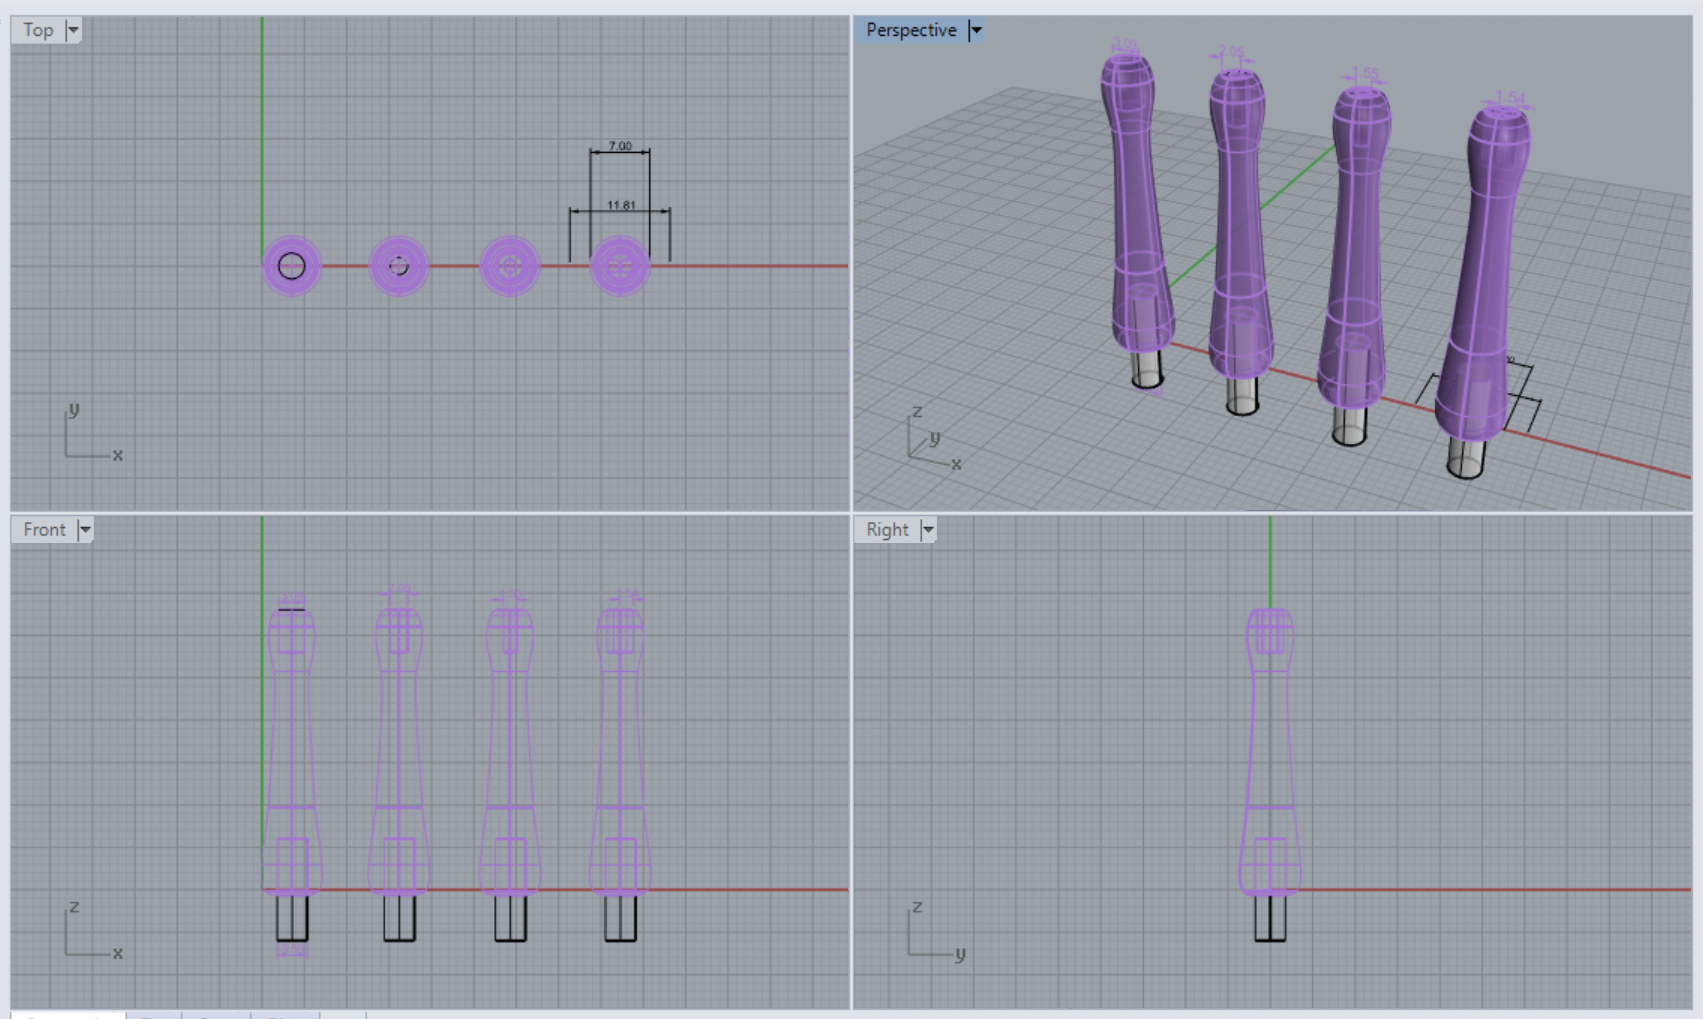

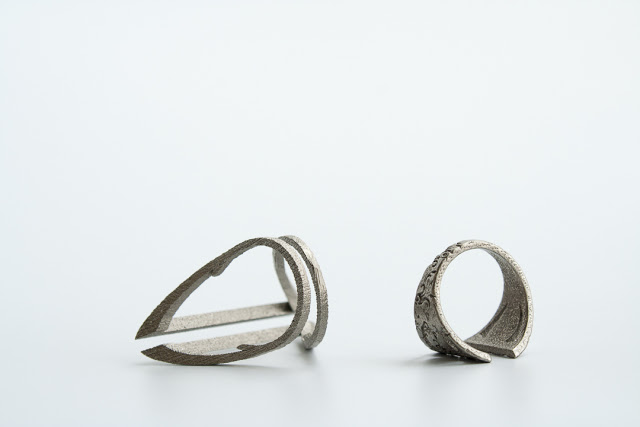
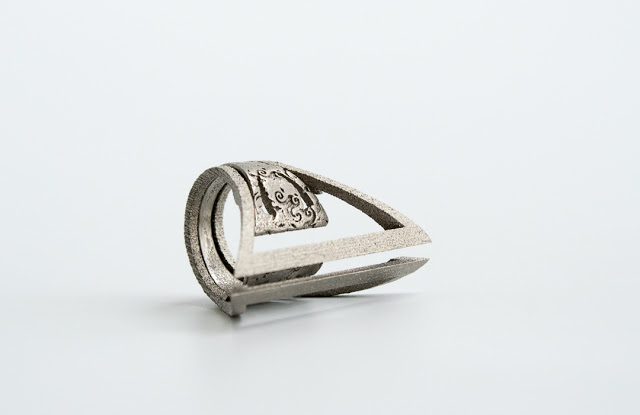
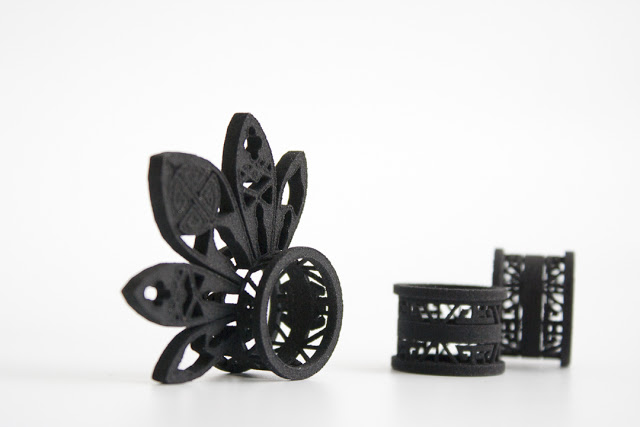
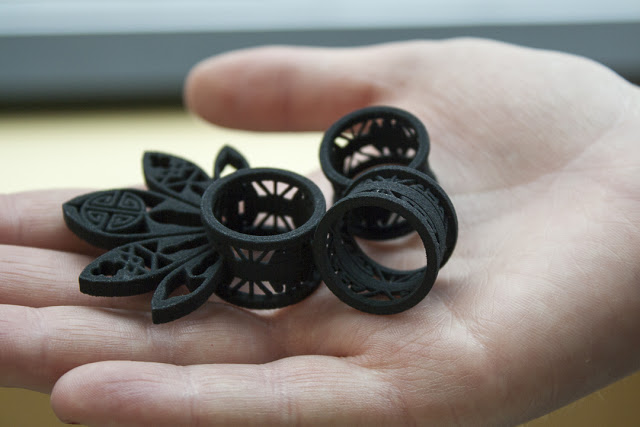
Ring Samples
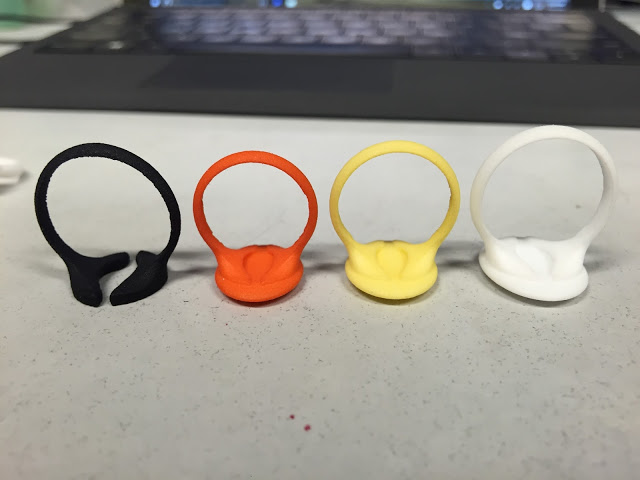
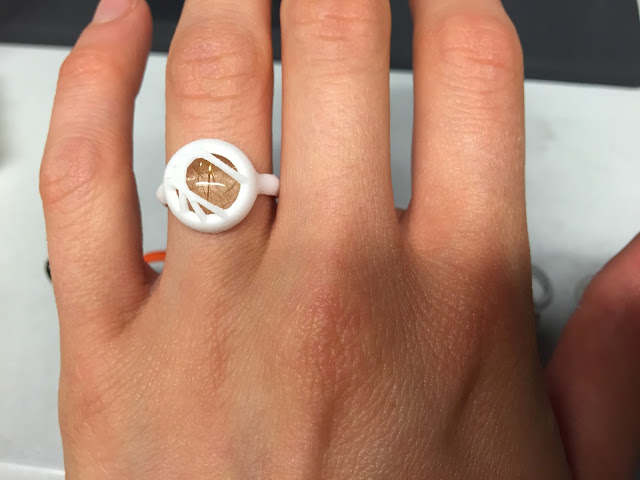
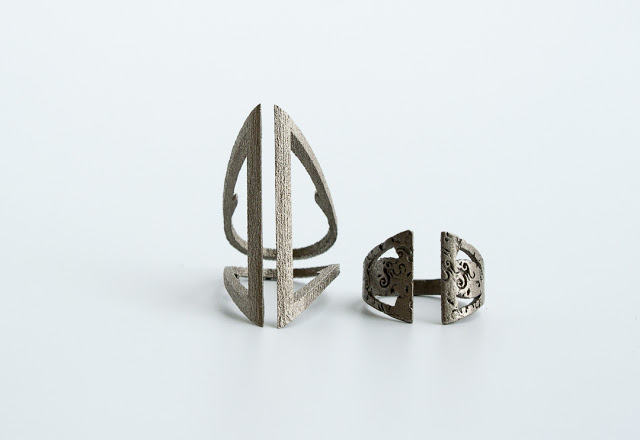
I went into the summer with some Rhino goals in mind, and I've been slowly working through a few of them with a series of ring samples. One of the goals was to increase my "organic" design skills, so I started with exploring curve networks. Coupling these curve networks with some solid primitive forms got me some simple but effective sample ring designs I was able to upload to Shapeways and get printed in a variety of materials. I think these samples will also be helpful to my students in ART277. I got various ring sizes printed to check the tolerances of printing, attempted to incorporate a "tension" held rutilated quartz stone and pushed scale limits. I've gotten about half of the rings from Shapeways, see below. TBC.
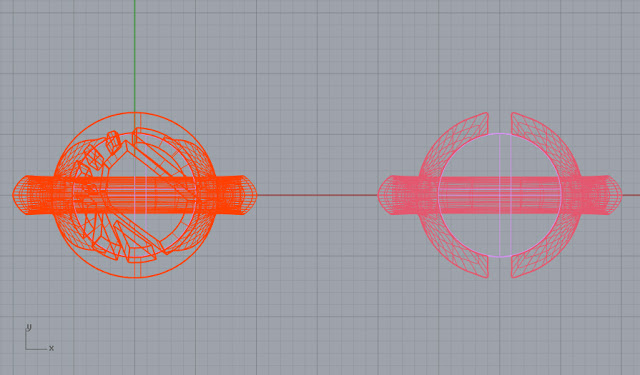
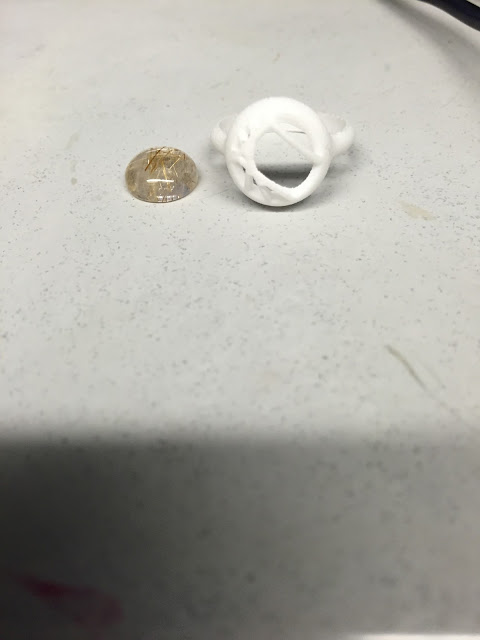
On the right in Pink - a stock band I created with curve network, attached to all ring samples. Left - Rutilated capture ring.
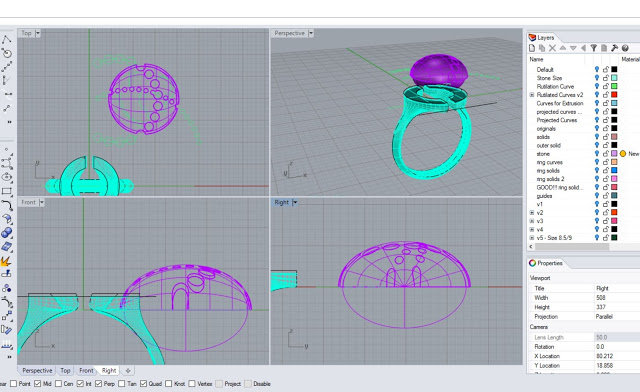
Process capture of creating designs from solids.
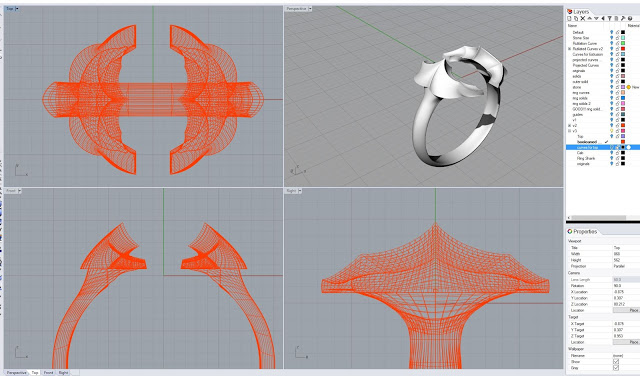
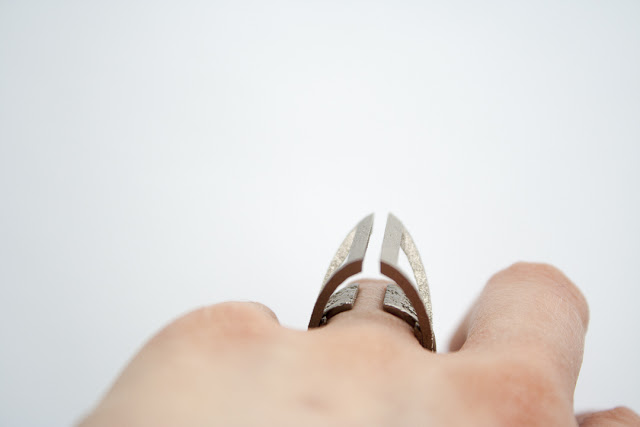
With this ring, I tried to go as tight as possible to the minimum limit of material thickness for the top design. I'm calling it the "bite ring." I learned a lot trying to create the curve network for the top.
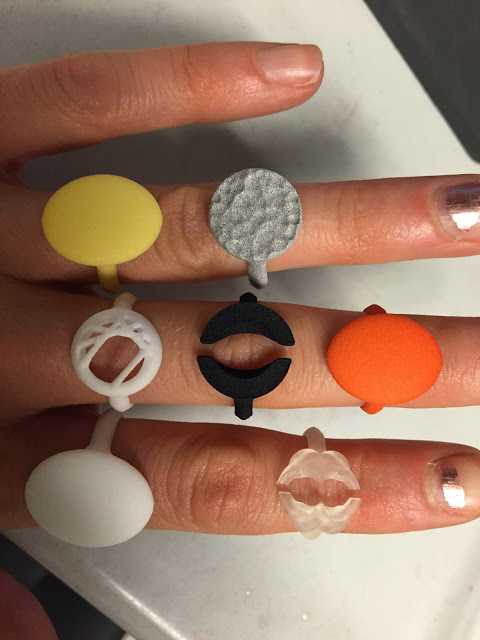
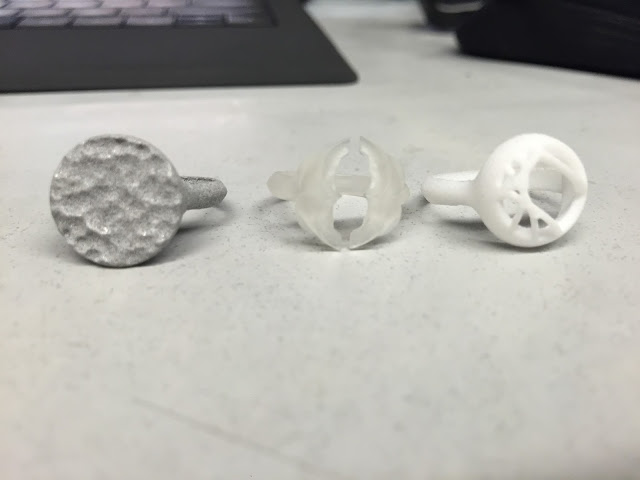
The aluminum plastic on the left is hilarious to me because the design I created is meant to reference hammer texture. Oh, metalsmith humor.
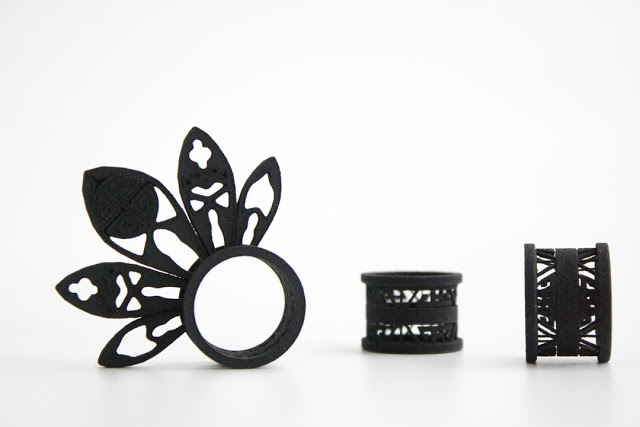
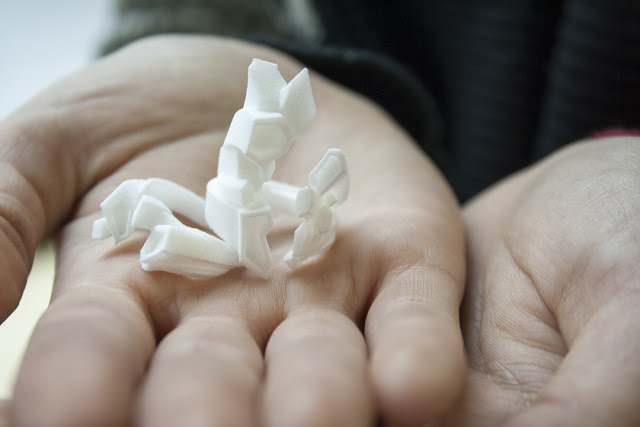
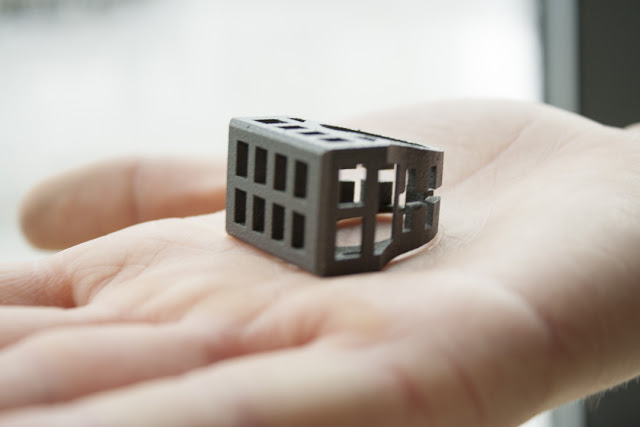
Design for Digital Fabrication - Student Work - 3D Printed Ring Documentation off the Body
ART277 - Design for Digital Fabrication
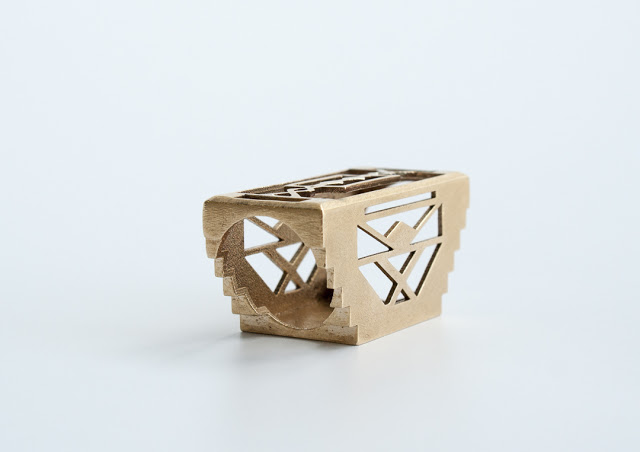
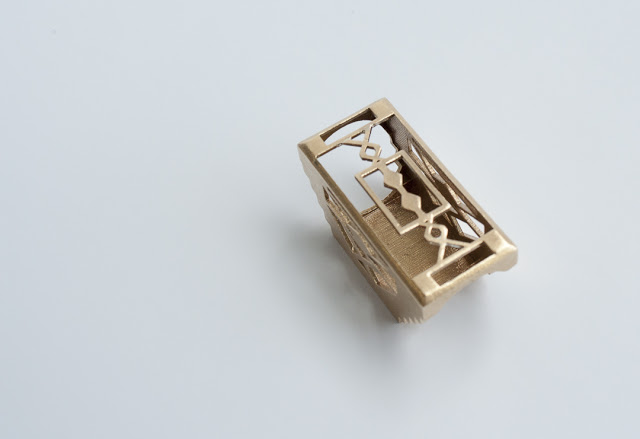
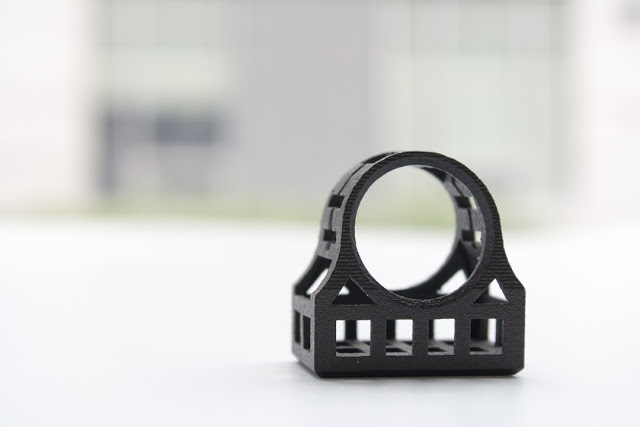
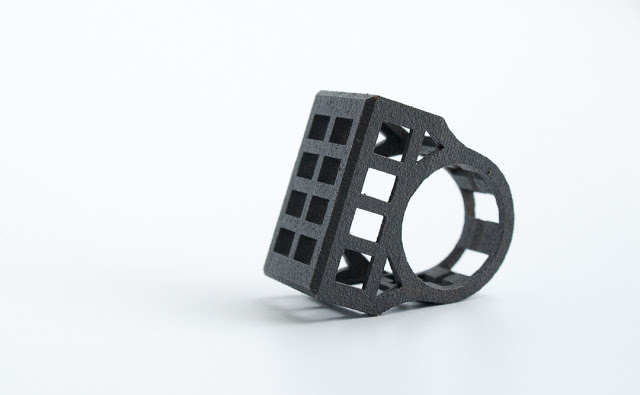
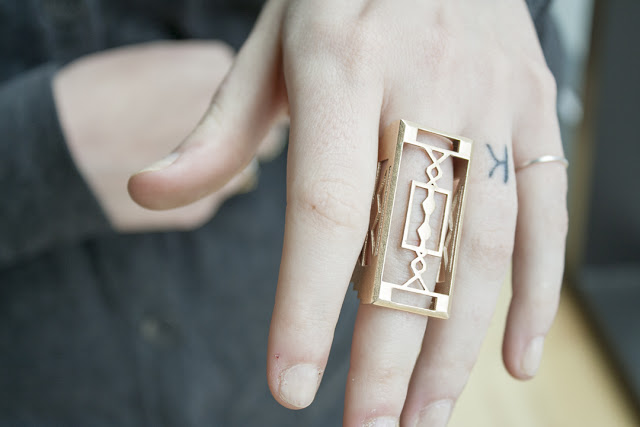
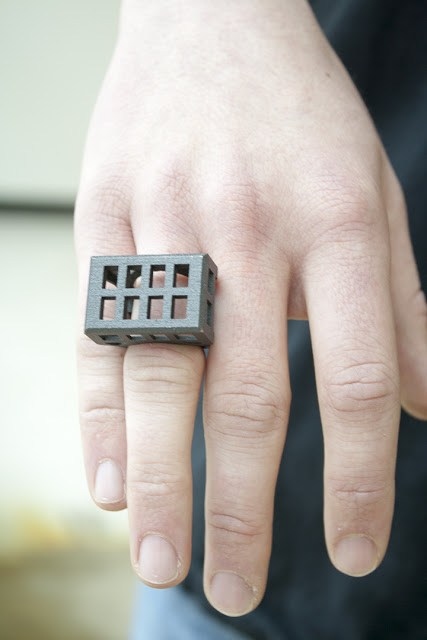
3D Printed Architecture Inspired Ring
For this project, students used Rhino to design a ring inspired by architecture. Students printed their own preliminary ring size tests on the Makerbots in the DCRL, and then got the final designs printed through Shapeways. They all fit!

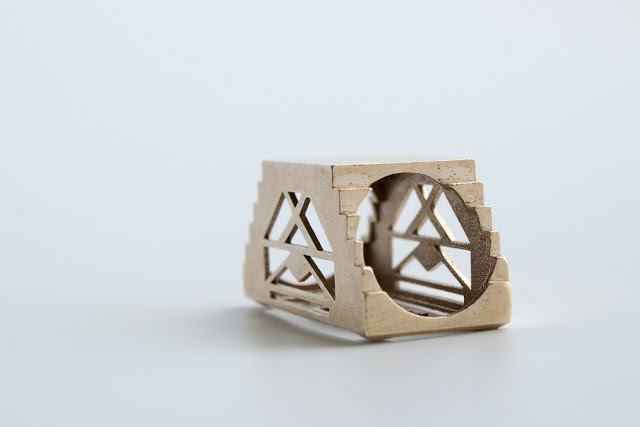

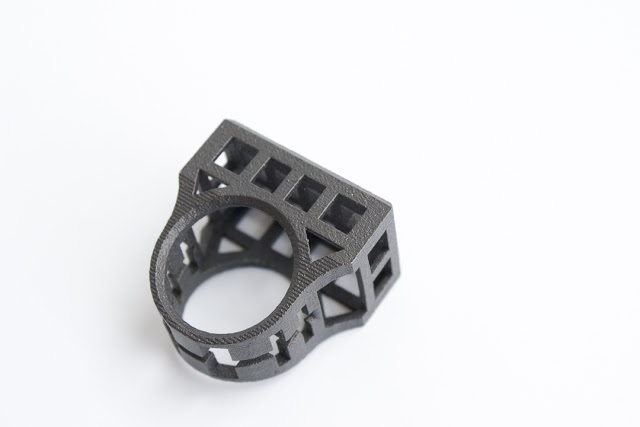


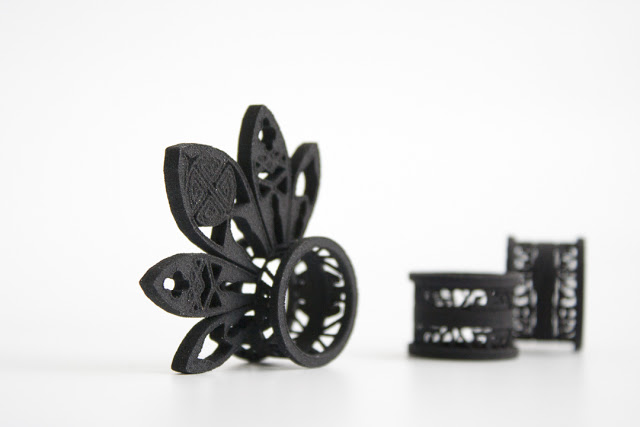


3D Printed Architecture Inspired Ring
For this project, students used Rhino to design a ring inspired by architecture. Students printed their own preliminary ring size tests on the Makerbots in the DCRL, and then got the final designs printed through Shapeways. They all fit!
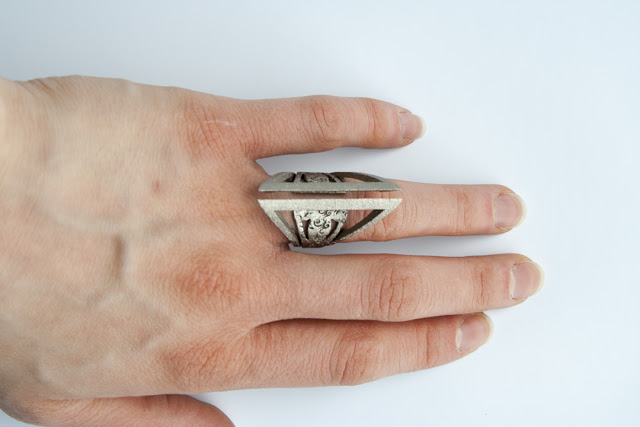
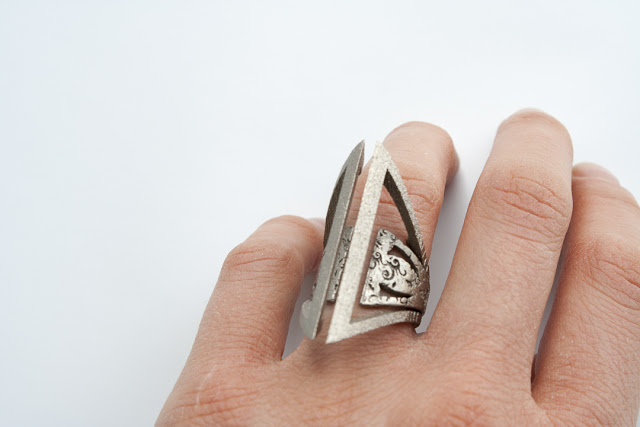
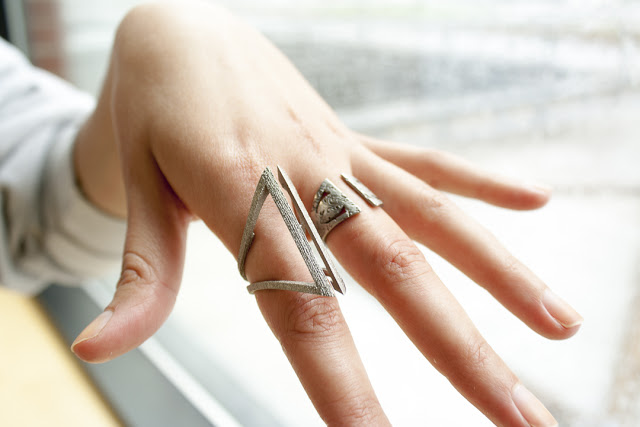
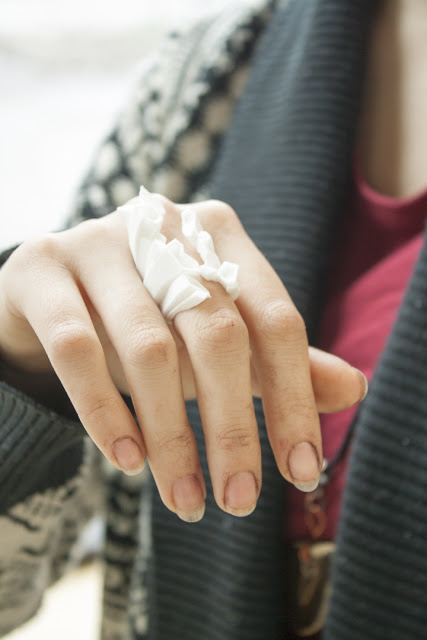
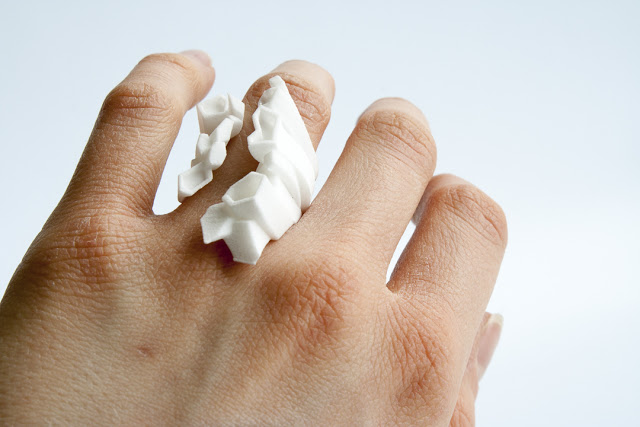
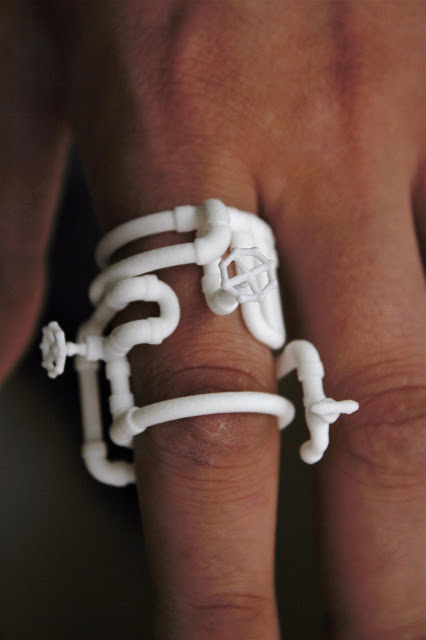
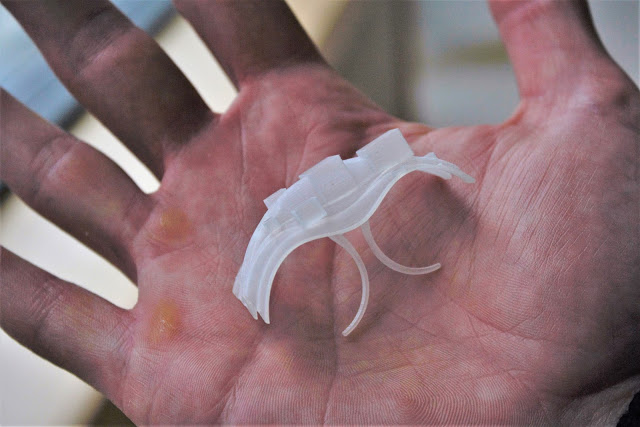
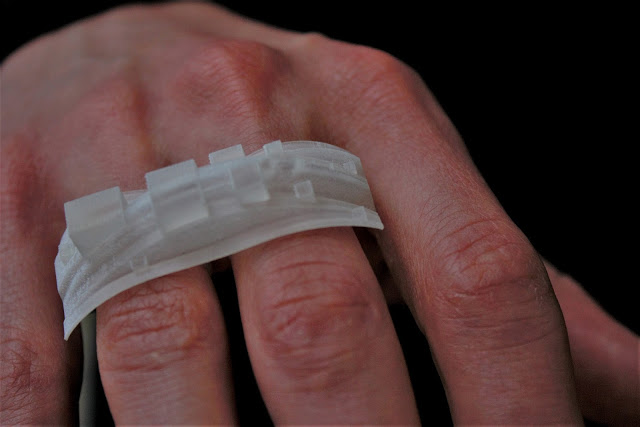
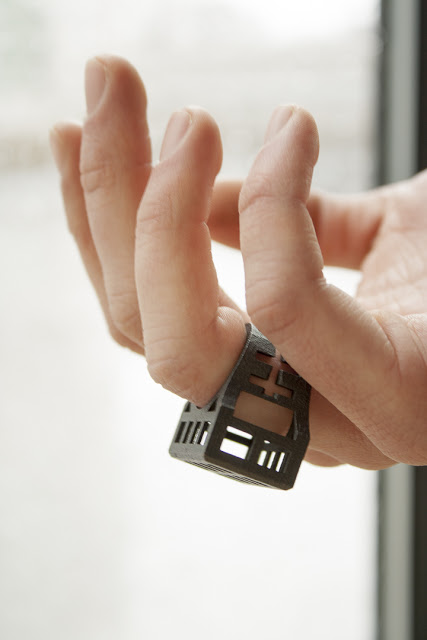
Design for Digital Fabrication - Student Work - 3D Printed Ring Documentation on the Body
ART277 - Design for Digital Fabrication
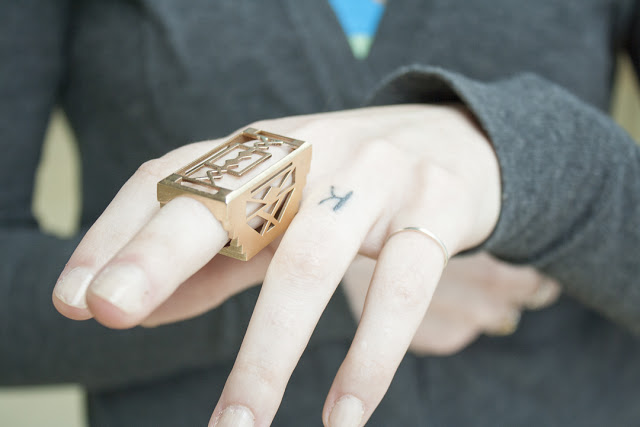
3D Printed Architecture Inspired Ring
For this project, students used Rhino to design a ring inspired by architecture. Students printed their own preliminary ring size tests on the Makerbots in the DCRL, and then got the final designs printed through Shapeways. They all fit!

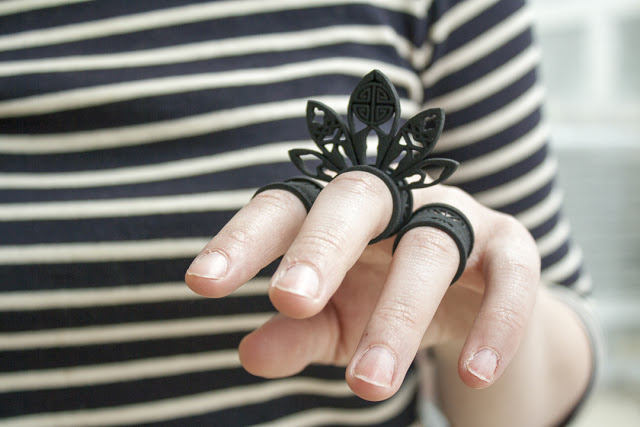
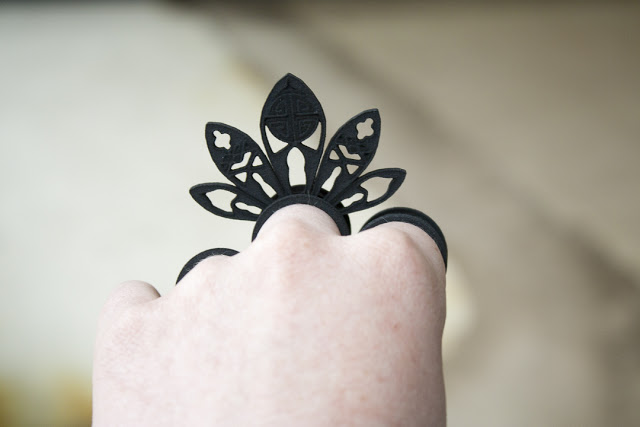


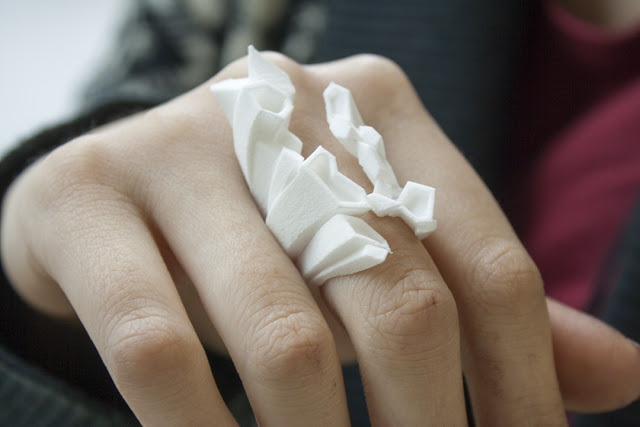


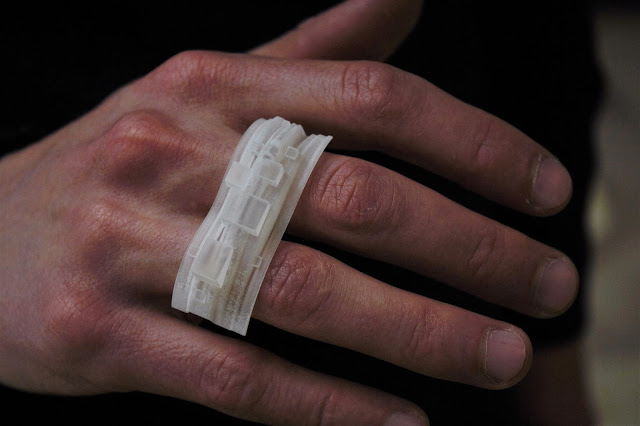
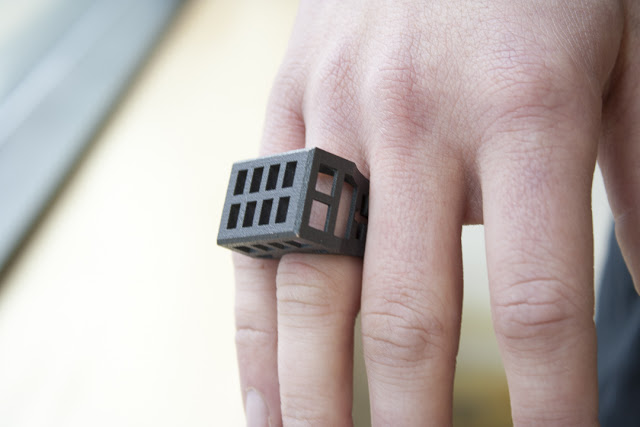
3D Printed Architecture Inspired Ring
For this project, students used Rhino to design a ring inspired by architecture. Students printed their own preliminary ring size tests on the Makerbots in the DCRL, and then got the final designs printed through Shapeways. They all fit!
3D Prints for The Collaboratory
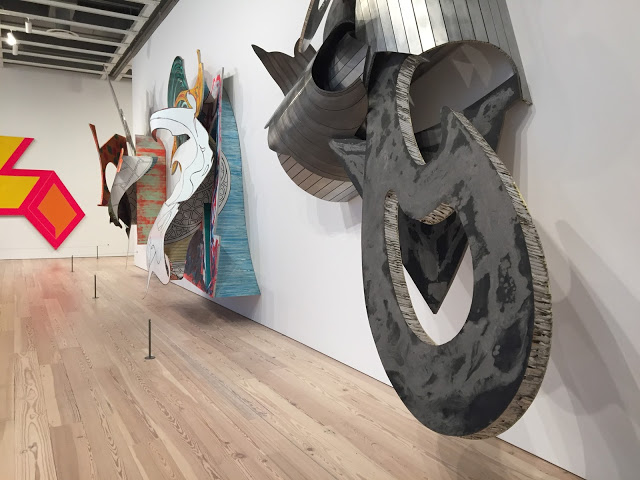
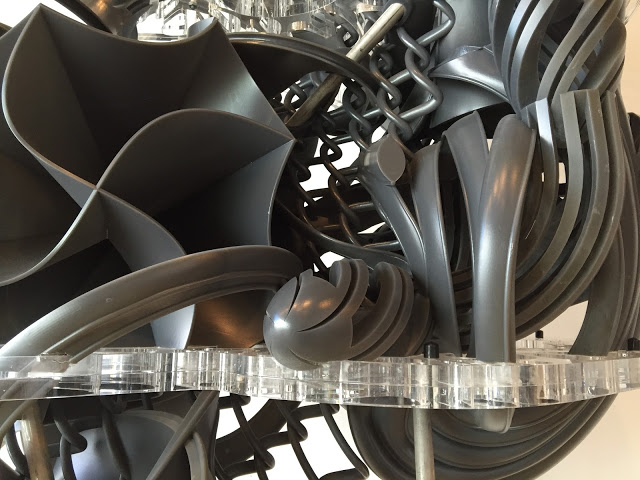
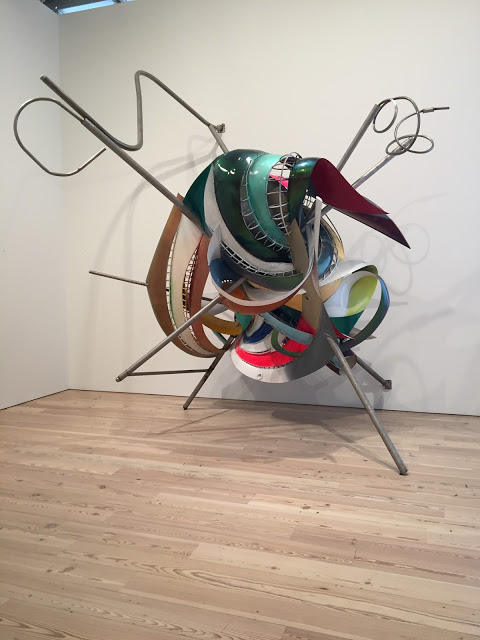
DFD & Frank Stella's Retrospective


 |
| La penna di hu, 1987-2009 Mixed media on etched magnesium, aluminum and fiberglass |
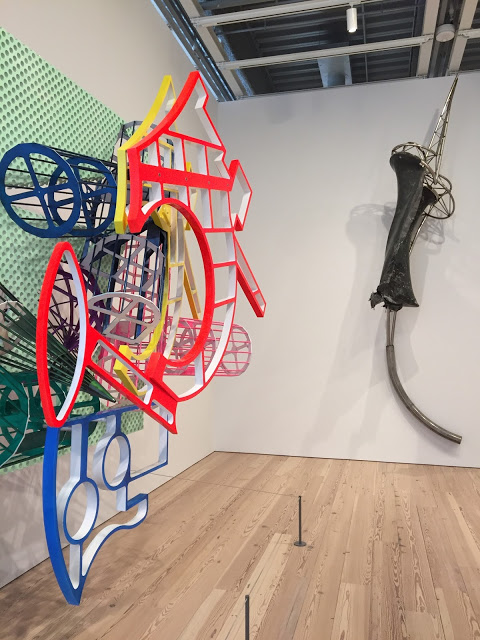 |
| La penna di hu, 1987-2009 Mixed media on etched magnesium, aluminum and fiberglass -- Side View |
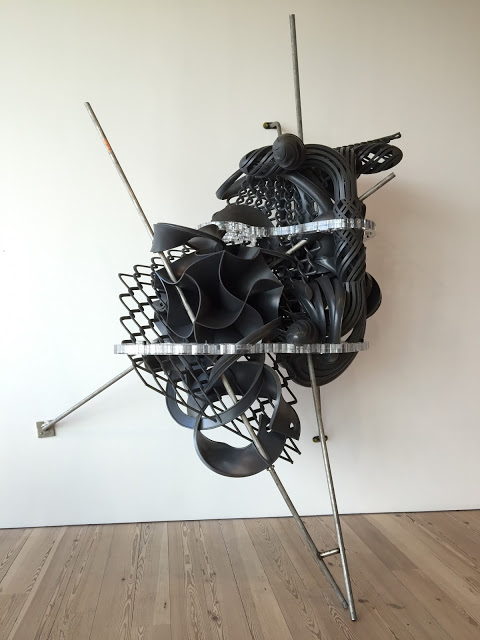 |
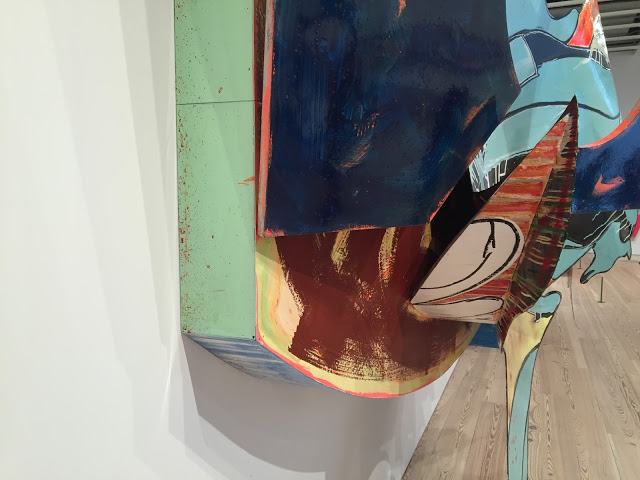
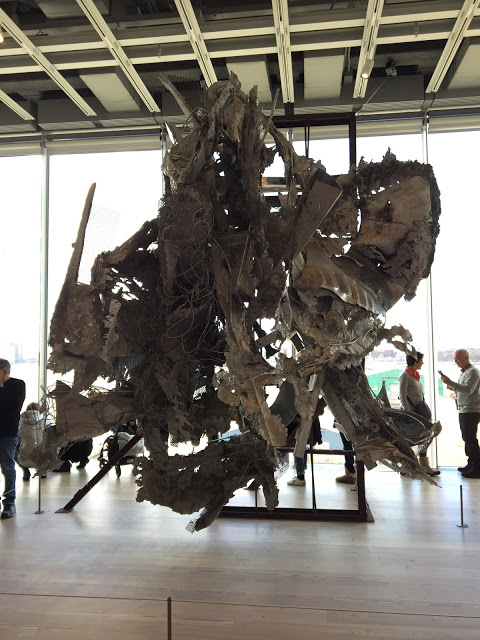
| K.459, 2012 Tusk SolidGrey 3000, plexiglass, and steel pipe |
 |
| K.459, 2012 Tusk SolidGrey 3000, plexiglass, and steel pipe |
 |
| K.459, 2012 Tusk SolidGrey 3000, plexiglass, and steel pipe |
 |
| K.459, 2012 Tusk SolidGrey 3000, plexiglass, and steel pipe |
 |
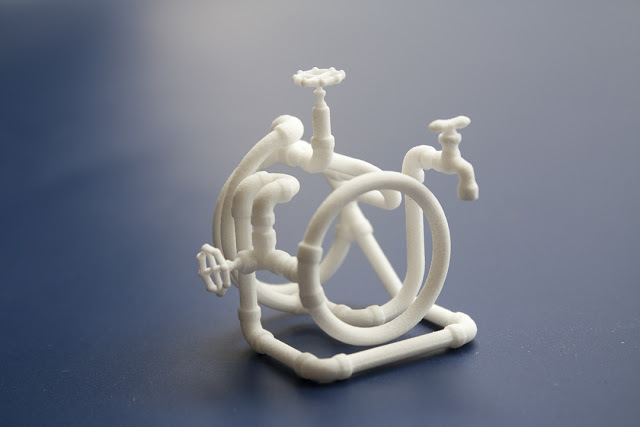
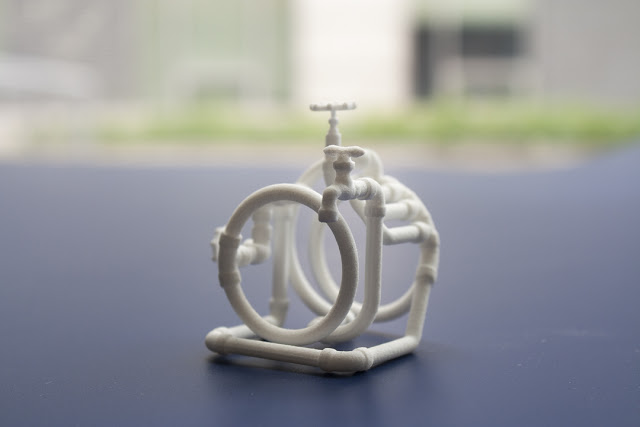
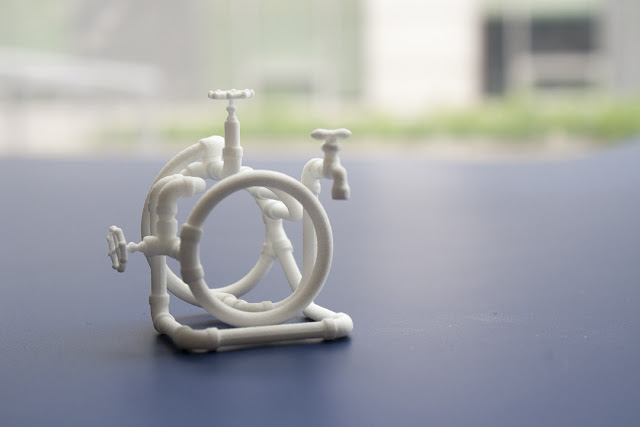
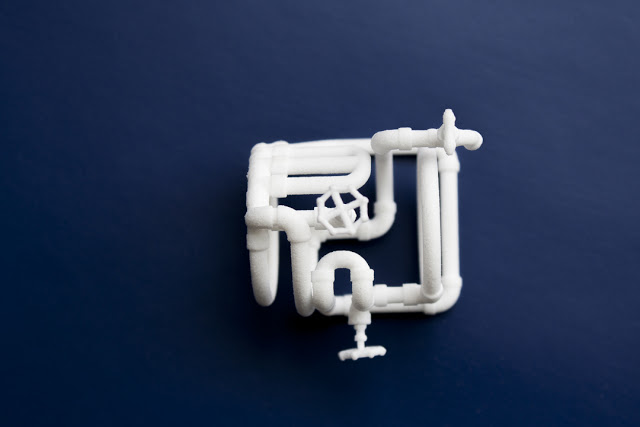
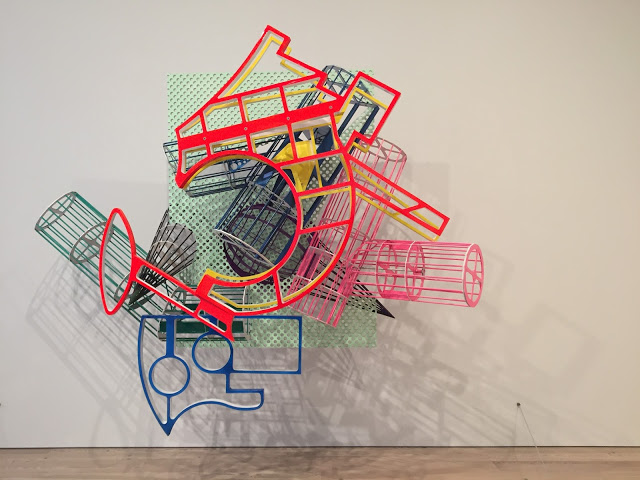
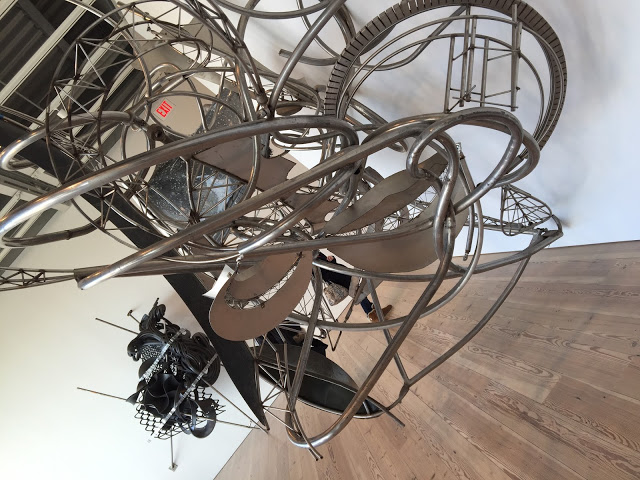
| Circus of Pure Feeling for Malevich, 4 Square Circus, 16 Parts,2009 Stainless steel tubing, wire, Protogen RPT |
 |
| Circus of Pure Feeling for Malevich, 4 Square Circus, 16 Parts,2009 Stainless steel tubing, wire, Protogen RPT |
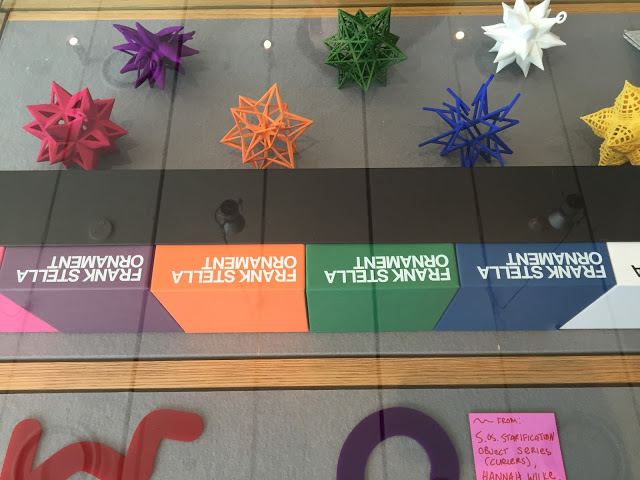 |
| And of course, some 3D printed Stella ornaments in the gift shop -- Stella knows what's up. |
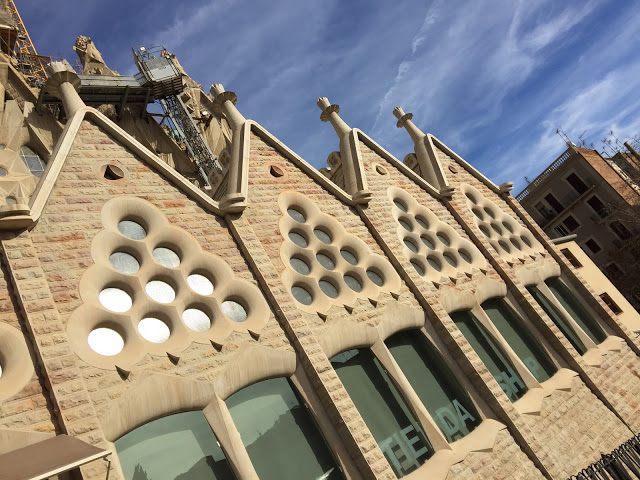
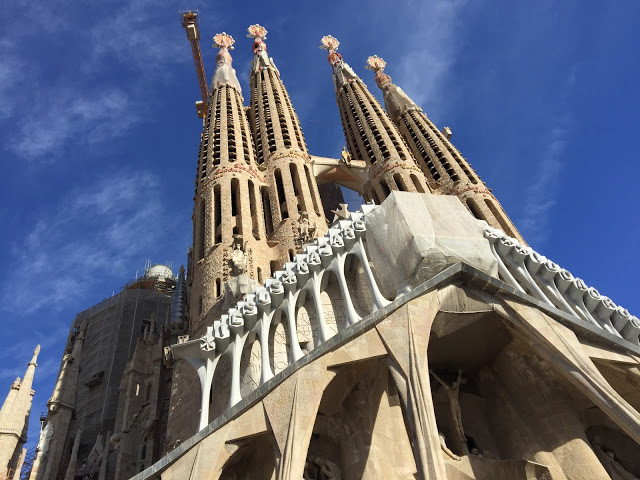
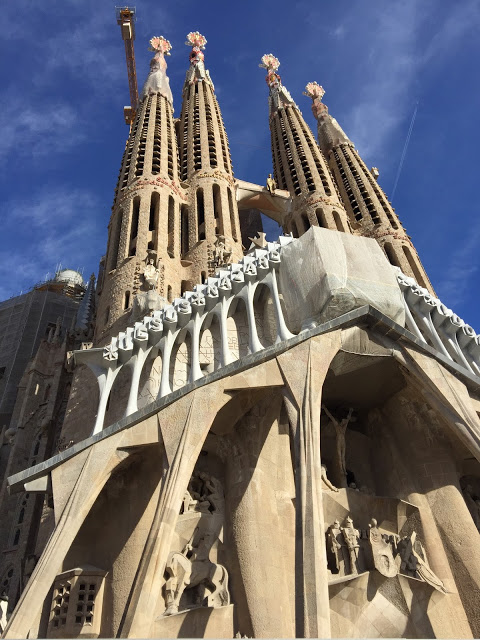
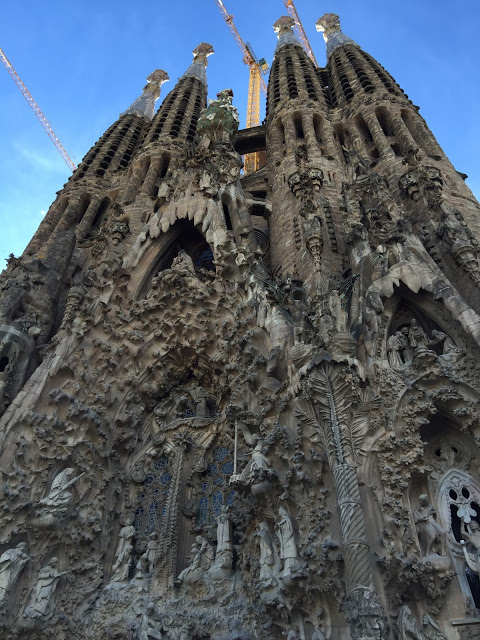
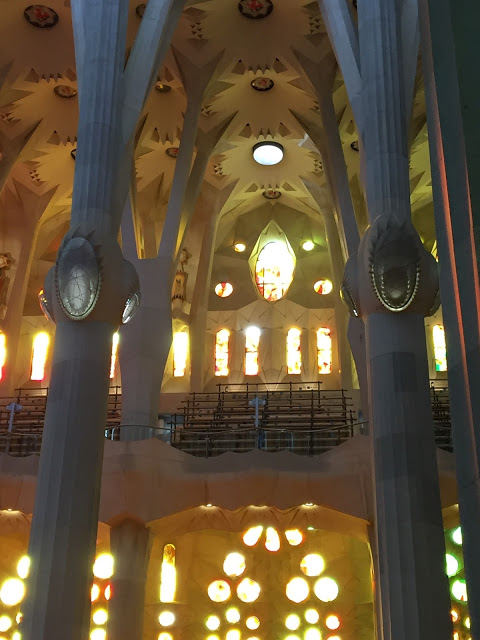
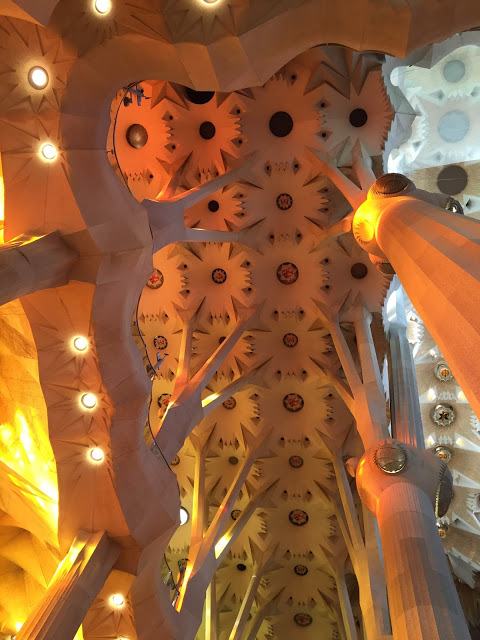
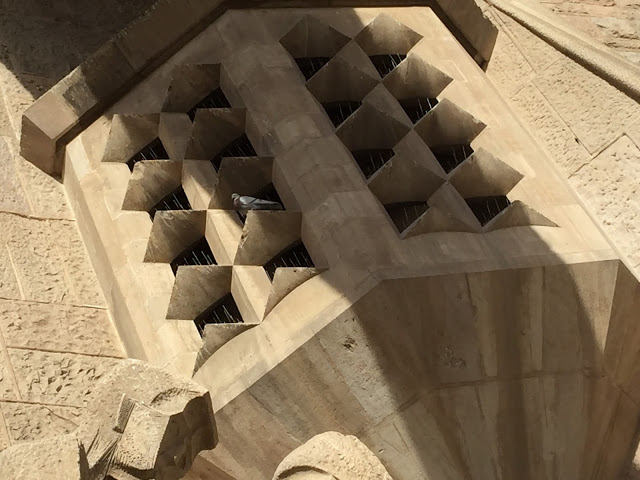
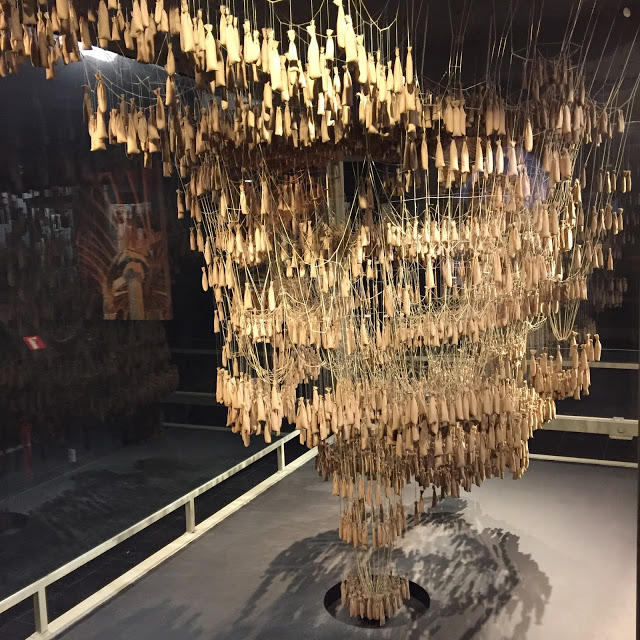
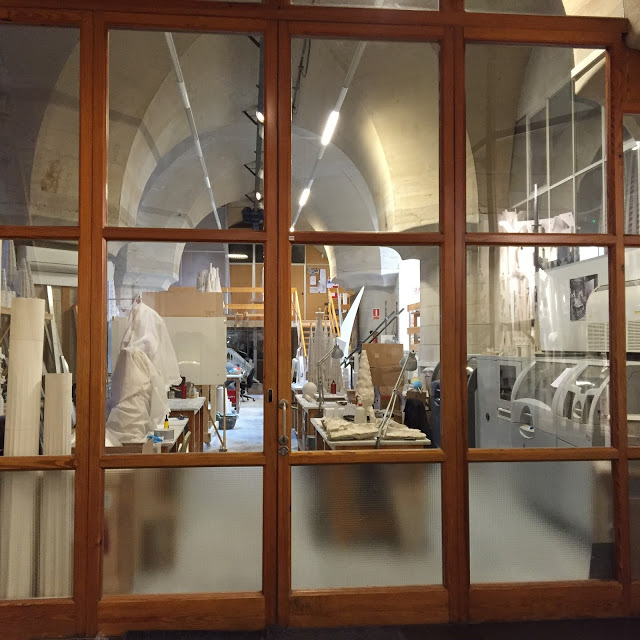
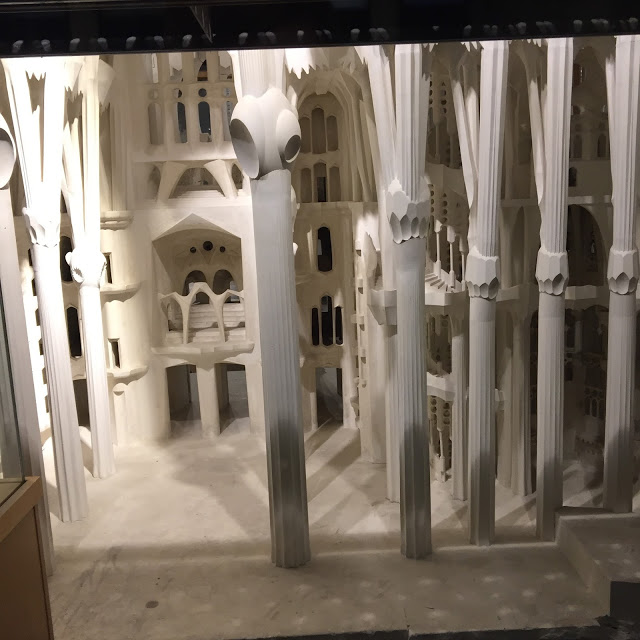
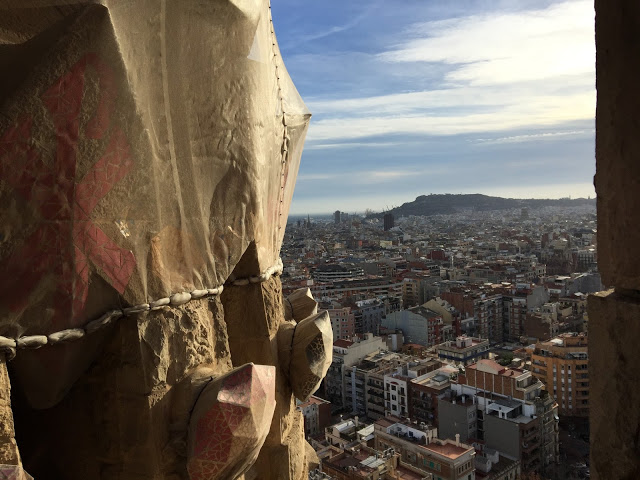
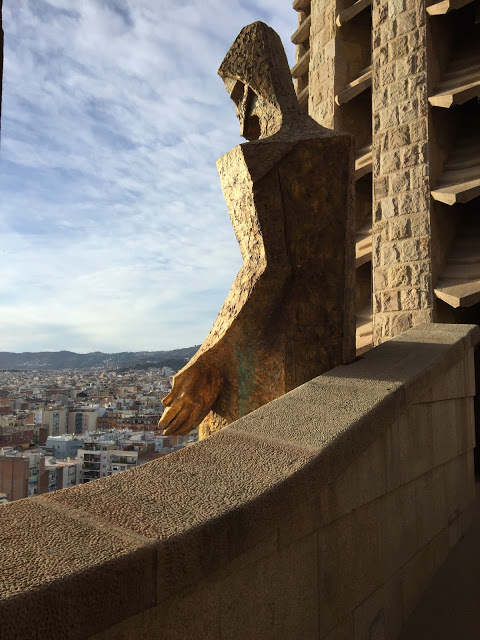
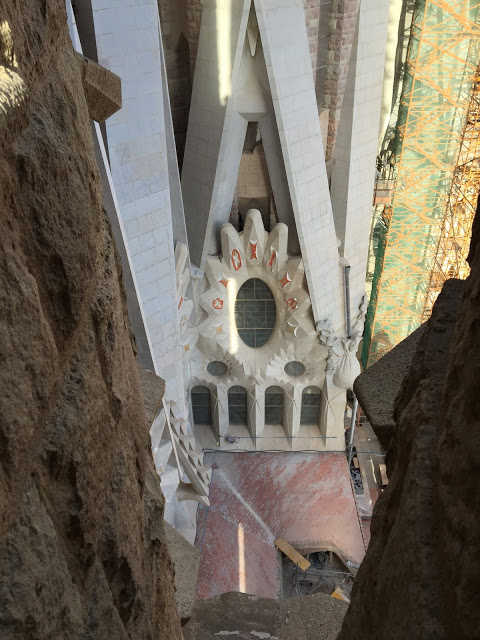
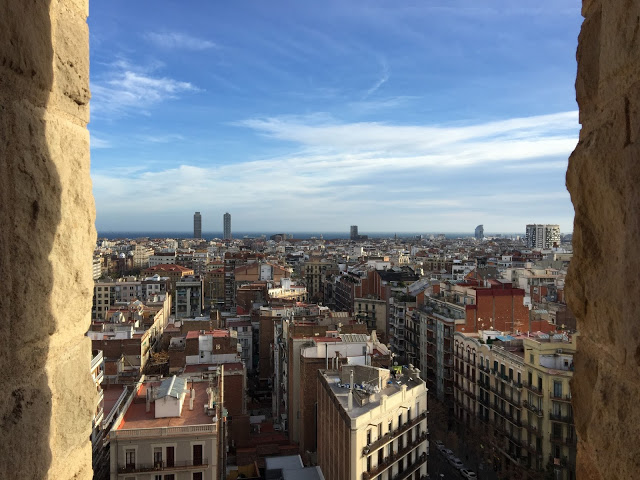
Basilica de la Sagrada Familia - Antoni Gaudi
I visited the Basilica de la Sagrada Familia in Barcelona over winter break. I knew that I was going to be in awe of the architecture, but I hadn't considered the possibility of finding something so familiar. As I came upon the structure I started having the nerdiest thoughts, "I wonder if they did that with a CNC? I bet they did that with a CNC! I could do that. I can't believe this entire thing is being built with a CNC!" The entire thing hasn't been built with a CNC because they started construction in the late 1800's but, a lot of today's fabrication is... It's pretty amazing to walk around the outside and inside of the basilica and to be able to notice process in the aesthetics.
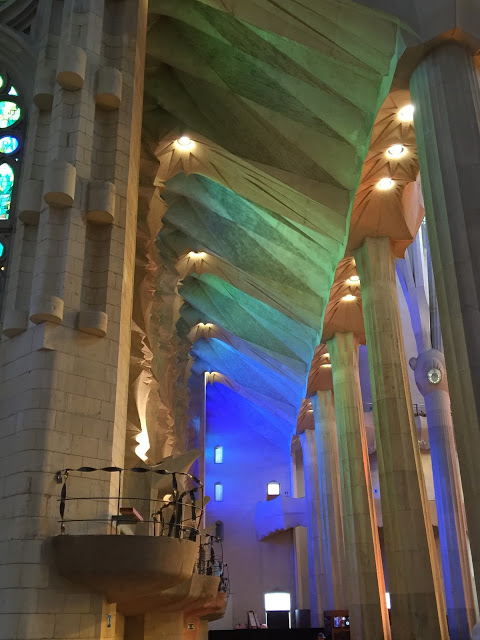
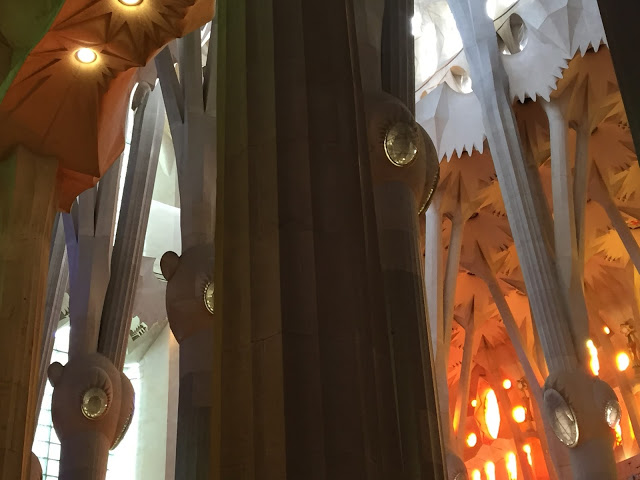
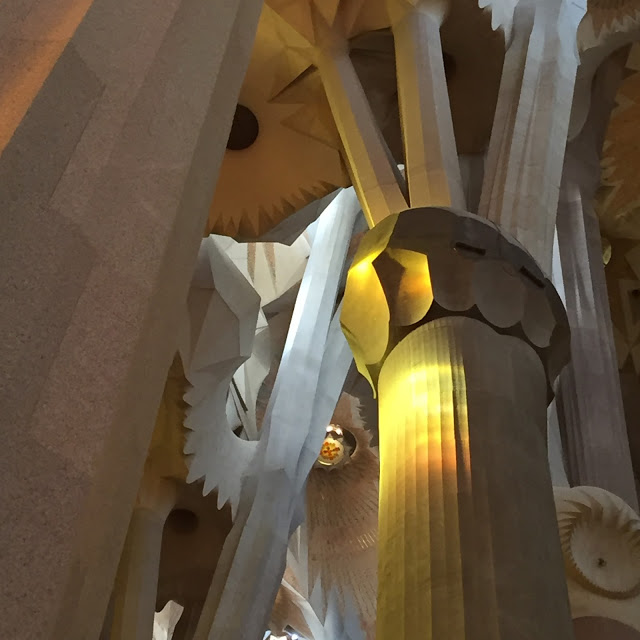
 I absolutely loved how the lights on the capitals reminded me of cabochon jewels, but also fruit hanging from the palm trees.
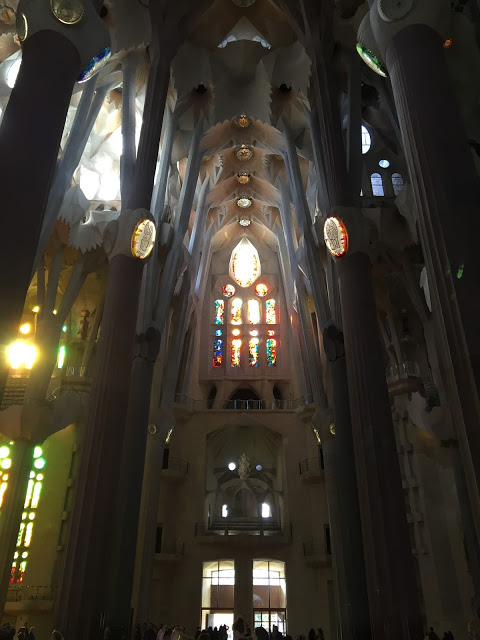


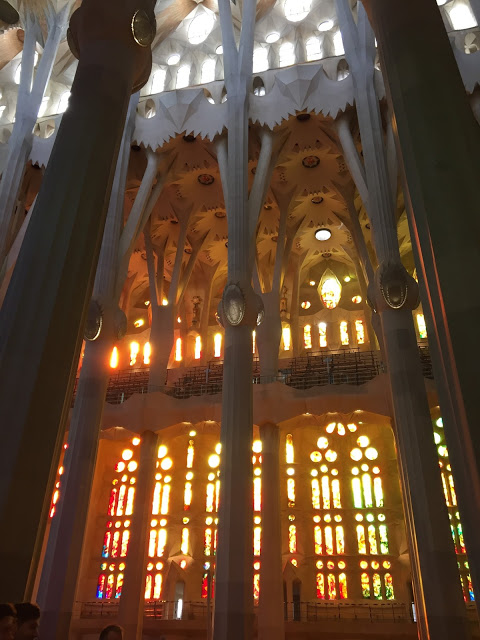

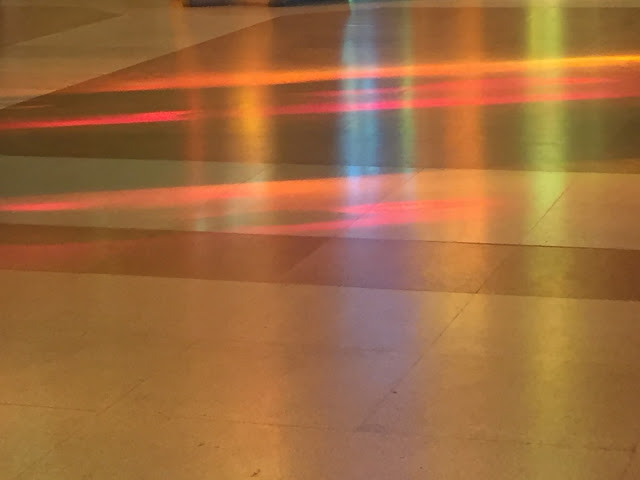
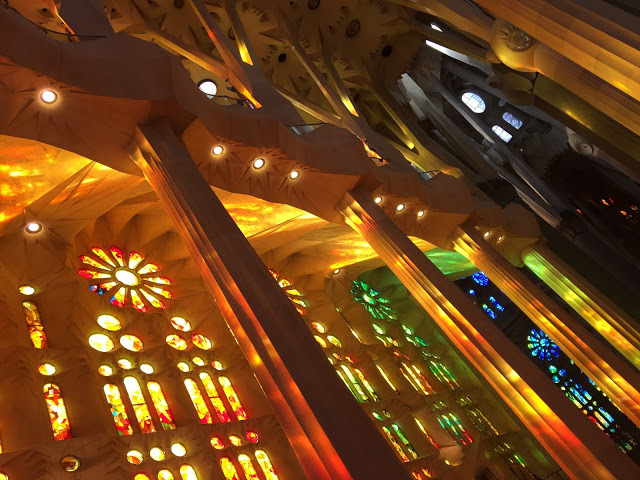

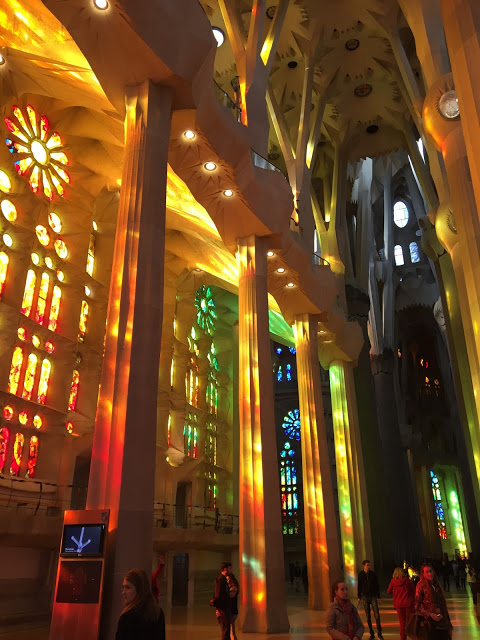
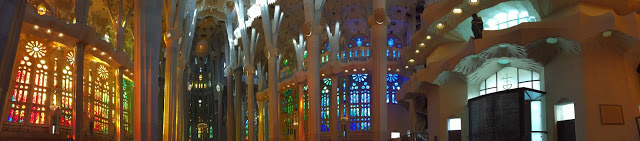
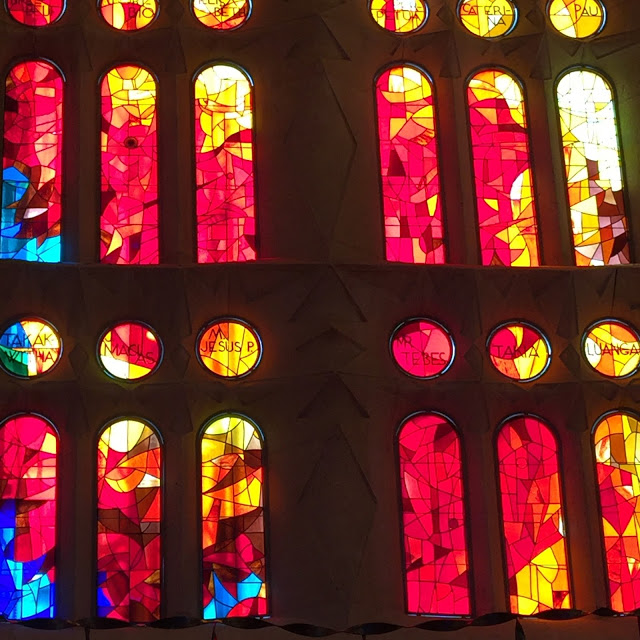
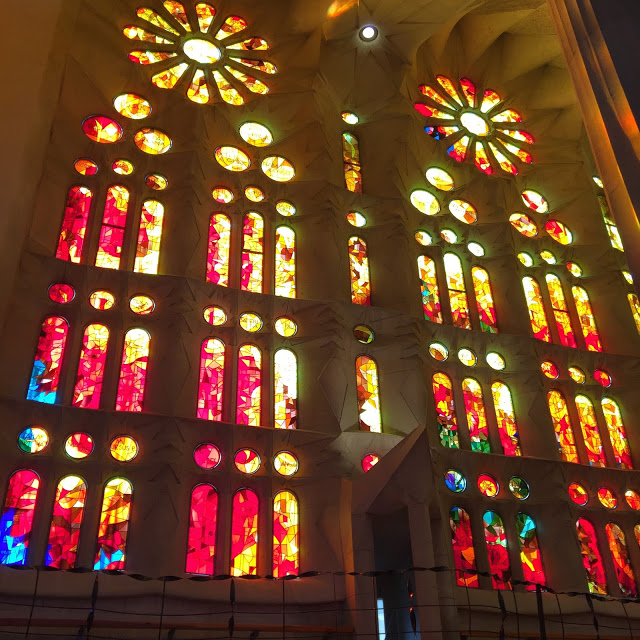
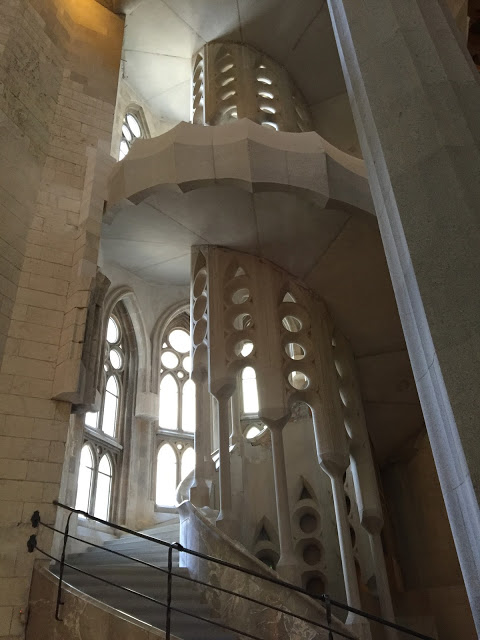

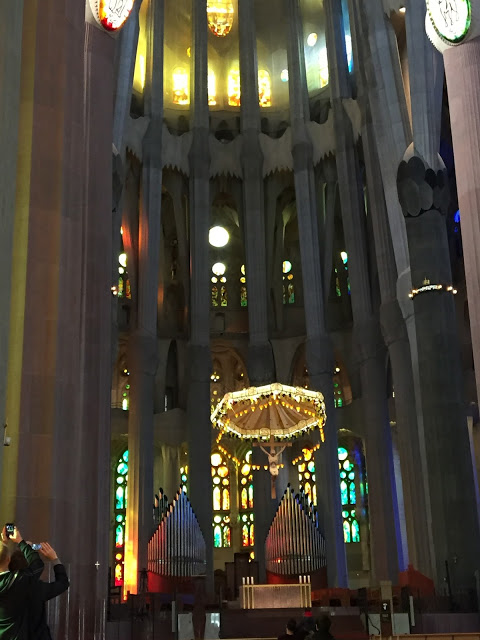
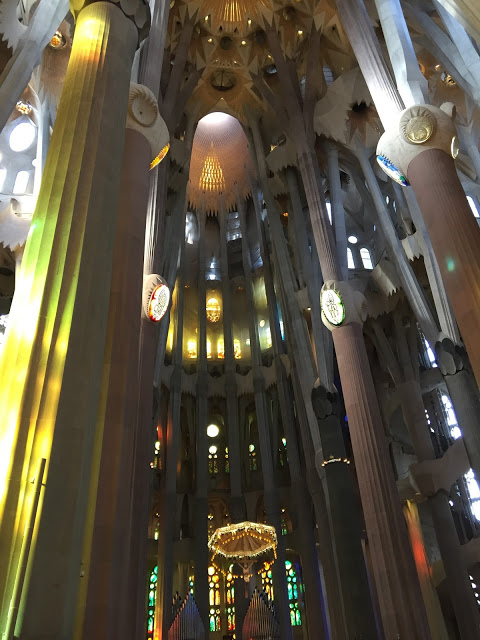
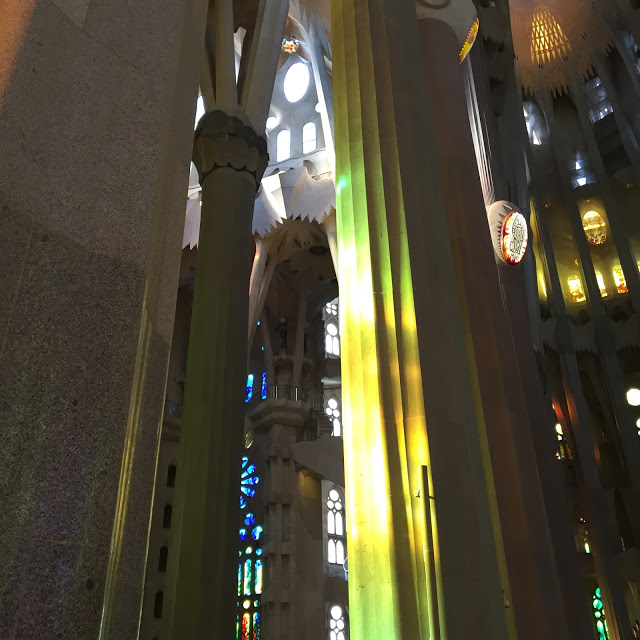
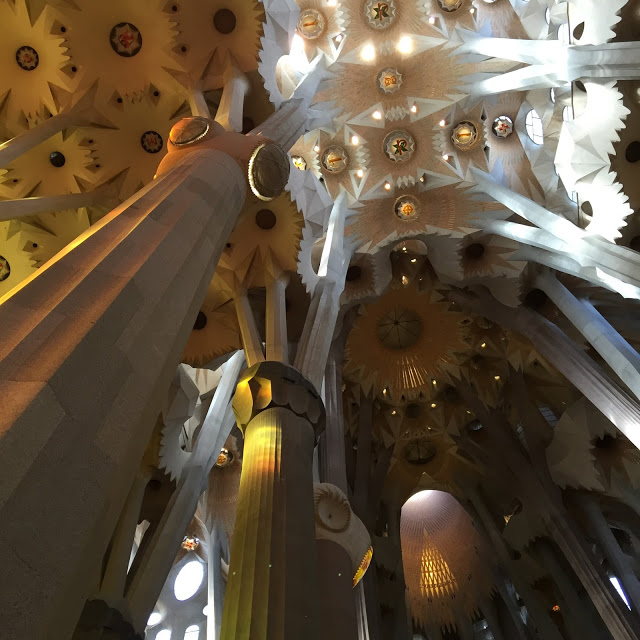


The light through the windows was absolutely stunning, these images don't do it nearly enough justice.
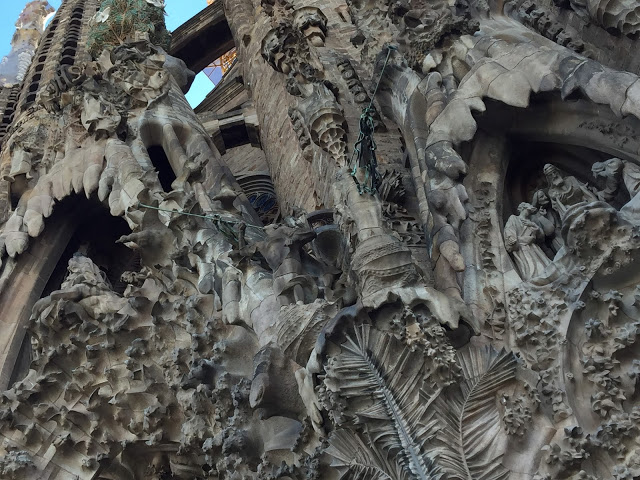
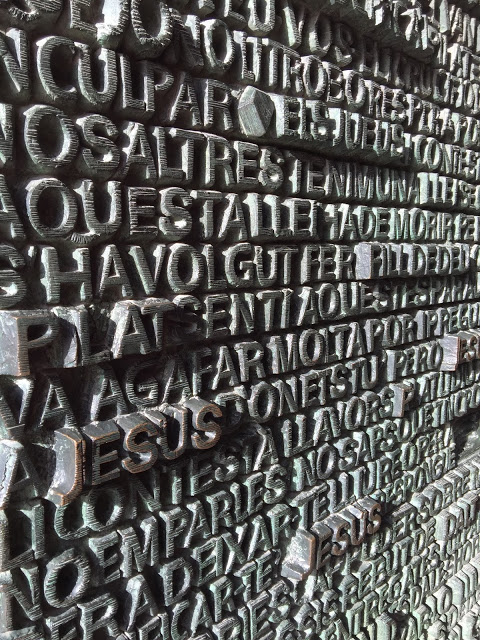
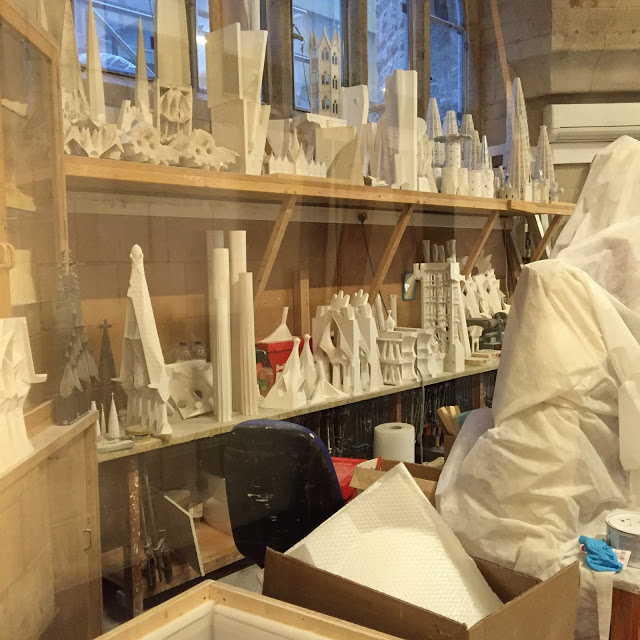
Every single detail has been considered.
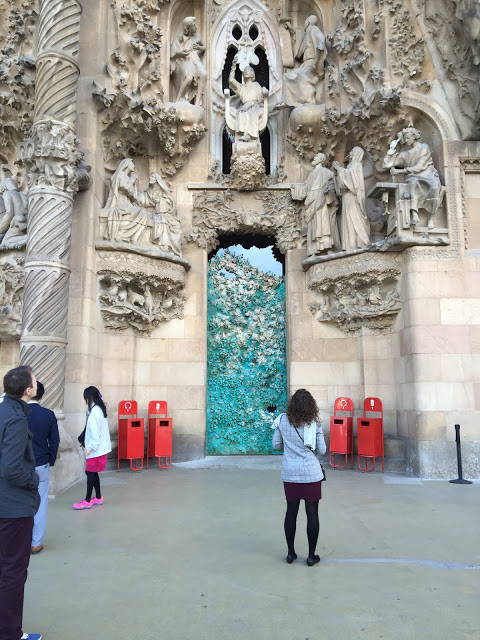
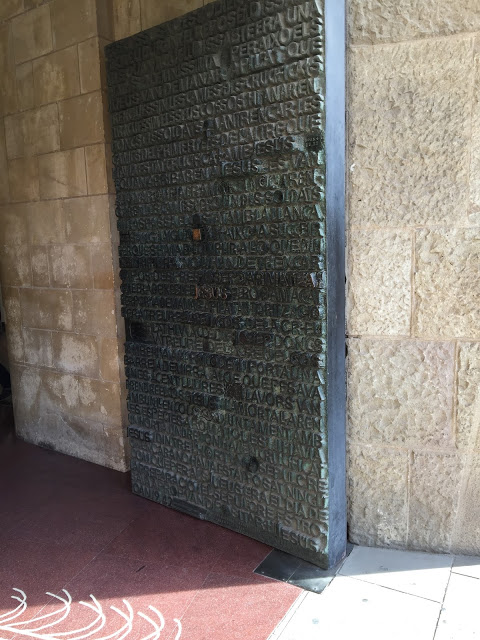
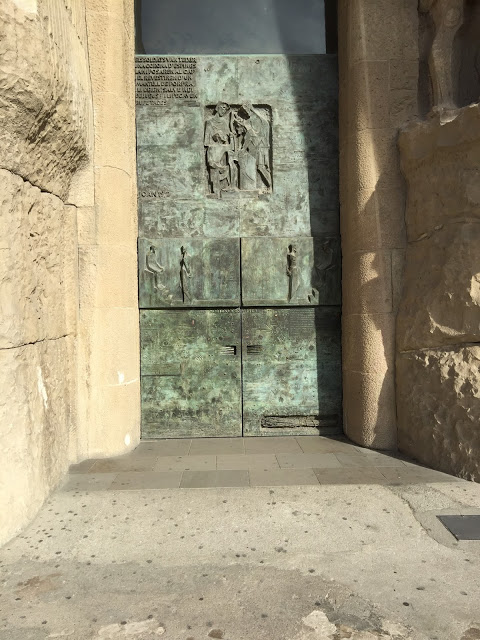
These giant metal doors made me drool.
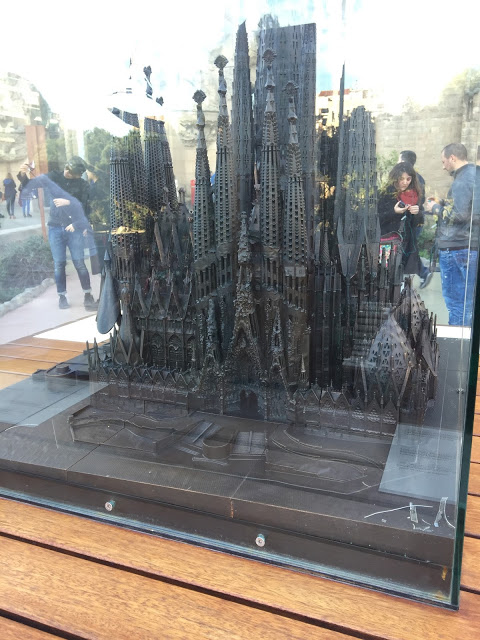
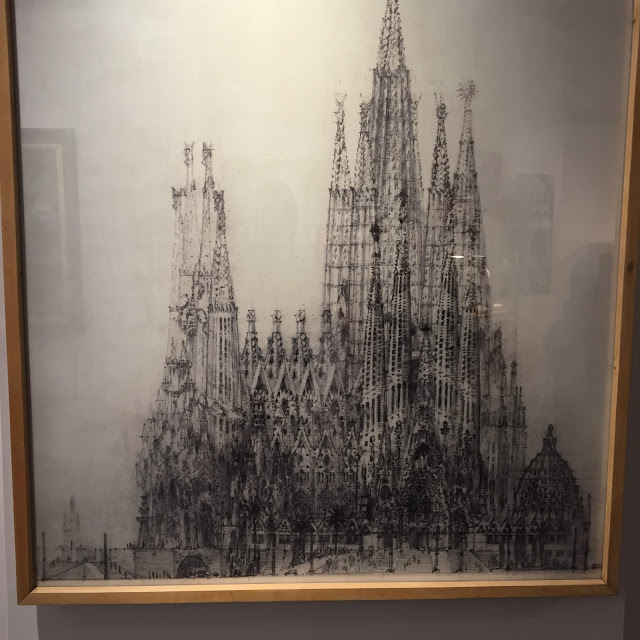
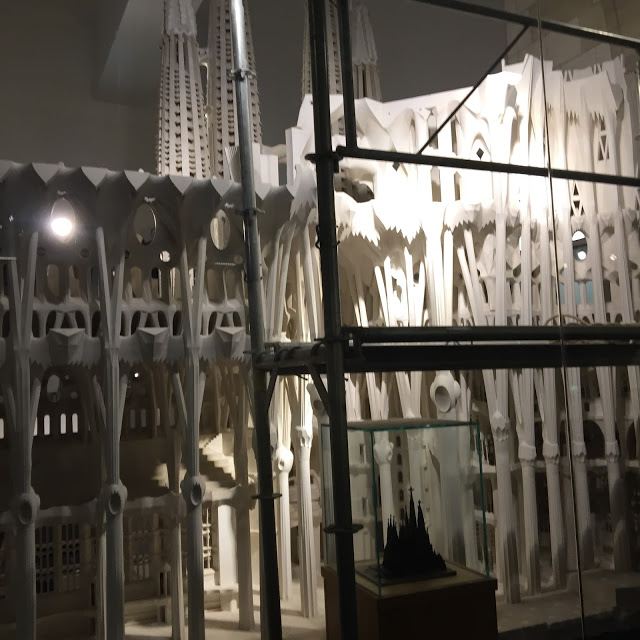
THIS WAS THE ICING ON THE CAKE:
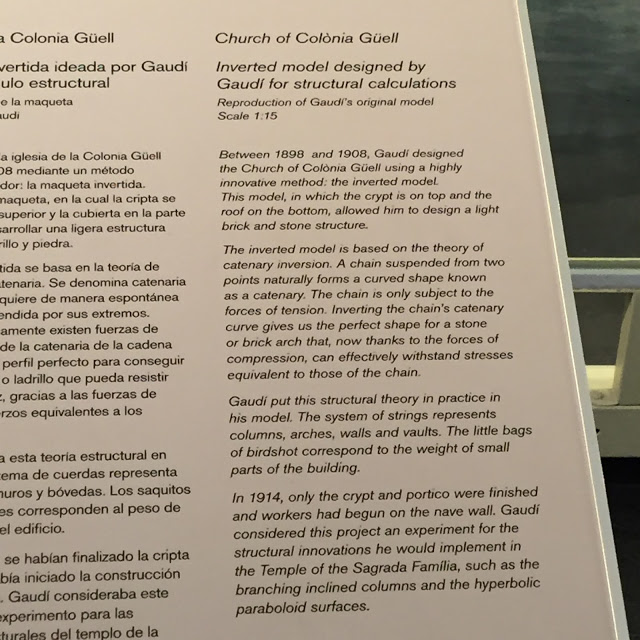
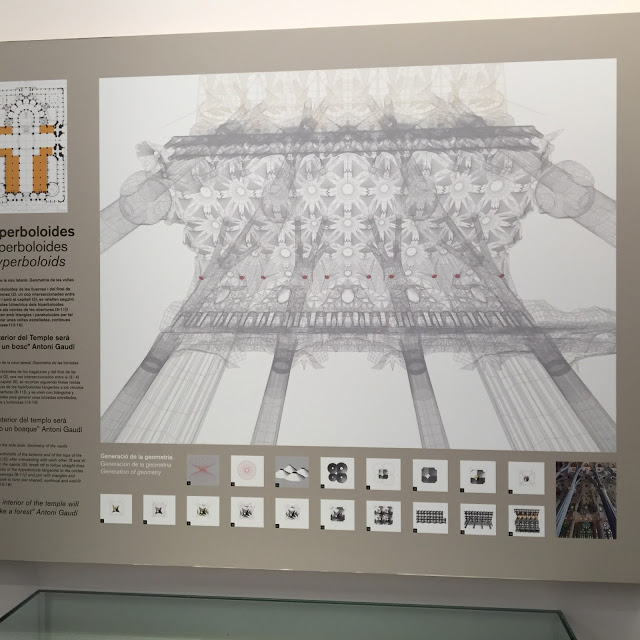
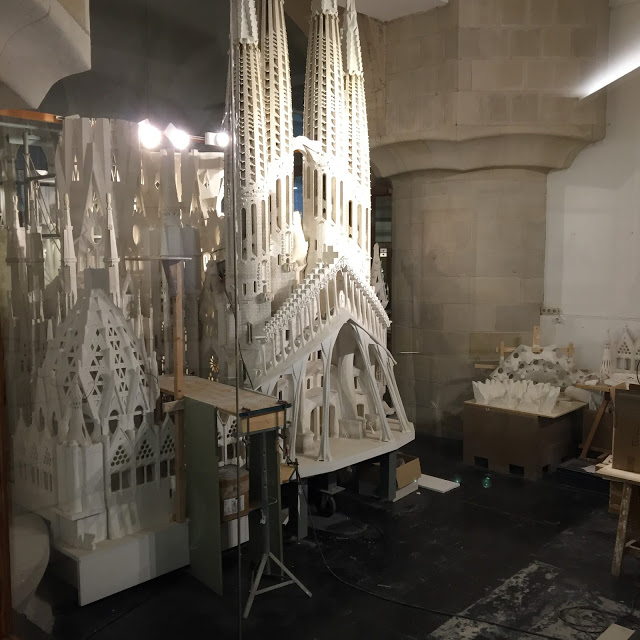
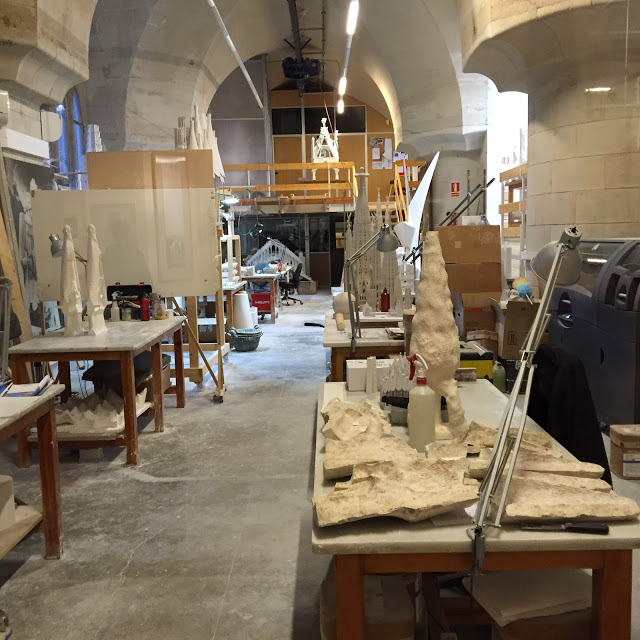
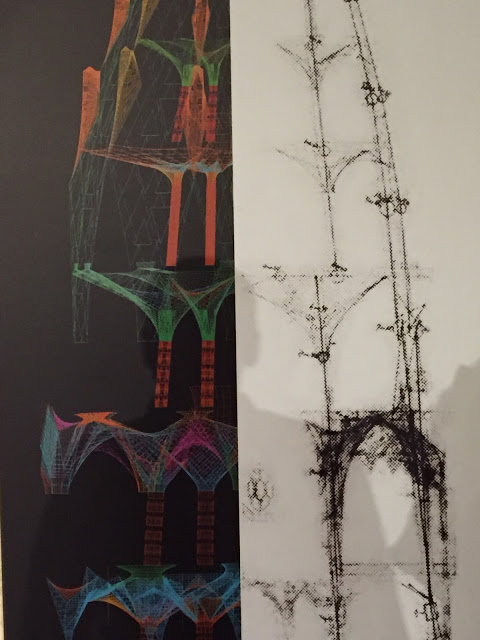
Below the Basilica was a whole museum dedicated to the process that housed many original architectural models, drawings and current models and drawings.
When we walked by this room Tom goes, "Look, their own DCRL!" Be still my heart.
I'd love to see the crew in action.
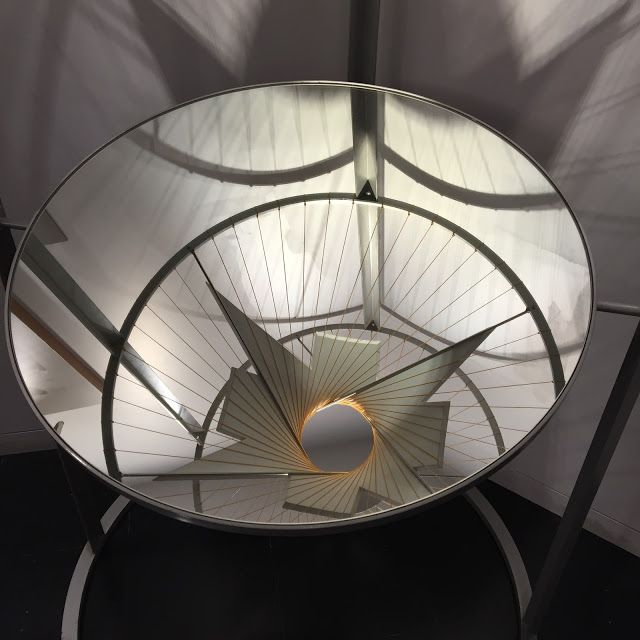
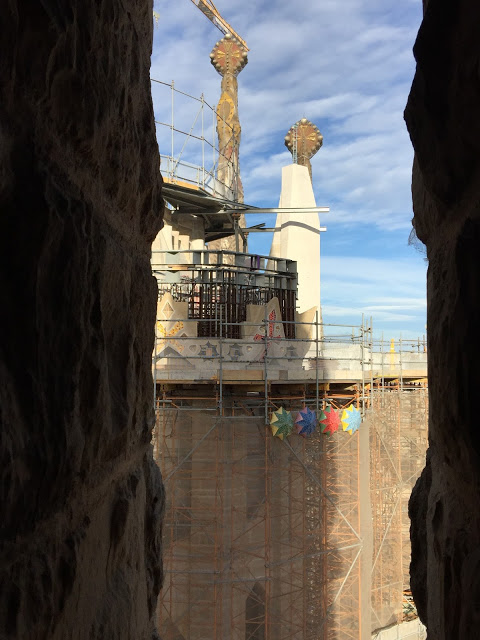
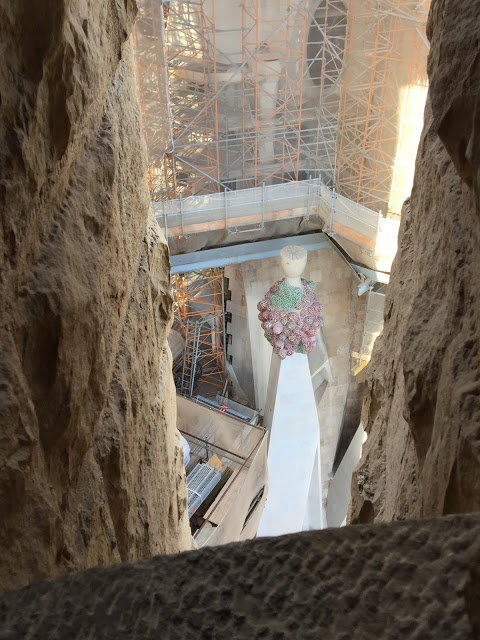
We rode the elevator up to the top of one of the towers and walked down the spiral staircase. It was actually terrifying because it was so windy, but the structure didn't move at all... so that was reassuring. The tops of the towers have mosaic "finial" type structures of fruit and vegetables. They catch the light just right.
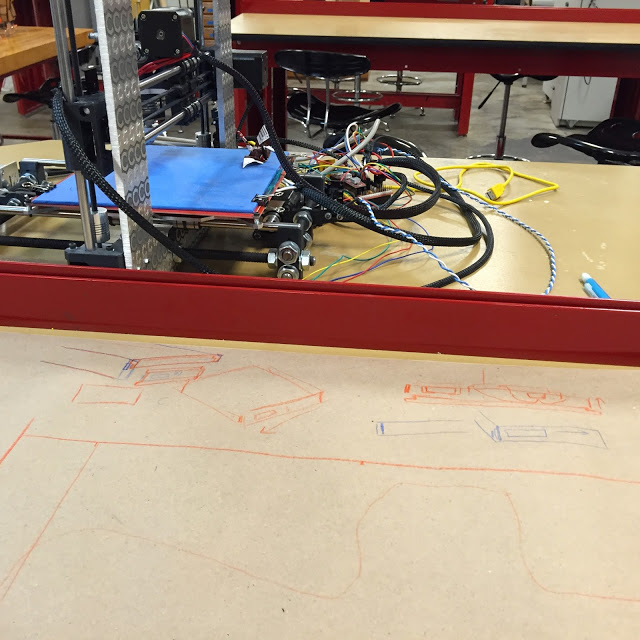
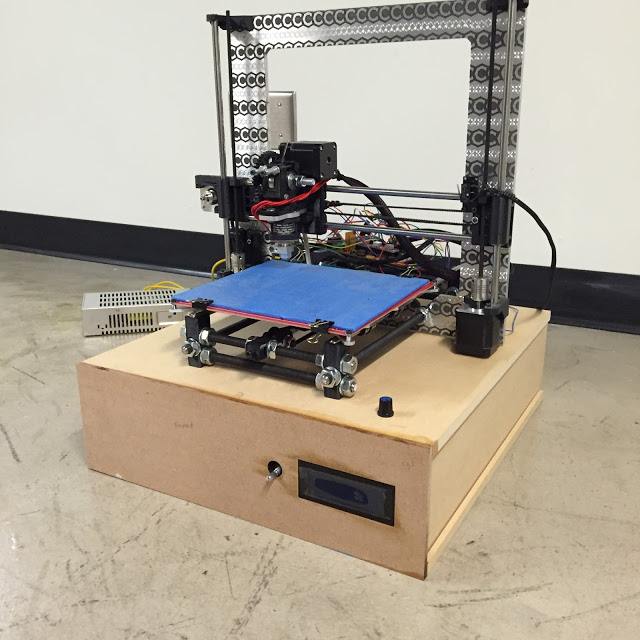
Making a 3D Printer - Control Box
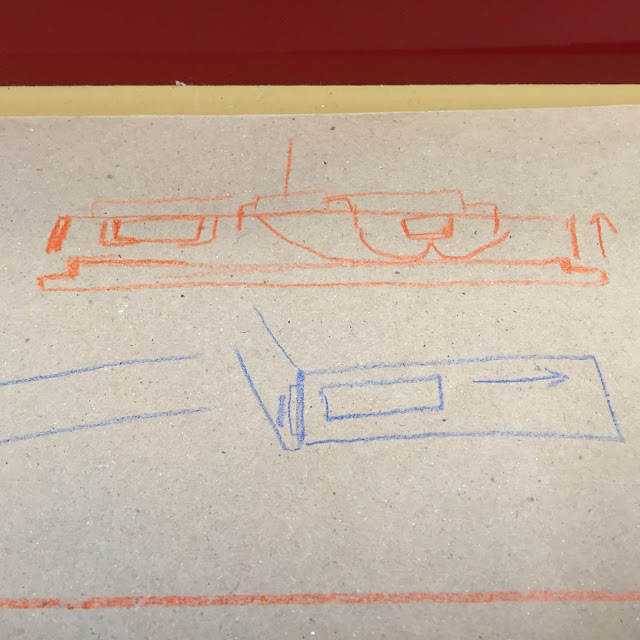
I made a box out of MDF to house the electronics for my 3D Printer. I started with some rough sketches, cut the 1/2" MDF on the table saw and then the 1/4" on the laser cutter. Here's what I've got so far:
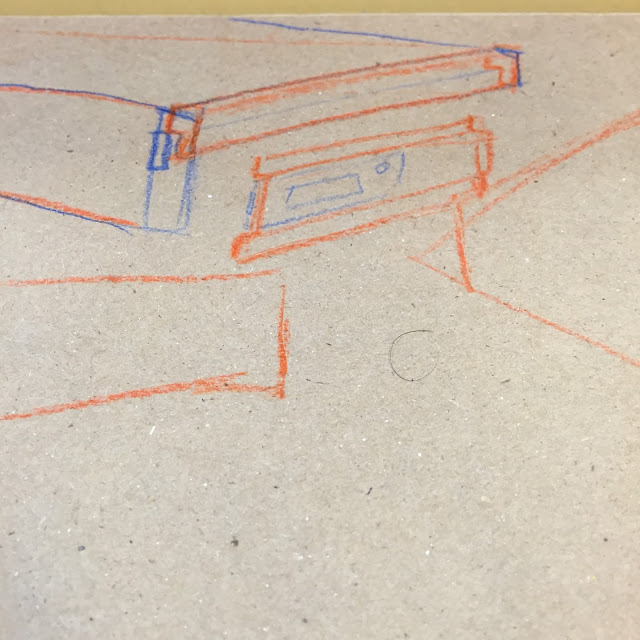
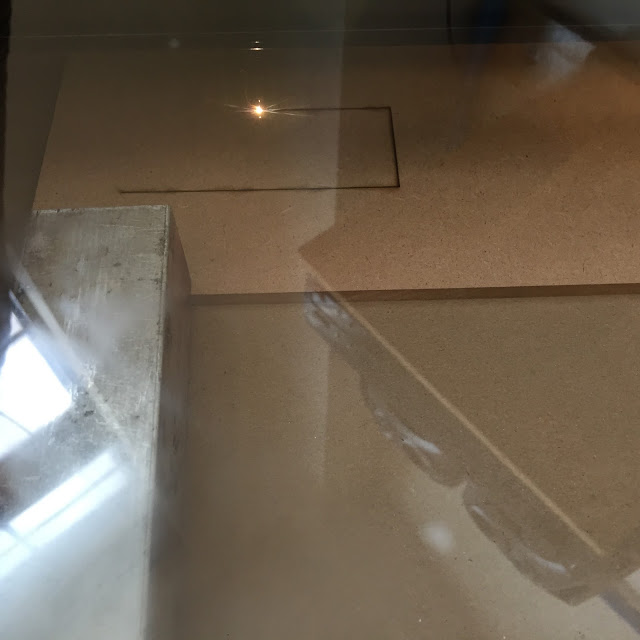
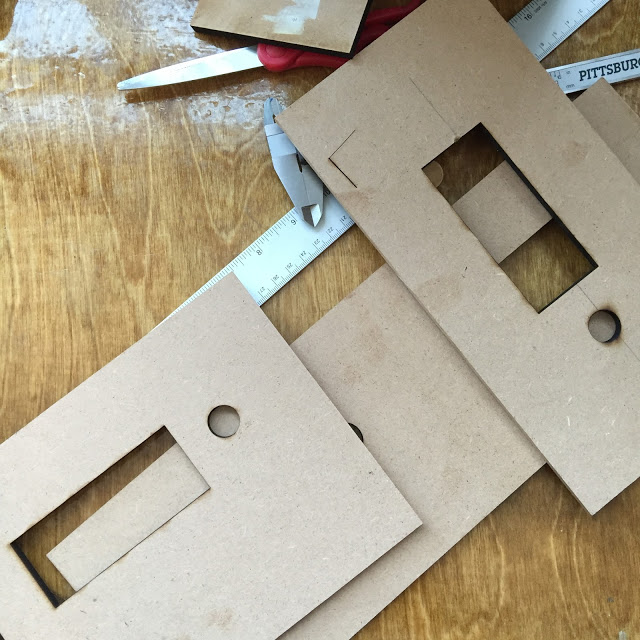
It took a lot of trouble shooting to get the alignment just right.
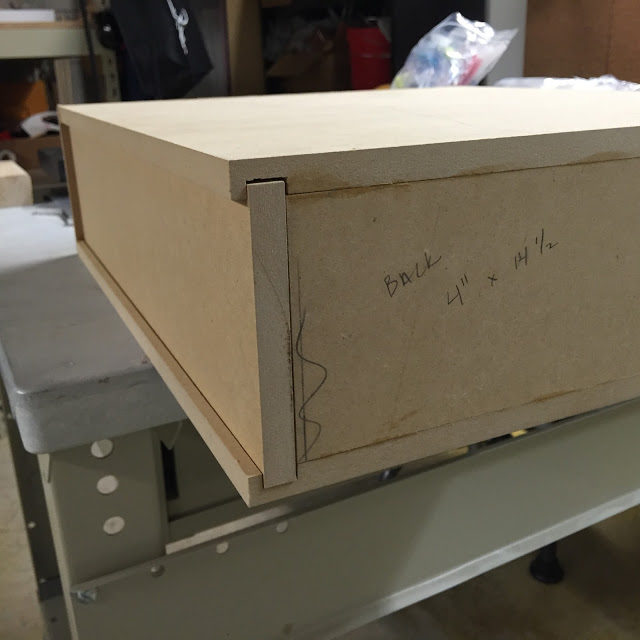
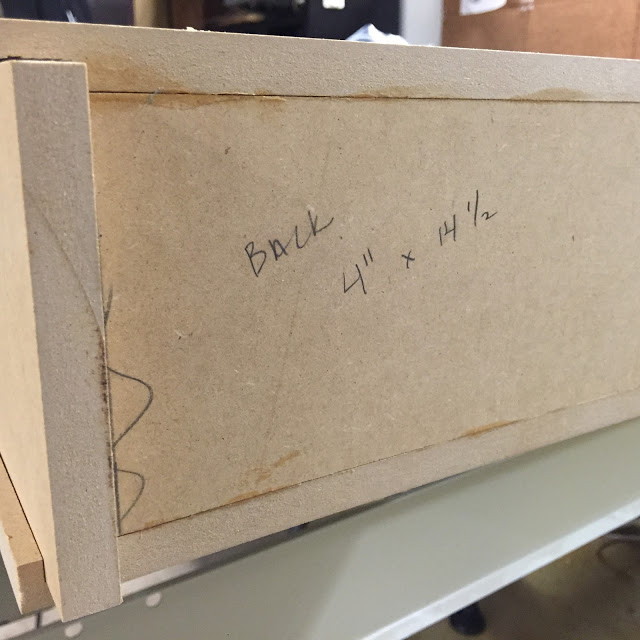
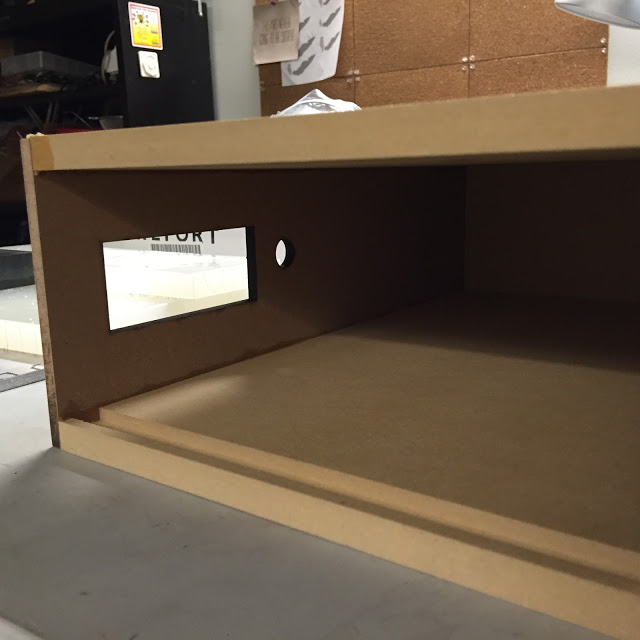

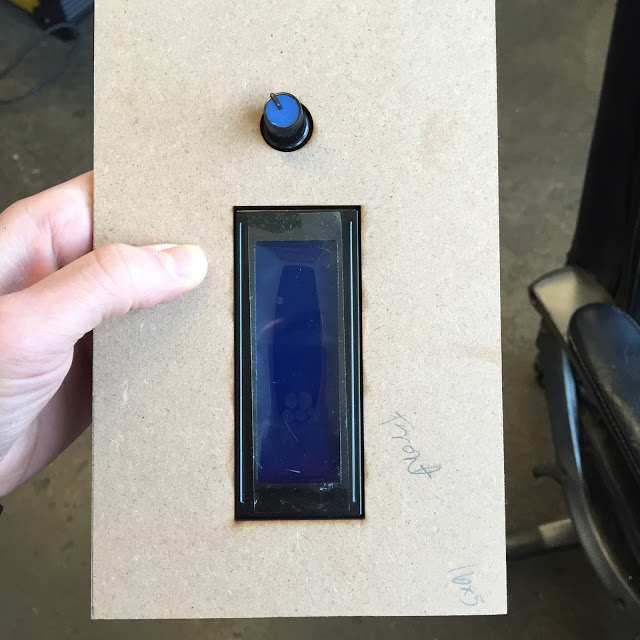
Both of the sides slide out for easy access to the electronics.
Eventually I will paint the box after drilling a few holes in the top for the cords to go through.
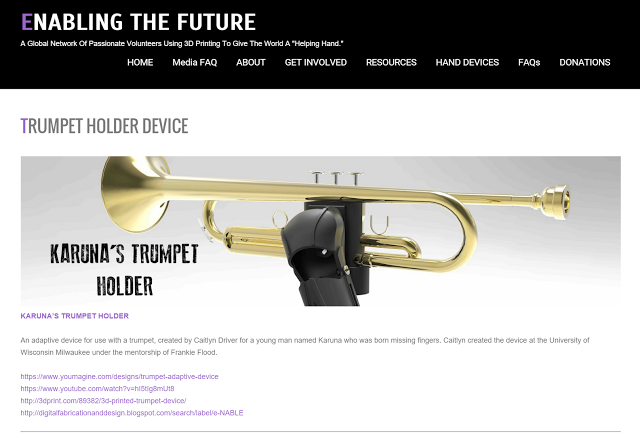
E-Nable Fellowship - Trumpet Files on enablingthefuture.org
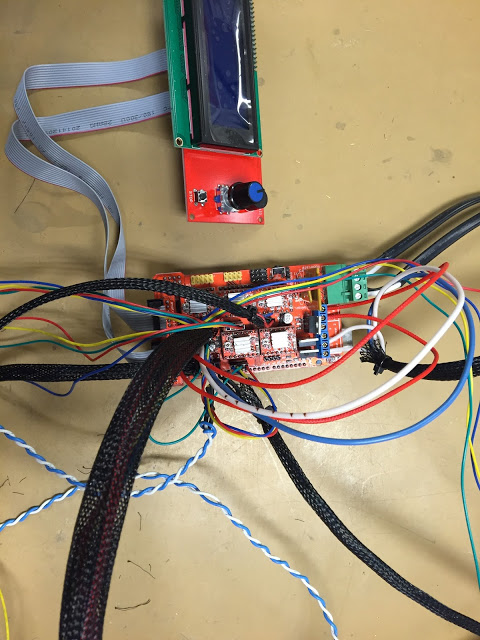
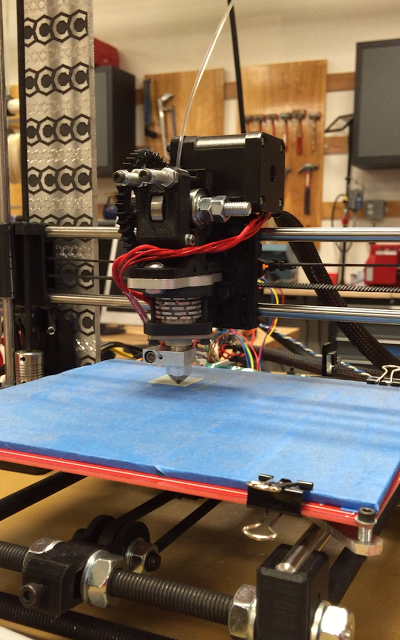
Making a 3D Printer - Prusa i3 progress
It's been a while since I've posted about (and worked on) my prusa i3 progress... Last week I made it my goal to make it work before the new year. I did pretty good. Duncan helped me trouble shoot and customize the code to get it working. It's extruding PLA really nicely, the code just needs to be tweaked a little more for location and distance information. After the final code adjustments, I'll be making a box to hold all of the electronics and LCD screen and SD card reader.
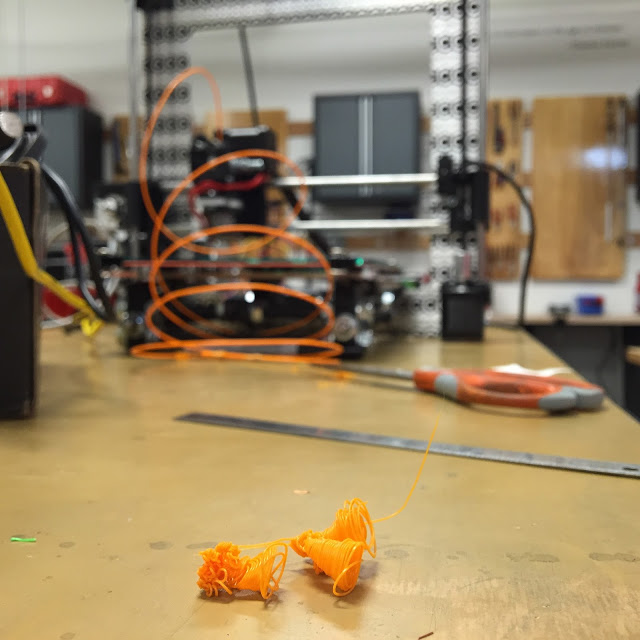 |
| My first print! ;) |
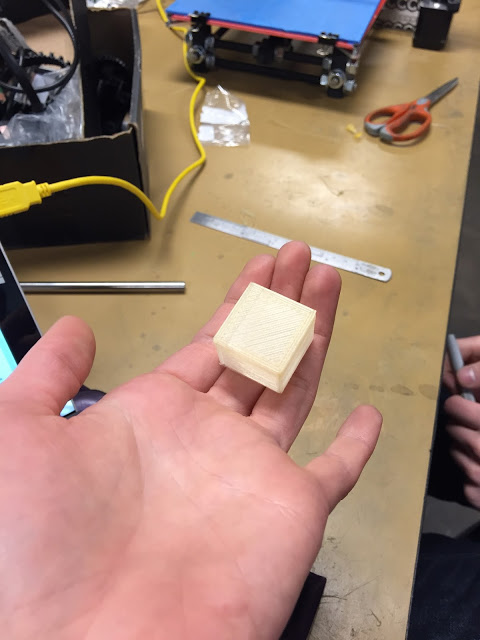 |
| My real first print. |
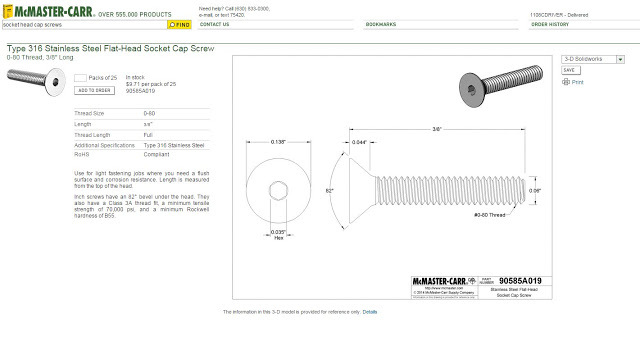
iAm Samples - Design for CNC Machining
I added three bosses for three tiny flat head screws.
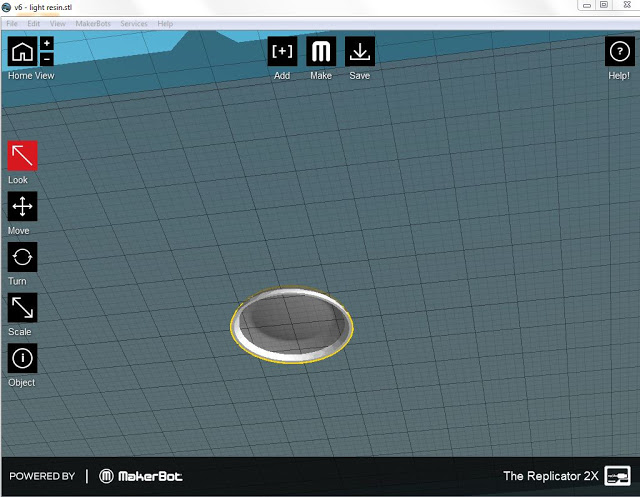
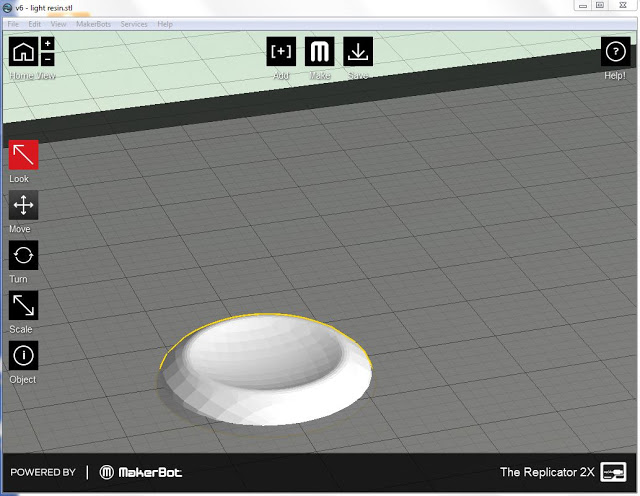
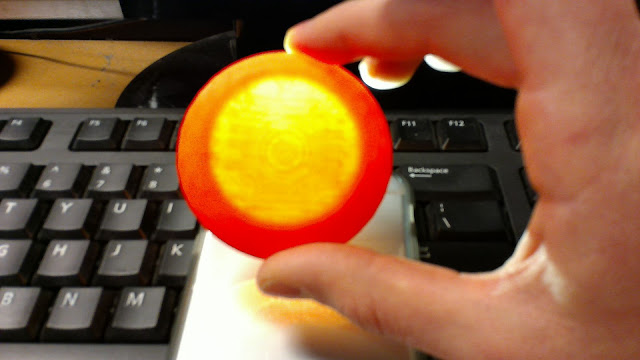
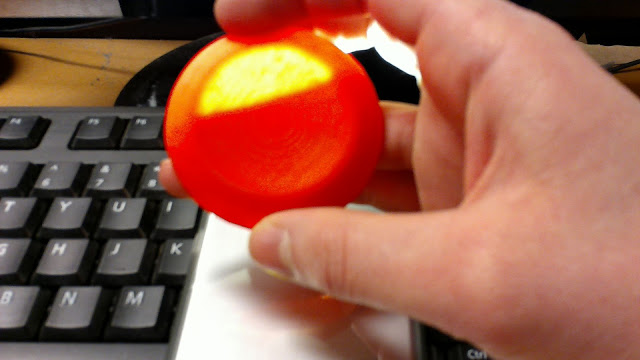
iAm samples - light + resin
I hollowed out one of the resin sample cups this weekend. I am working on setting up the electronics to make a design like this illuminate. TBC.
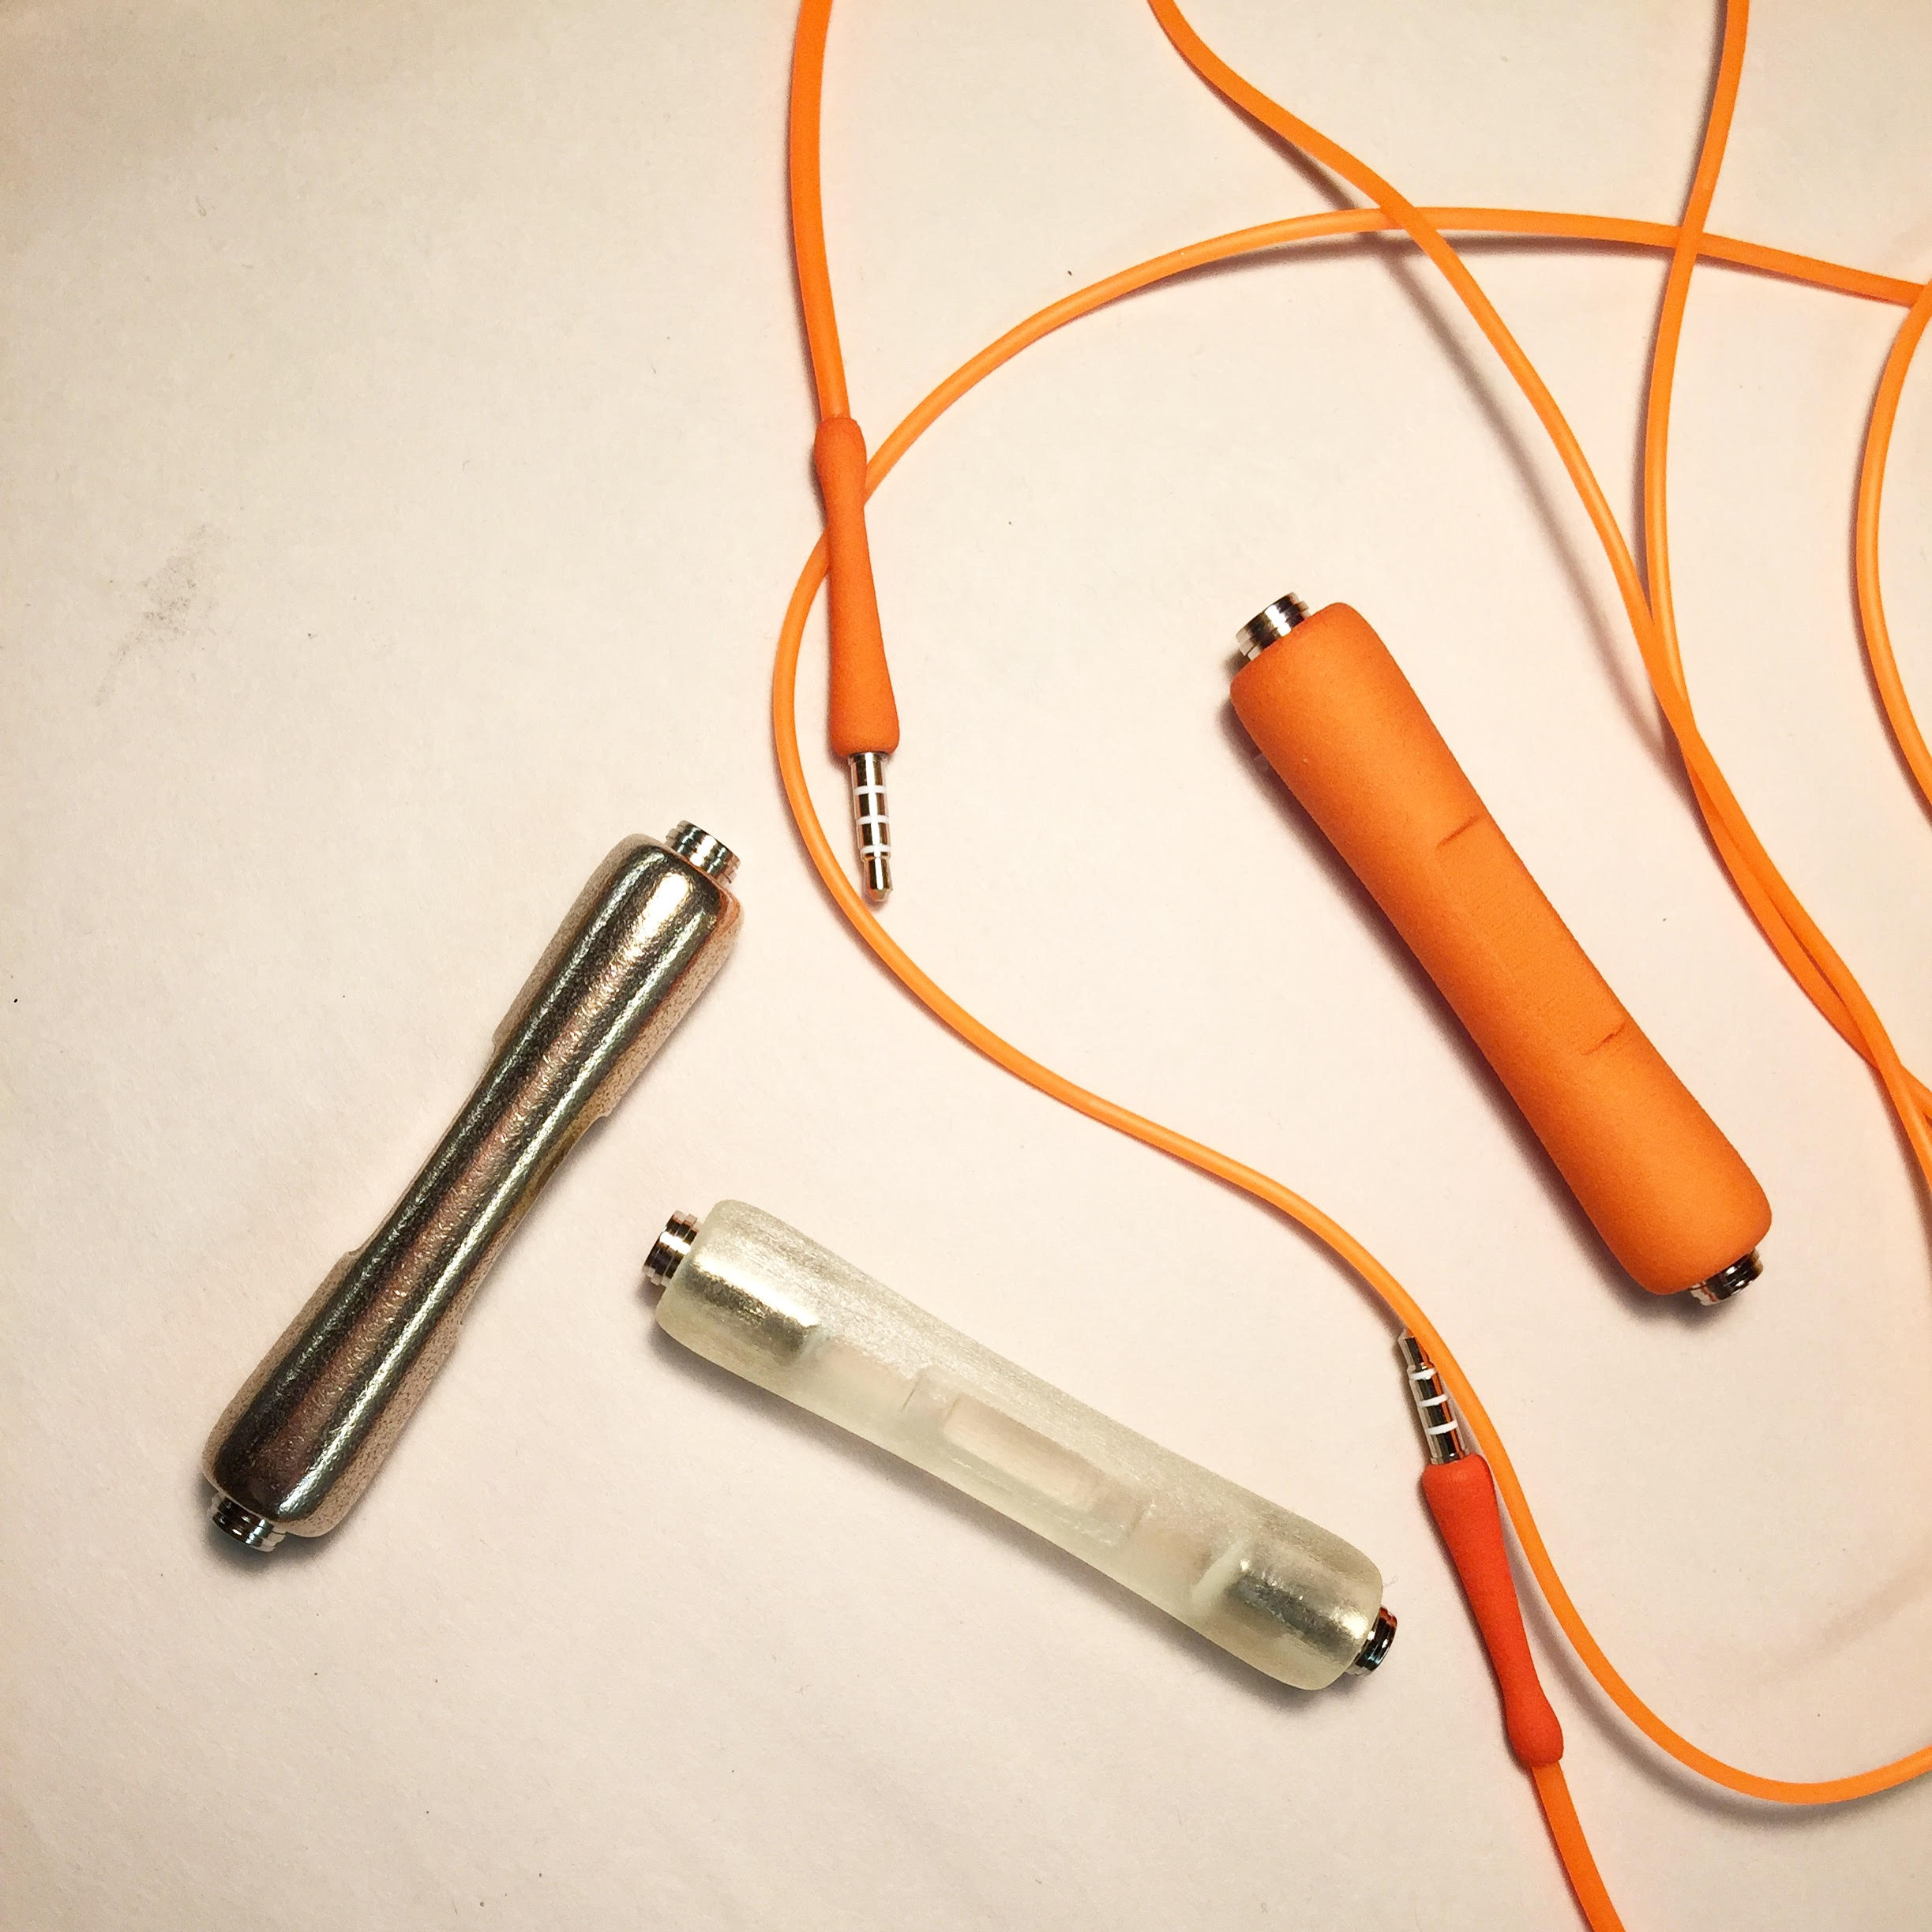
iAm - samples - resin experiment
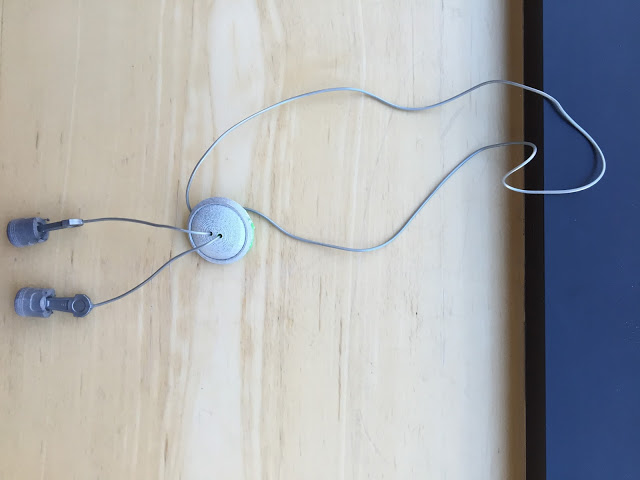
I've been thinking about the surfaces of everyday electronics... I decided to do a little resin experiment on a few of my ear plug mounts. I am also mastering the matte/brushed aluminum faux finish. The casted resin looks pretty nice... check it out in the last post. 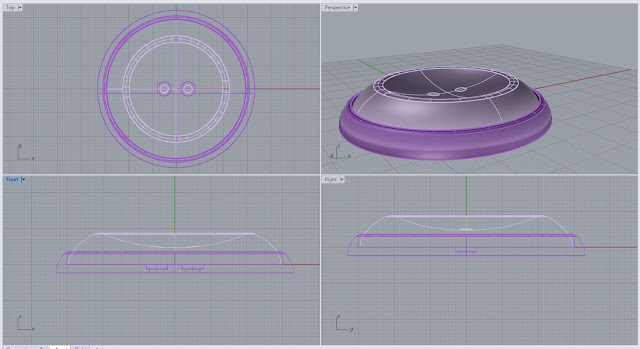

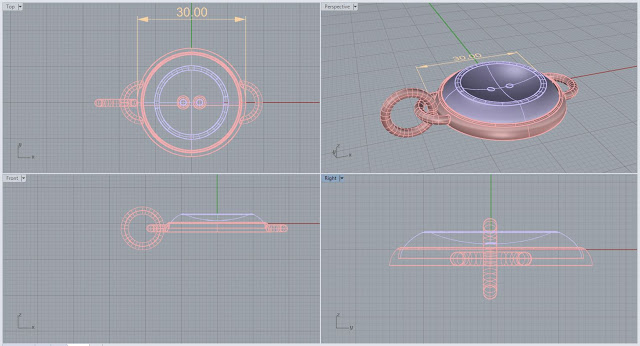
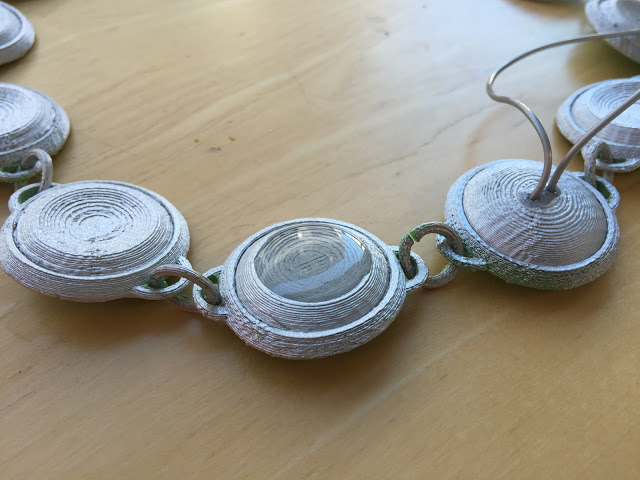
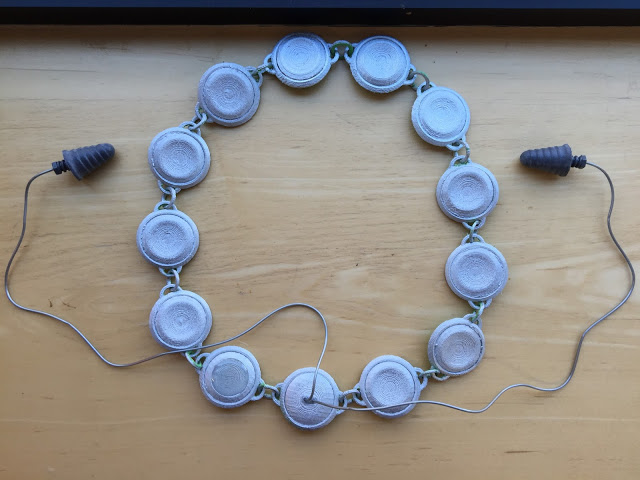
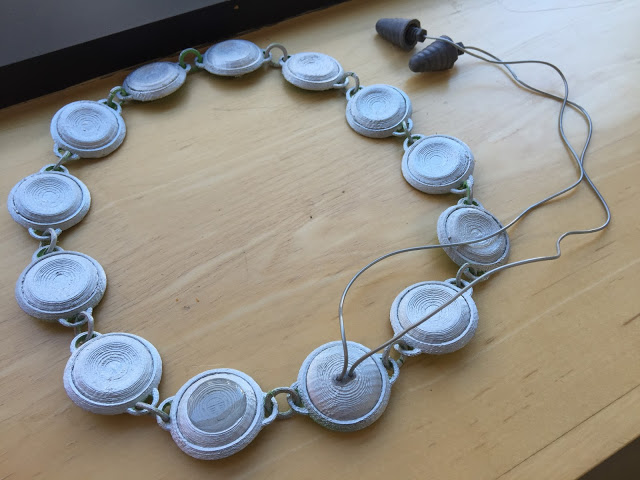
iAm - Tiny Resin Chain
I've been thinking about ways to functionally connect the format of these iAm samples to the personal electronic devices that the majority of people carry around. So, naturally I made some jewelry. I love these for many reasons... But, I still think there is more to consider... TBC.
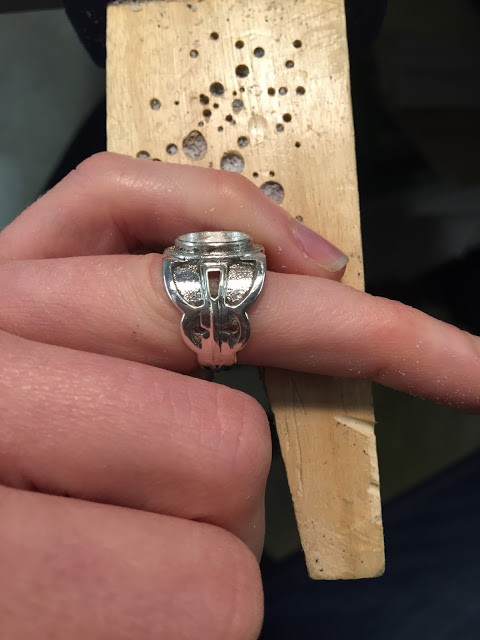
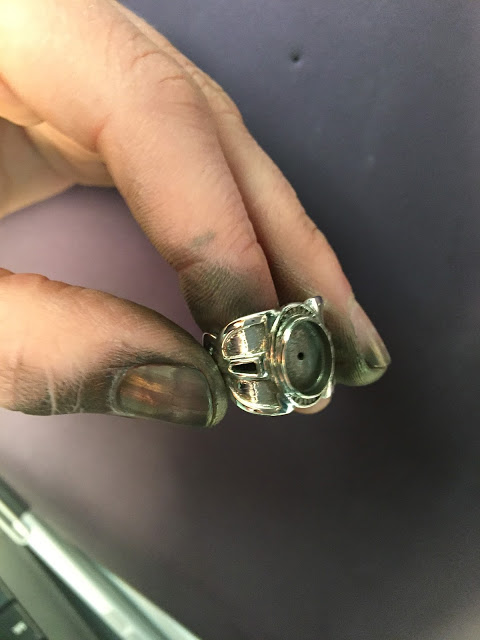
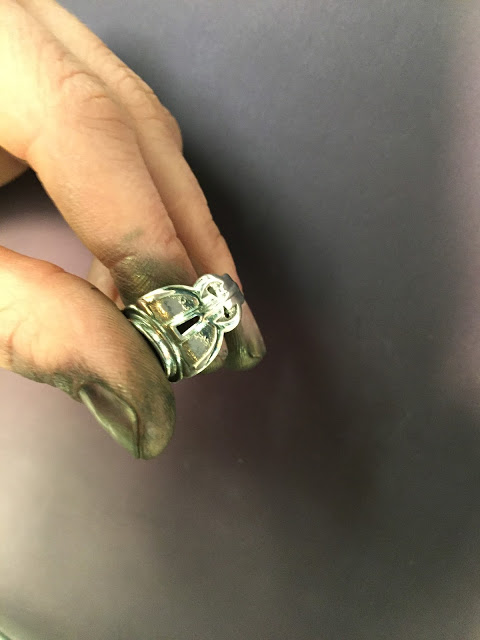
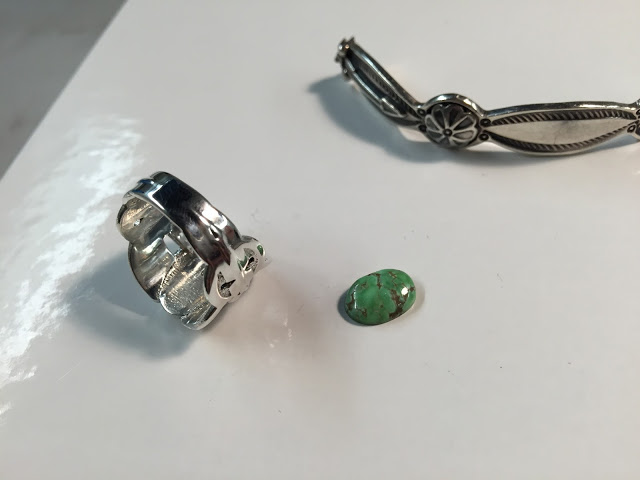
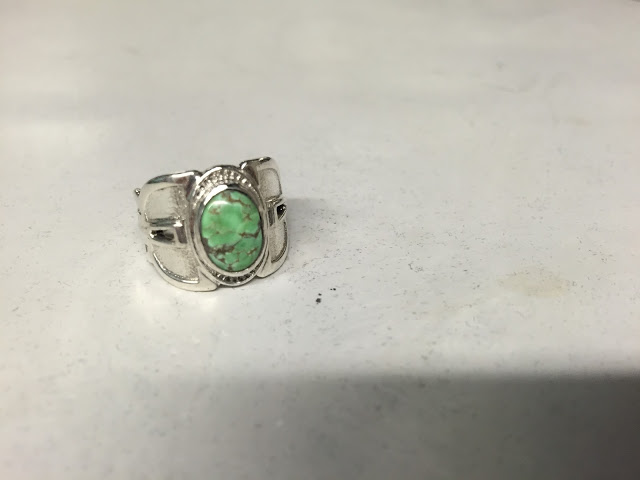
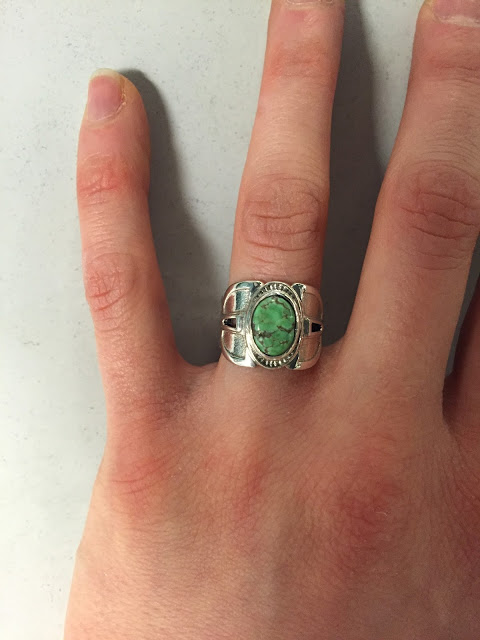
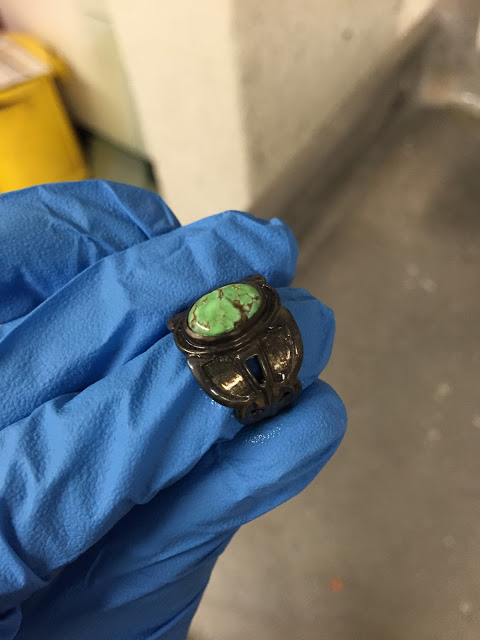
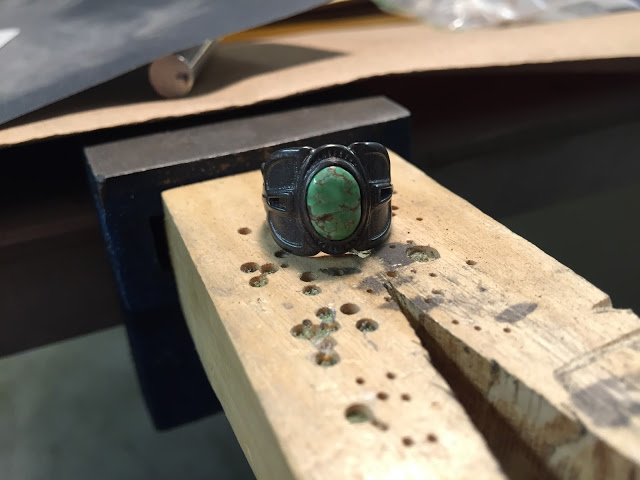
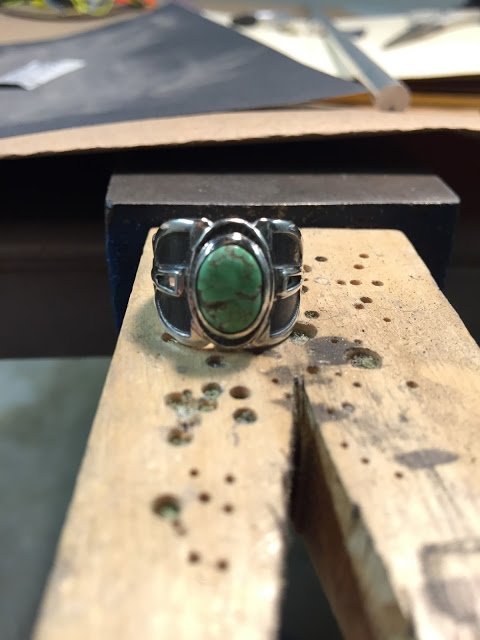
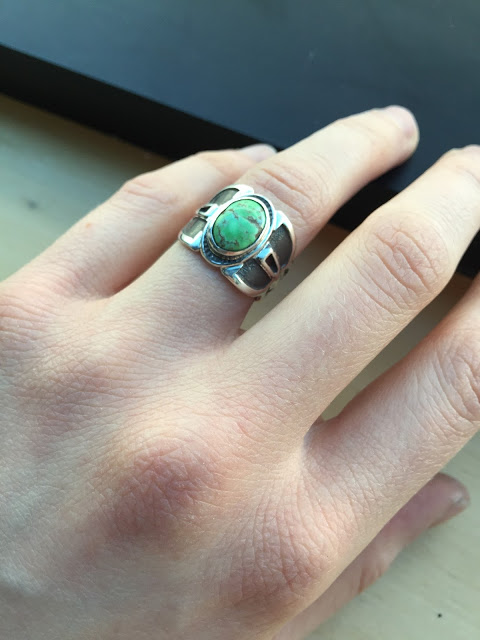
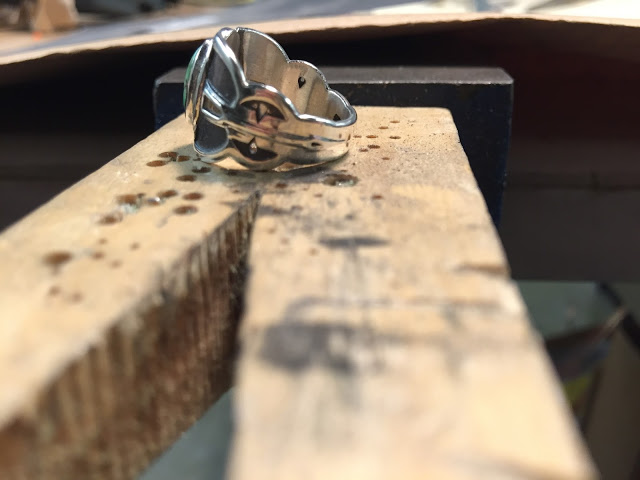
Sheila Ring - Finished - it's about time!
So, I finally finished up the ring to bracelet redesign. I am super happy with how the whole process turned went - from designing my first 3D modeled ring, to using a casting service and then post-processing myself. I definitely would get other objects cast in silver through Shapeways. While the cost was only $50.00 to get the design cast in silver, I did spend a considerable amount of time designing, cleaning up the ring, finishing, and setting the stone... so if I had to price out the piece for production, I would probably need to sell this particular ring design starting at around $175.00 to make a profit. $50.00 for casting, 3 hours for post-processing labor per ring @ $20.00/hr and packaging, plus %60 mark up for profit, with design hours being paid for after the first 2 sales. Compared to a company like Skydog, price is right on par... And their paying rent in LA, which means their jewelry is a steal - GO SHOP NOW!