IMA - Final Project Part 3
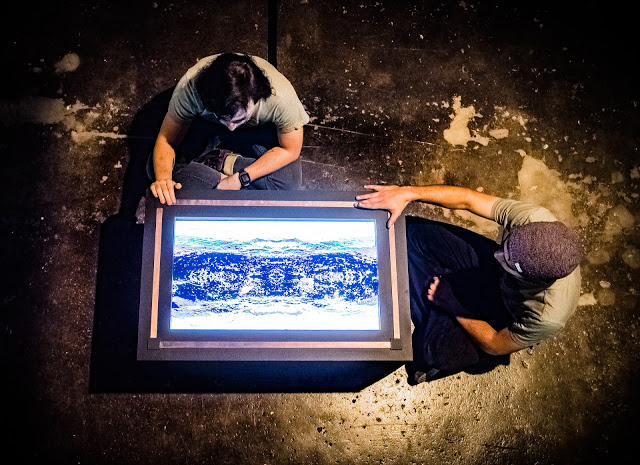
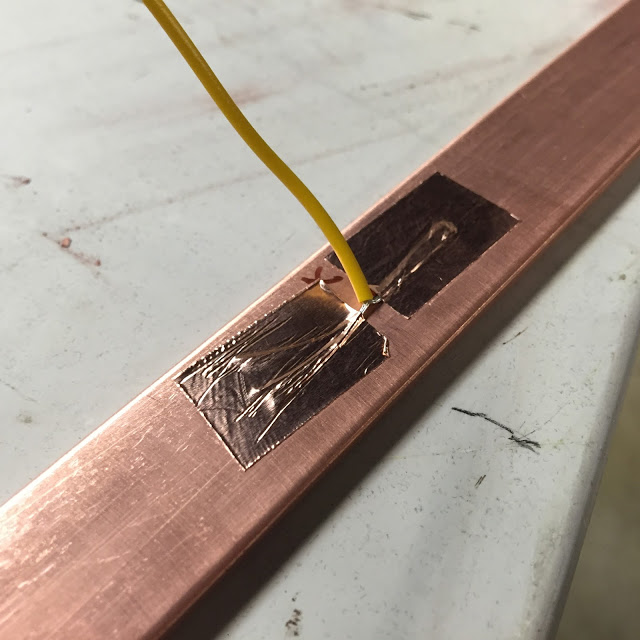
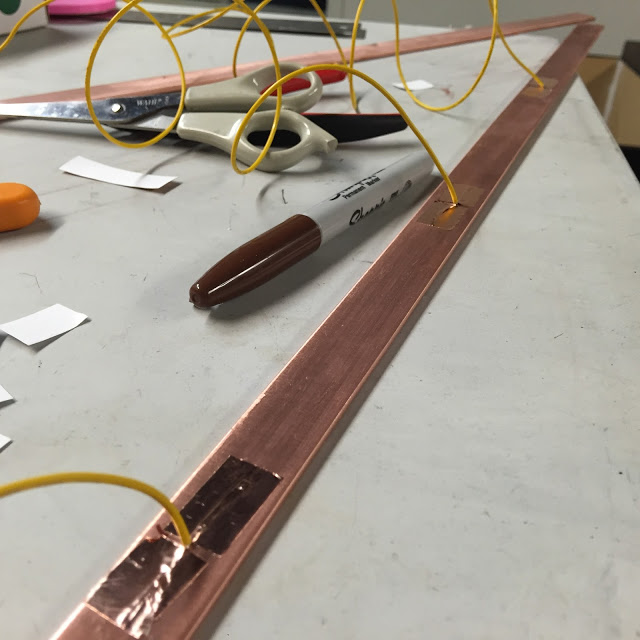
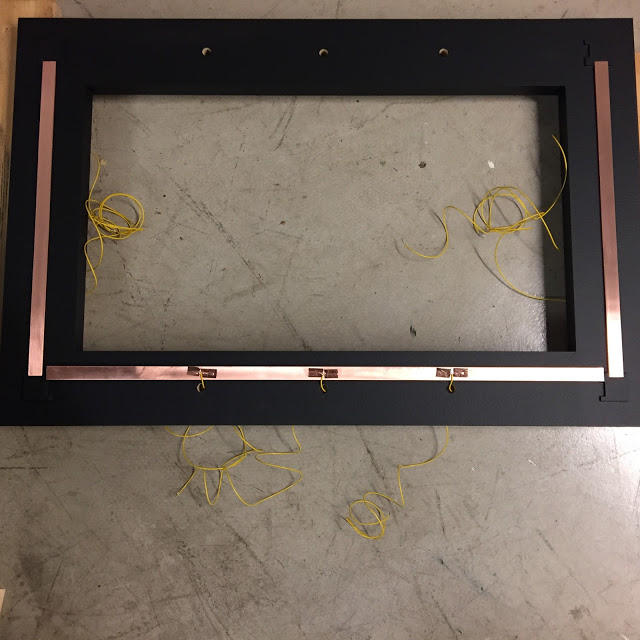
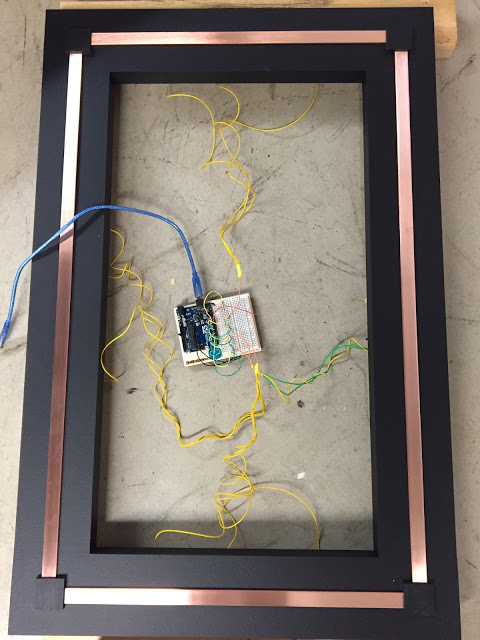
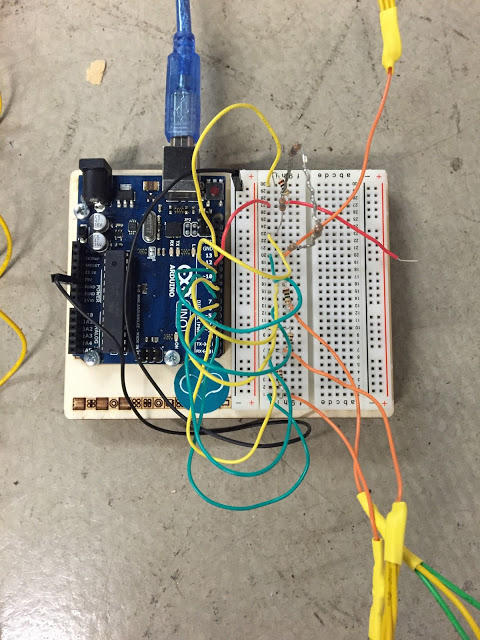
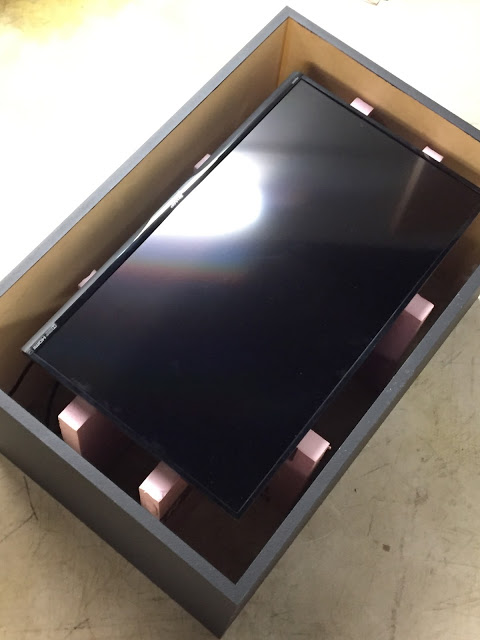
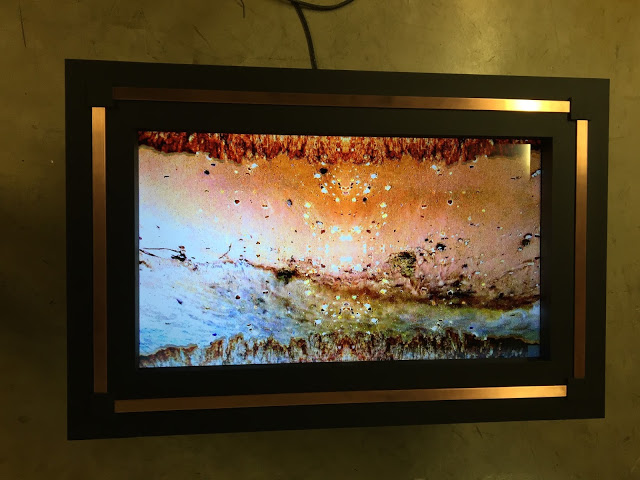
Here are some more images from the construction of the project I made for Interactive and Multimedia Art. I used this 1/8" x 3/4" copper stock to make the "buttons" for the project. They are all wired up to an Arduino. I ended up running a ground plane of steel just below each copper strip too. I built a foam stand for the TV to rest on.
S100 - The Arduino Stater Kit - Project 13
Touchy-Feely Lamp (just like my compact!)
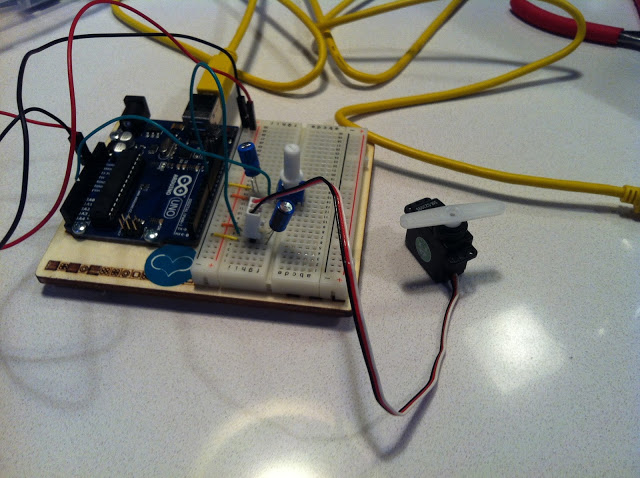
S100 - The Arduino Stater Kit - Project 12
Knock Lock - This project was fun! I had to trouble shoot the knocking a lot but eventually got the lock mechanism to work. In this project a piezo is used as an input. Depending on the number of knocks the piezo hears it will move the servo to "lock" or "unlock."

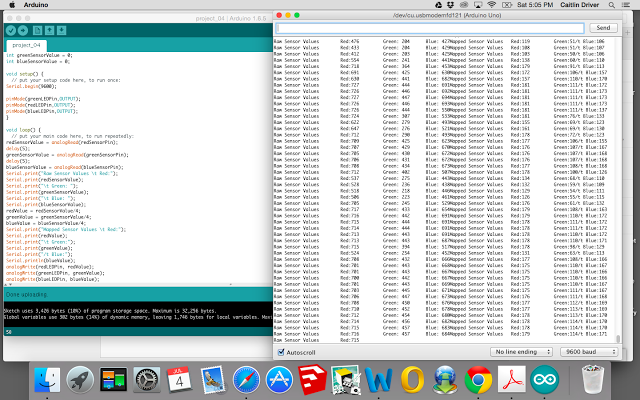
I really like the serial monitor, it makes the transition between tech and real easier to understand.

I really like the serial monitor, it makes the transition between tech and real easier to understand.
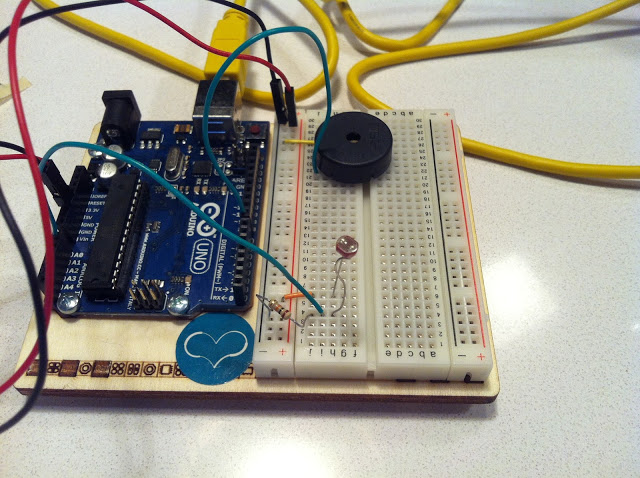
S100 - The Arduino Stater Kit - Project 11
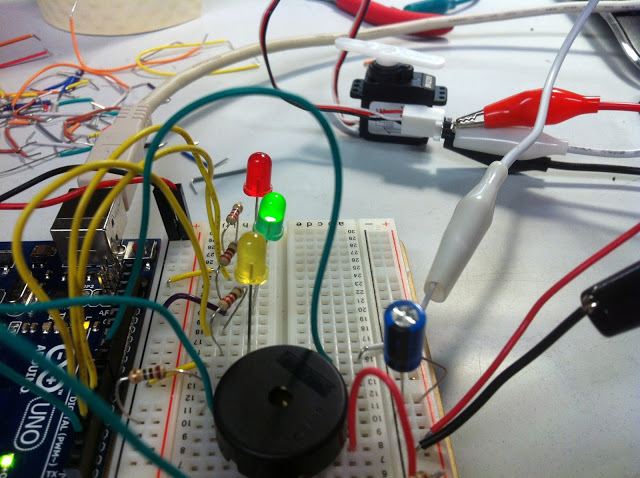
Crystal Ball - These tutorials just keep getting better and better - I loved this one... it's so easy to customize. I also really liked the tilt switch... You just move the switch upside down and a little bearing inside of it activates a change in the switch state. I could see integrating this mechanism into another type of object like the compact mirror seamlessly.


And then the ego took control...............
S100 - The Arduino Stater Kit - Project 10
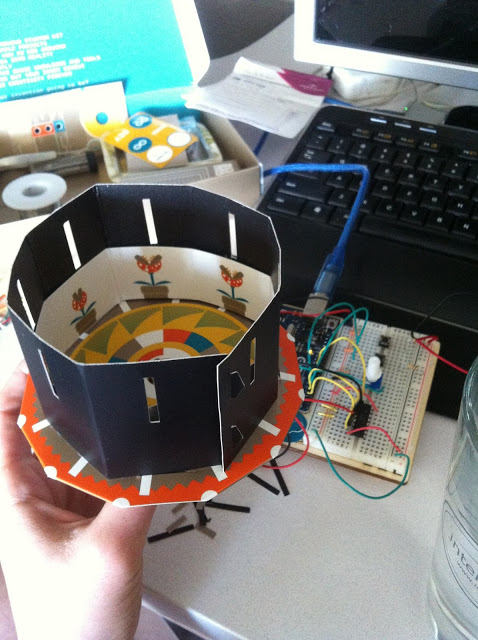
Zoetrope - WOAH! This is the coolest arduino tutorial yet.
I would advise against watching this whole video - (it's really boring).

S100 - The Arduino Starter Kit - Project 09
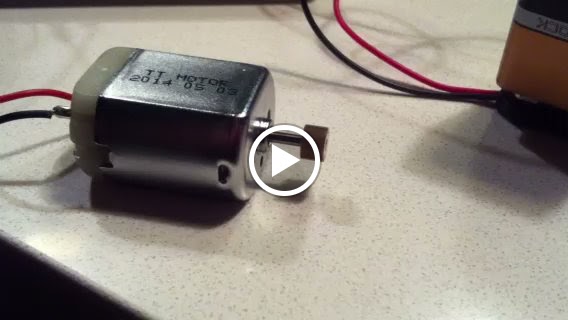
Motorized Pinwheel - Couldn't quite get this one right... The motor is supposed to turn off when I press the button, but I think something might be wrong with my transistor. I did get an increase and decrease in power when the button is pressed though.

S100 - The Arduino Starter Kit - Project 08
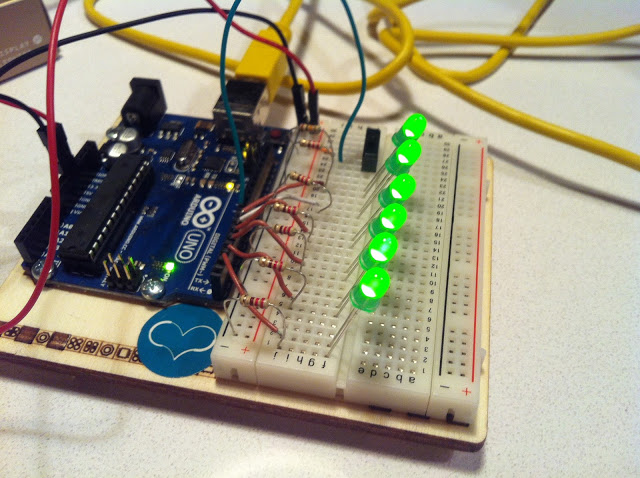
The LED Hourglass project is essentially learning how to tell time with light. This is a very controlled way to work with outputs. The tutorial recommended programming the LEDs to turn on every ten minutes... but really, who has time to wait an hour for results? So, I programmed mine to come on every 6 seconds... Not a very "square" way to tell time, but it gets the job done. 36 IS the new 60.
S100 - The Arduino Starter Kit - Project 07
Keyboard Instrument - Fun!

S100 - The Arduino Starter Kit - Project 06
Light Theremin - For this project, I learned how to make sound with the tone() function and how to calibrate analog sensors.
I like the way this sensor works without complication... no push button, no potentiometer... just changes in light.
S100 - The Arduino Starter Kit - Project 05
For this project I discovered mapping values, using the arduino built in libraries, and how to use a servo motor.
S100 - The Arduino Starter Kit - Project 04
For this project, I was introduced to the PWM (pulse with modulation) technique, duty cycles, and photoresistor sensors.
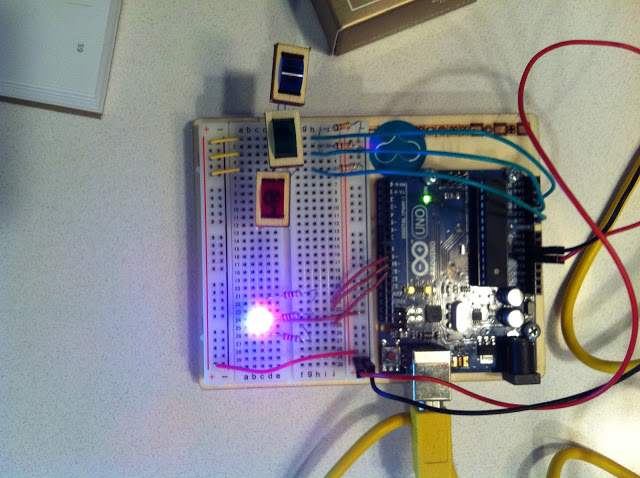
The green photoresistor never seemed to be working... so I tried a few different photoresistors for this particular gel... but, still got the same results. I really like the fading that is being created by the amount of light visible to the sensor... I wonder if this would be a good way to change color in the compact mirror project...
The green photoresistor never seemed to be working... so I tried a few different photoresistors for this particular gel... but, still got the same results. I really like the fading that is being created by the amount of light visible to the sensor... I wonder if this would be a good way to change color in the compact mirror project...
S100 - The Arduino Starter Kit - Project 03
Love-O-Meter! In the video you will see the results I got from the project. The sensor doesn't change very quickly, like I had originally expected it to... I watched the serial monitor a lot during the testing phase... I also modified the temperature variables in the code quite a bit... The temperature range settings I got to work are less drastic than what was recommended.


S100 - The Arduino Starter Kit - Project 02
Project 02 : Spaceship Interface
In this project, I was introduced to the basics of digital input and output, writing code, programming, and specifying variables. The kit came with this super-glitzy-gold piece of paper to help me set the mood for the action scene of my sci-fi movie - "ENGAGE HYPER-SPEED" (per the instructions).

S100 - The Arduino Starter Kit - Project 01

YES, the Arduino Starter Kit is packaged with just as much thought as each of the tutorials inside. I am blown away by how thorough this kit is. In just one tutorial, I feel like I've learned more than I did all last year on my own! Don't get me wrong - I definitely learned a lot last year - but never in such depth. It goes to show - sometimes it's worth spending the money on a "professional." Thank you, Mr. Arduino Starter Kit.
STEP ONE:

My first interactive circuit, using a switch, a resistor and an LED:

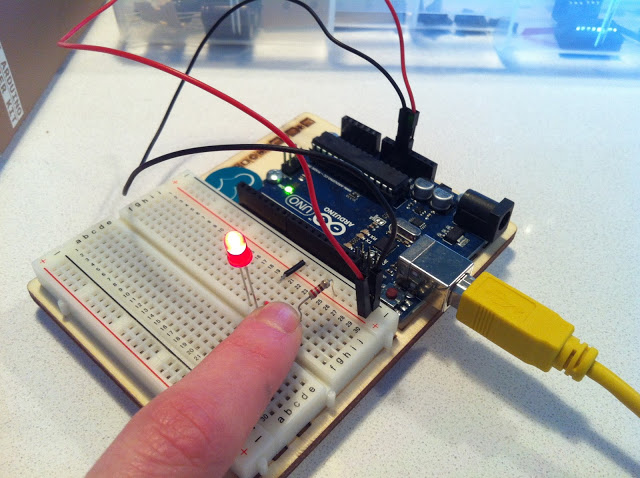
Series Circuit:
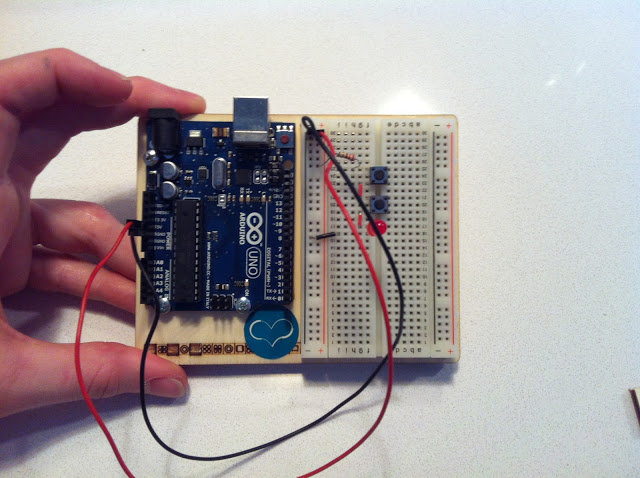


Parallel Circuit:

... and, OF COURSE, a little bit of playing around got me a big green letter-C.

