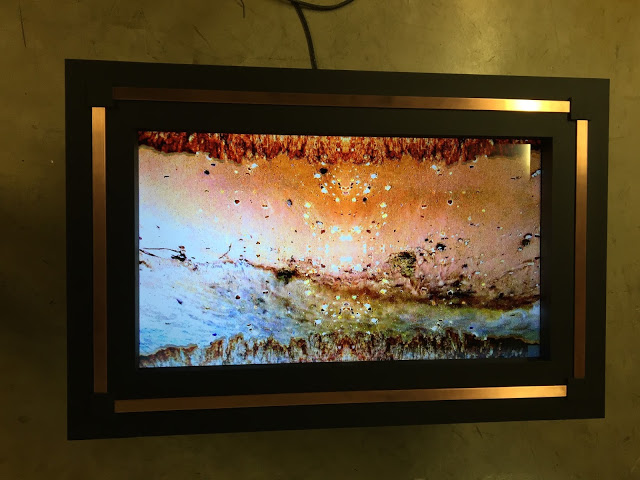
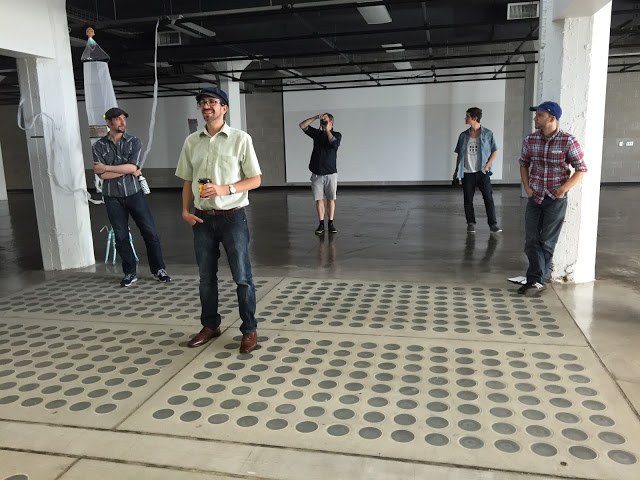
Last week I installed a number of the iAm series pieces "buffet style" in a gallery space. I invited some friends in and asked them to interact with the pieces. The event resulted in some new inspirations and a lot of laughs.

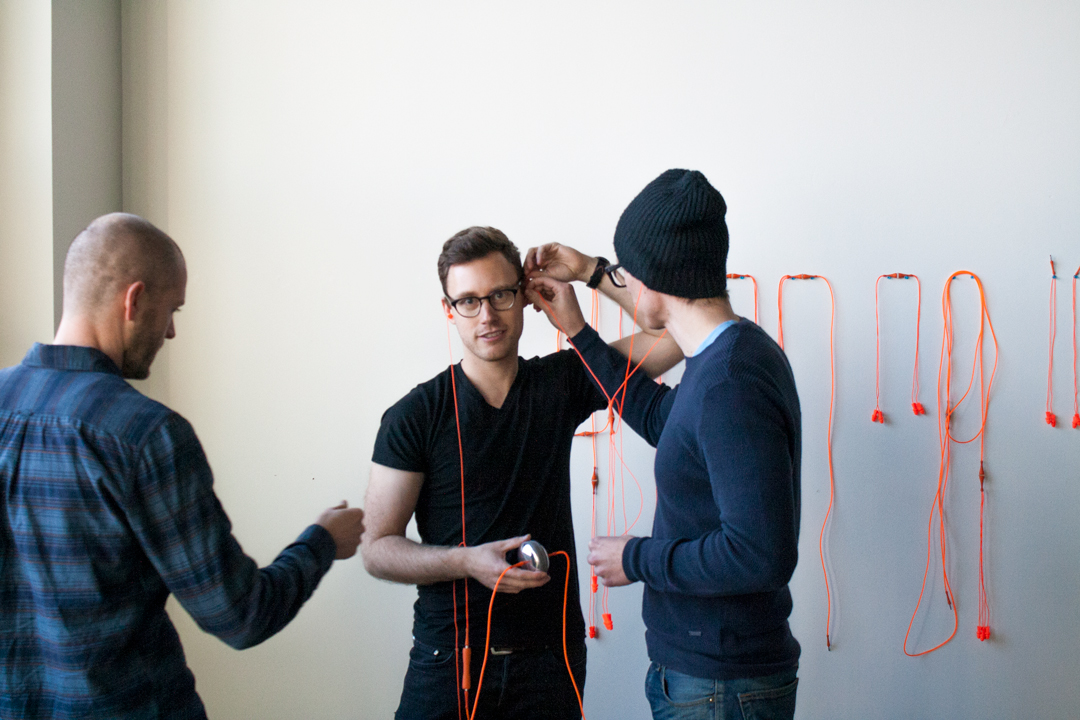


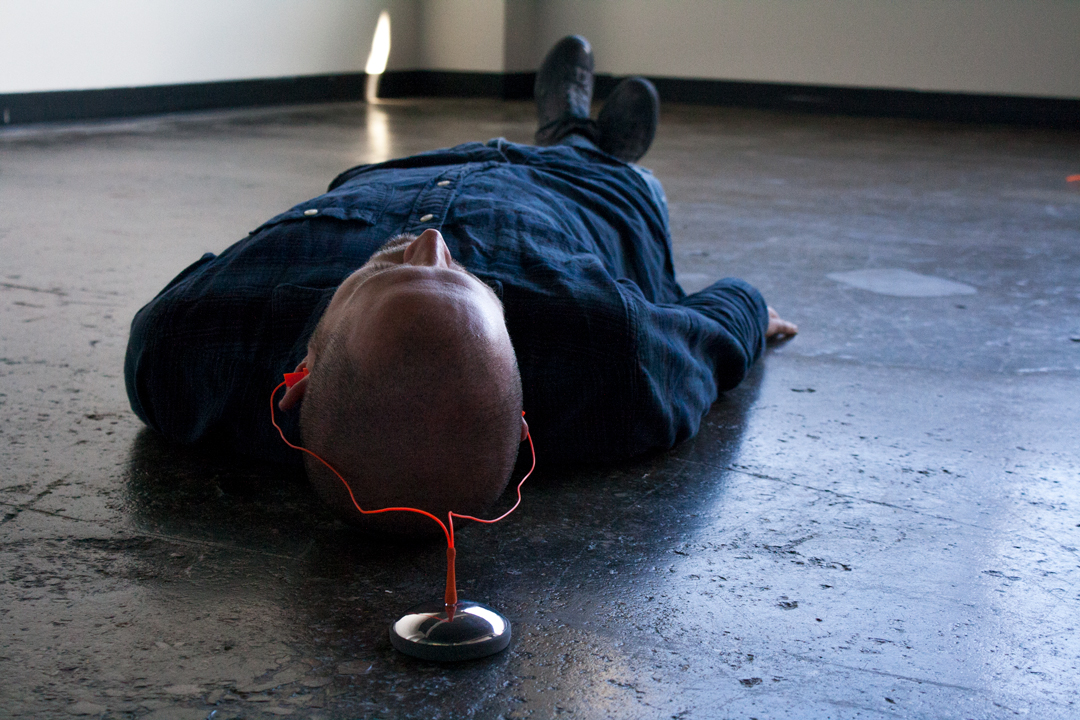

Last week I installed a number of the iAm series pieces "buffet style" in a gallery space. I invited some friends in and asked them to interact with the pieces. The event resulted in some new inspirations and a lot of laughs.
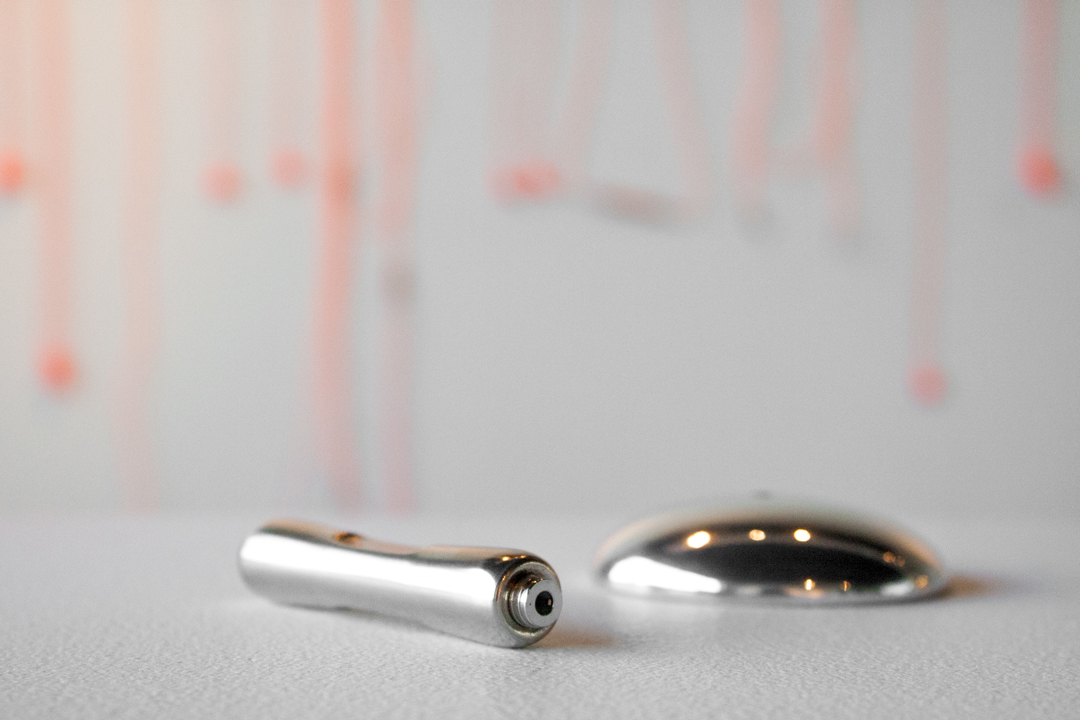
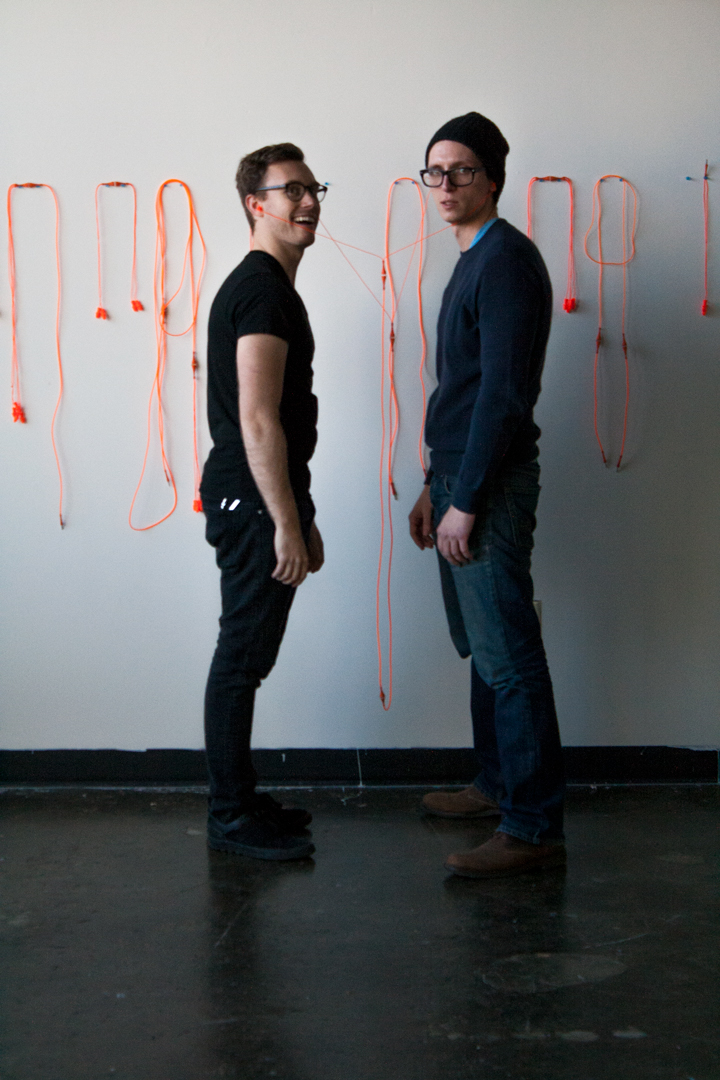
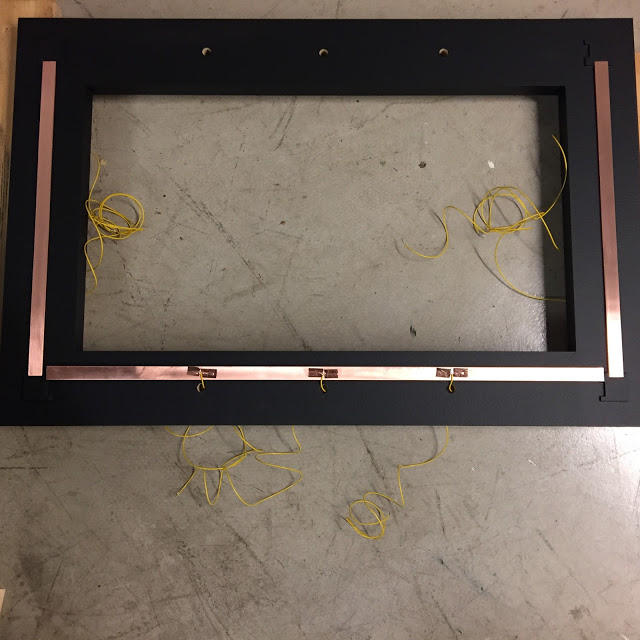
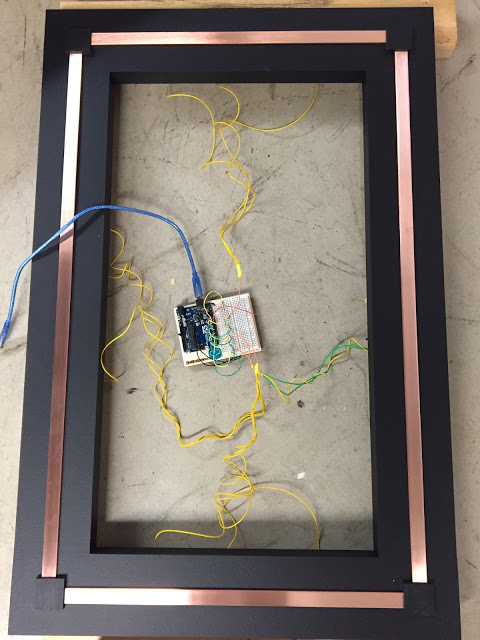
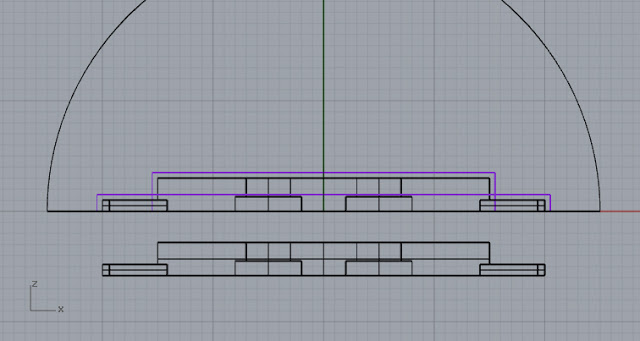
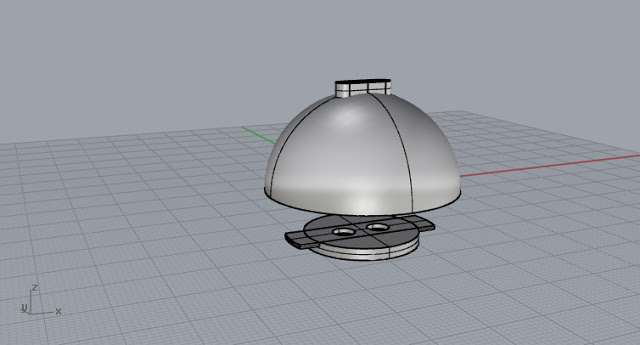
I pinned up a number of the pieces "buffet style" so the guys could pick and choose how they wanted to connect to each other and the objects in the room.
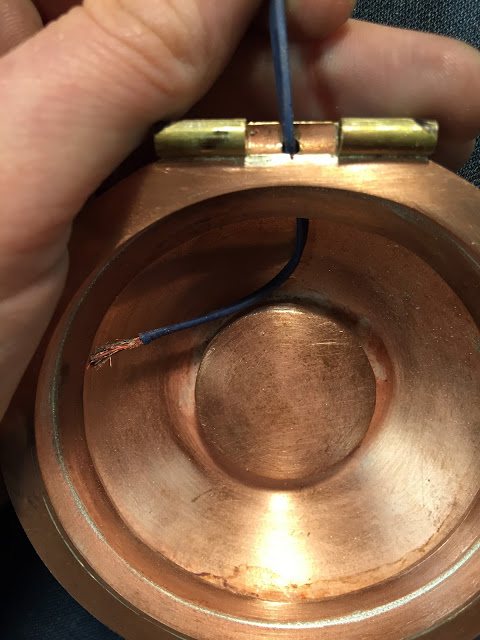
I also had two of each of these sockets for the guys to plug the cords into if they desired to.
I never could have anticipated this arrangement. It was magical and gave me a whole new perspective on my work.
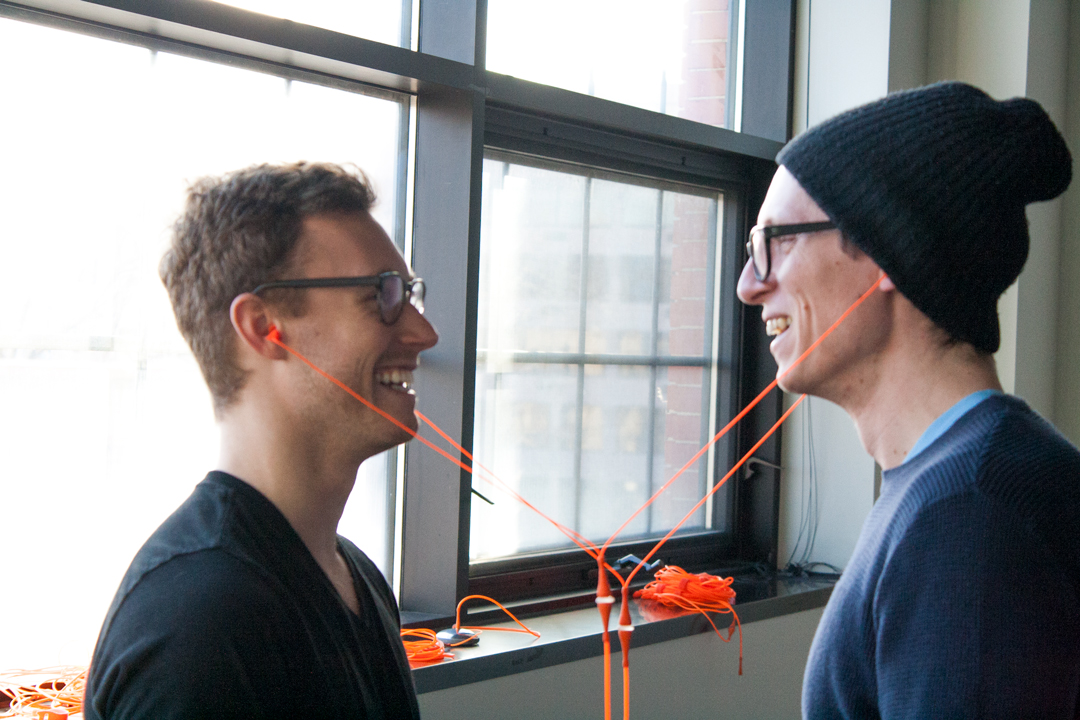
For the guys, this piece turned into an exploration in movement. They started swaying their heads back in forth swinging the cord.
Patrick "I've never been this close to your face before"


 |

 |
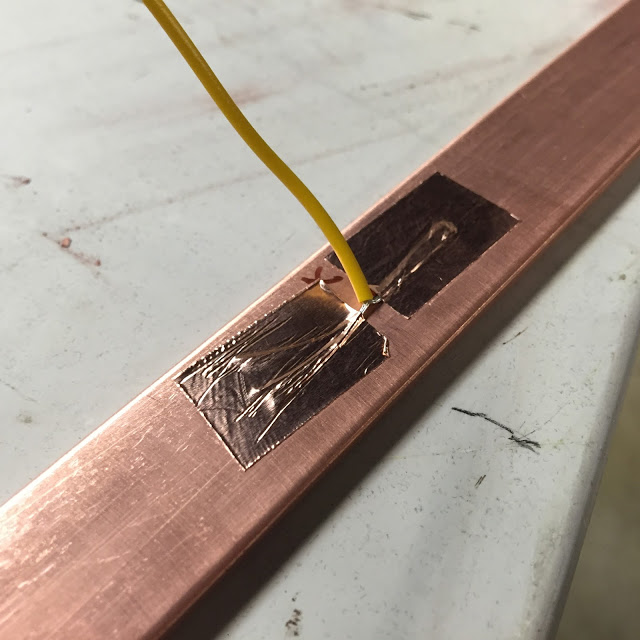
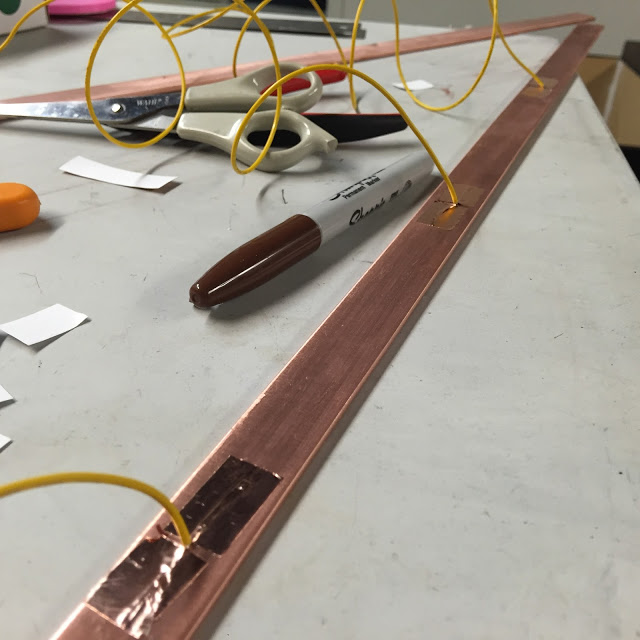
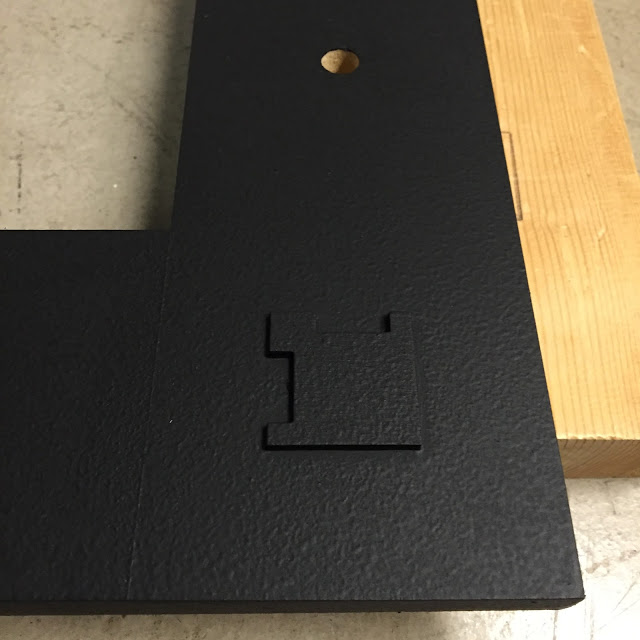
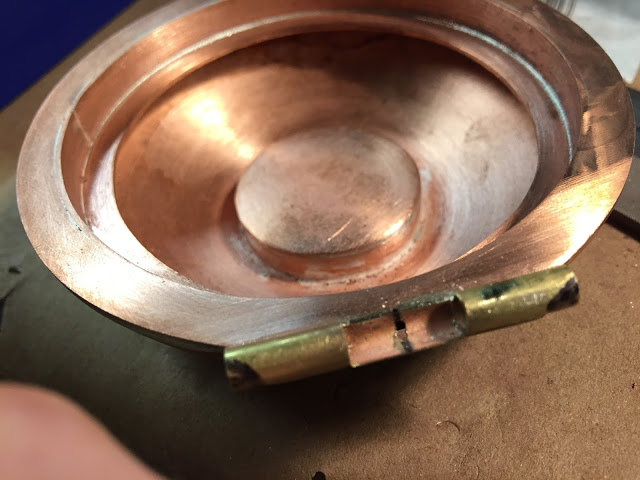
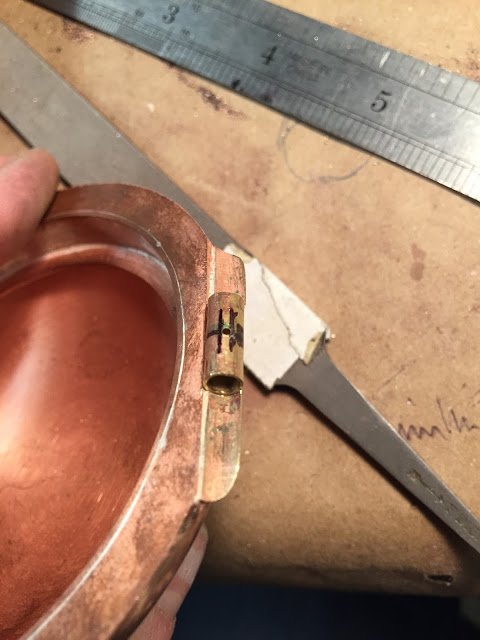
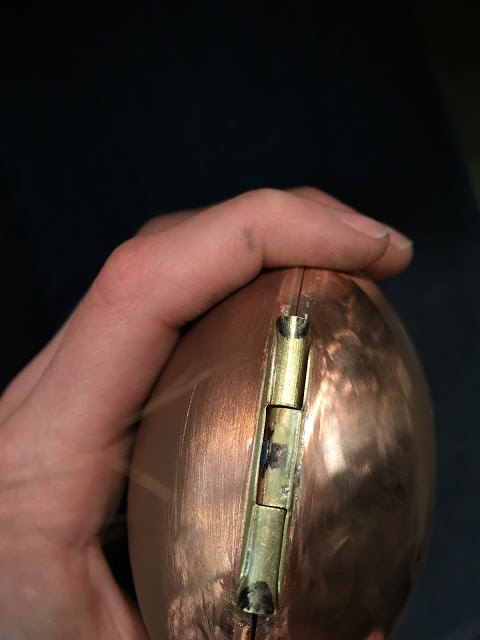
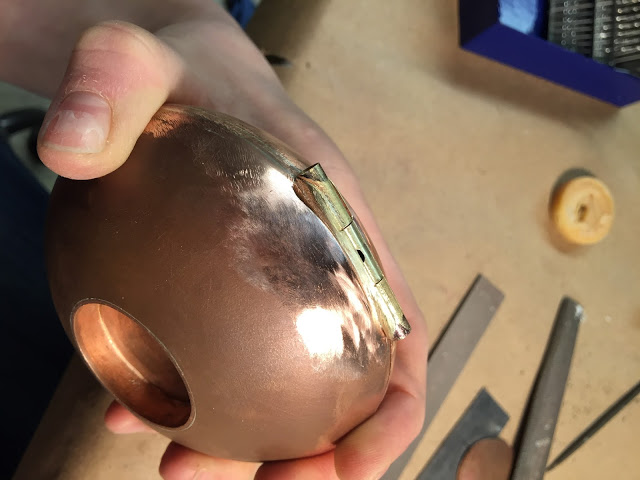
| I marked with a sharpie the part that is "unseen" when you move the compact hinge, in hopes to conceal the hole for the cords. |
 |
| I used a ball bur to "center punch" where I'd be drilling. |


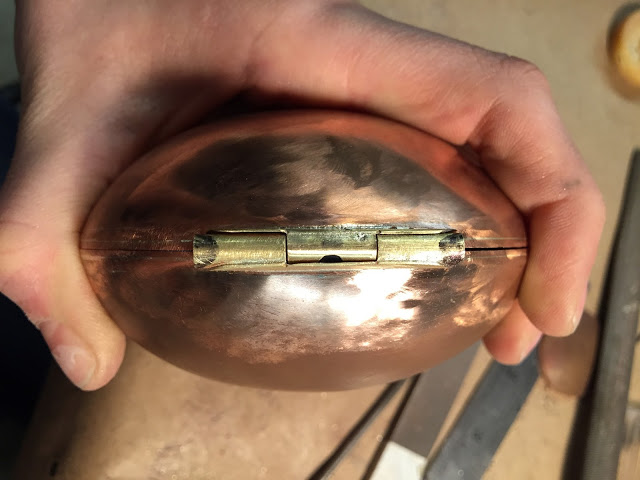 |
| The hole shows just slightly... not sure if I should square this out, or leave it rounded... thinking on it for a bit. |

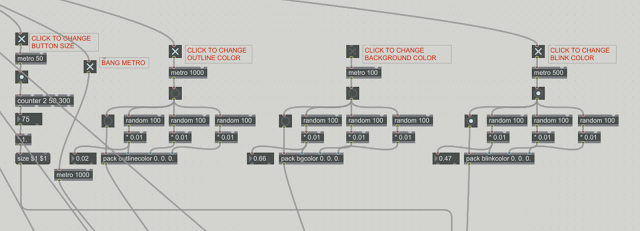 |
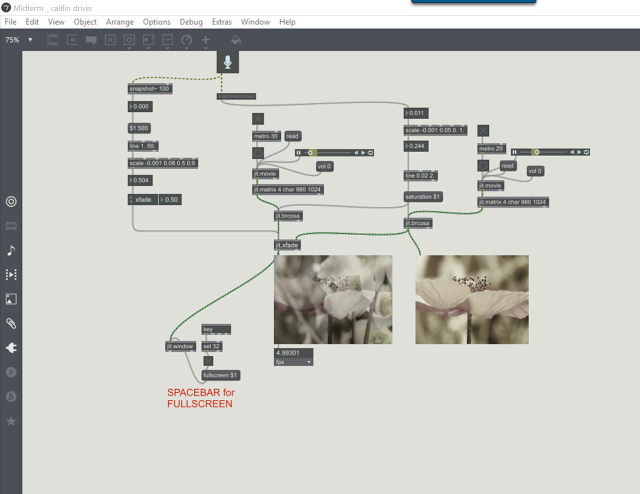
| All of the objects controlling one circle, this is eventually duplicated and the metros are varied for the 7 different circles that present in the final video animation/software... |
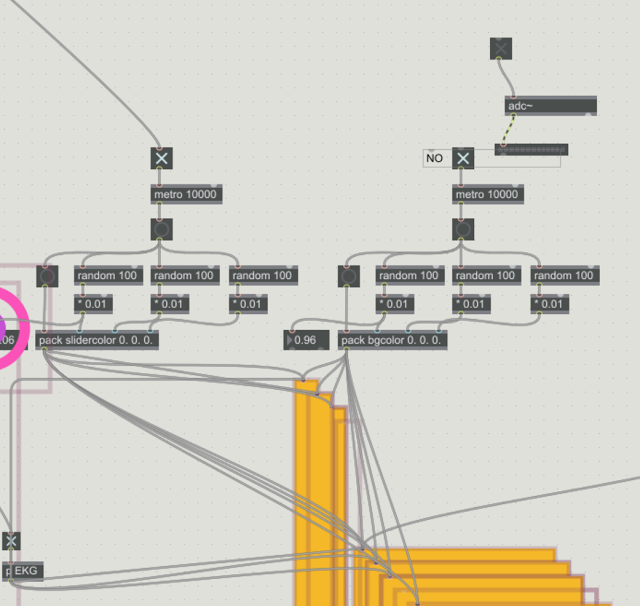 |
| I eventually figured out that you can leave your patcher overlapped, but then rearrange the objects how you want them presented in Presentation mode.... Kind of like having patcher be the code behind the interface or presentation of your code/software. SO the sliders here are all overlapping but then in the Presentation they are all over the place... see video exploration 2 for clarity. |
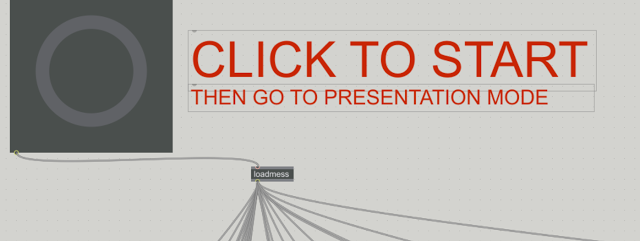 |
| A bang to initiate all of the bangs through a load message object. |